So, if you’ve made nitrate-free corned beef (vegan or with any cut of beef meat) and decided to try the option using the water inside the canned beets, drained off, to make the corned beef portion more like the traditional red-color most corned beef (even vegan) are served looking like, you may now be wondering: What on earth do I do with a drained can of beets? You could add fresh water to a pan, heat them, and serve them along side another meal but you could also make PICKLED BEETS! YUM. Yum!
INGREDIENTS (SUGGESTED)
Consider all of the spices listed below as OPTIONAL. See one you hate? No worries, leave it out. See one you love which is missing? Again no worries, included it. Here is what you are going to need:
White Vinegar
Water
Pinch of one or more of the following: Salt
Nutmeg
Cinnamon
Allspice
Ginger
Black Pepper Corns or Powdered
Whole or ground Cloves (I put a LOT of these little beauties in mine!)
Molasses, Brown Sugar (swerve), Stevia Package, or a dash of Maple syrup.
OPTIONAL: Other spices as desired or none–use whole or fresh or ground
METHOD:
Place the drained beets you used in making the nitrate-free corned beef (vegan or with any cut of beef meat) recipe into your canning size or recycled but clean jar.
Use the jar to “measure” the amount of vinegar you need. Fill the jar of beets approximately 1/3 the way full of vinegar.
Add enough water to top off to the headspace level in your jar you normally use. NOTE: The beets should not stick out of the jar or cross into the headspace. If they do, use a larger jar, or two jars, instead.
Pour off the vinegar water into a sauce pan (don’t worry–it will be starting to turn PINK from the beets–that’s fine).
Put in a dash of each of the spices you want to use. Taste. Adjust seasonings to your taste buds.
Bring to a boil.
Allow to cool enough to then safely pour over beets in prepared jar, allowing for the 1/4 inch headspace. Use a jar funnel. Tightly seal the lid. Shake the jar well to incorporate. Place in fridge for a minimum of 48 hours before testing for doneness.
SERVING SUGGESTIONS:
Enjoy as is, right out of the container!
Use as a side to your favorite meals
Snack on these.
Enjoy in a salad.
Use in any recipe or way you would use normal, high-sugar, pickled spiced beets.
Use as a topper in a wrap or for burgers. Give it a try on turkey burgers. Yum, yum!
Use it with any “lettuce” wrap filled with any ingredients.
Use as a soup garnish.
Did you think of any other use? Let me know in the comment below.
Corned or corning meat is a process, not a specific cut. Traditionally, corned beef is cured in a salty brine to which common pickling spices are added, as well as nitrates. If you are sensitive to either those pickling spices (many are seeds after all) and/or sensitive or on medications precluding you from taking in nitrates and/or sensitive to nightshades (commonly included in those spice packages) and/or wanting to control the type of salt used–then this recipe is for you!
INGREDIENTS:
8 cups water
1 cup real salt
2 tsp whole cloves
1 tsp whole black pepper corns
2 TBSP pickling spice (make your own, you safe, blend or use a store bought blend–but it should include whole mustard seeds if you can have those)
OPTIONAL: some folks like to add sugar, brown sugar, maple syrup, or molasses. This is a matter of personal preference and you can do so or skip this step.
OPTIONAL: shredded raw beets and/or the juice of 2 cans of beets, drained
INSTRUCTIONS:
Begin by placing the desired spices, salt, and water into your pan. If you chose to use beets as the coloring, add them too. Beets are optional.
Bring to a boil.
Allow to boil for 10 minutes to ensure any bacteria, etc. is dealt with.
Cool to room temperature.
Add beet juice for coloring. NOTE: Professionally canned foods from the grocery store (and yours if you’ve followed the correct canning procedures) are already sanitary. If you add the beet juice PRIOR to sanitizing the fluids/spices in steps 1-3 above, then the color of the water will not be red. Since the point of adding the beet liquid is to stain the meat a bit red, like nitrates normally would do, without having to use nitrates, then you will need to trust the beet water from a can is sanitary to use it, or skip the step of adding it, and just accept nitrate-free corned beef is grey not red when it is sliced after cooking.
Into the above prepared brine, submerge uncooked brisket (beef), other cut of meat (raw beef), or tofu/meat substitute for vegan corned beef. NOTE: There are a number of recipes for this vegan option online. However once the vegan “meat” is made, it needs to be in the brine.
Cover tightly and place in the fridge for a week. To become “corned” this needs to marinade in the brine. After the brine has soaked into the beef, drain it (discard brine) and cook it as you would normally cook (options are: boiled dinner, baked in the oven, using a slow cooker, using a roaster, or pressure cooker) .
Also known as “Italian Gravy” pasta sauce is traditionally made by cooking down tomatoes (a nightshade plant family), reducing the liquid, and adding a number of Italian seasonings. This experiment is a night-shade free version. It is pretty good–sort of like mystery meat in the cafeteria: you can eat it just fine, but you know its not quite chicken, or beef, or pork or what ever the TVP is imitating.
SOURCE: I saw there are MANY versions of this recipe (sometimes also called “nomato sauce” online at various cooking sites, recipe databases, YouTube, blogs, and Pinterest. Yet I decided to go first with the Cotter Crunch recipe because I had all the ingredients on hand. There are a number of versions, even within her website’s recipe, and I haven’t yet tried all of them–but I will! I highly recommend reading her thoughts on the various ingredients and why she included them (read those here). Recording the results here so I remember which ingredients worked best for the people I make meal for their enjoyment.
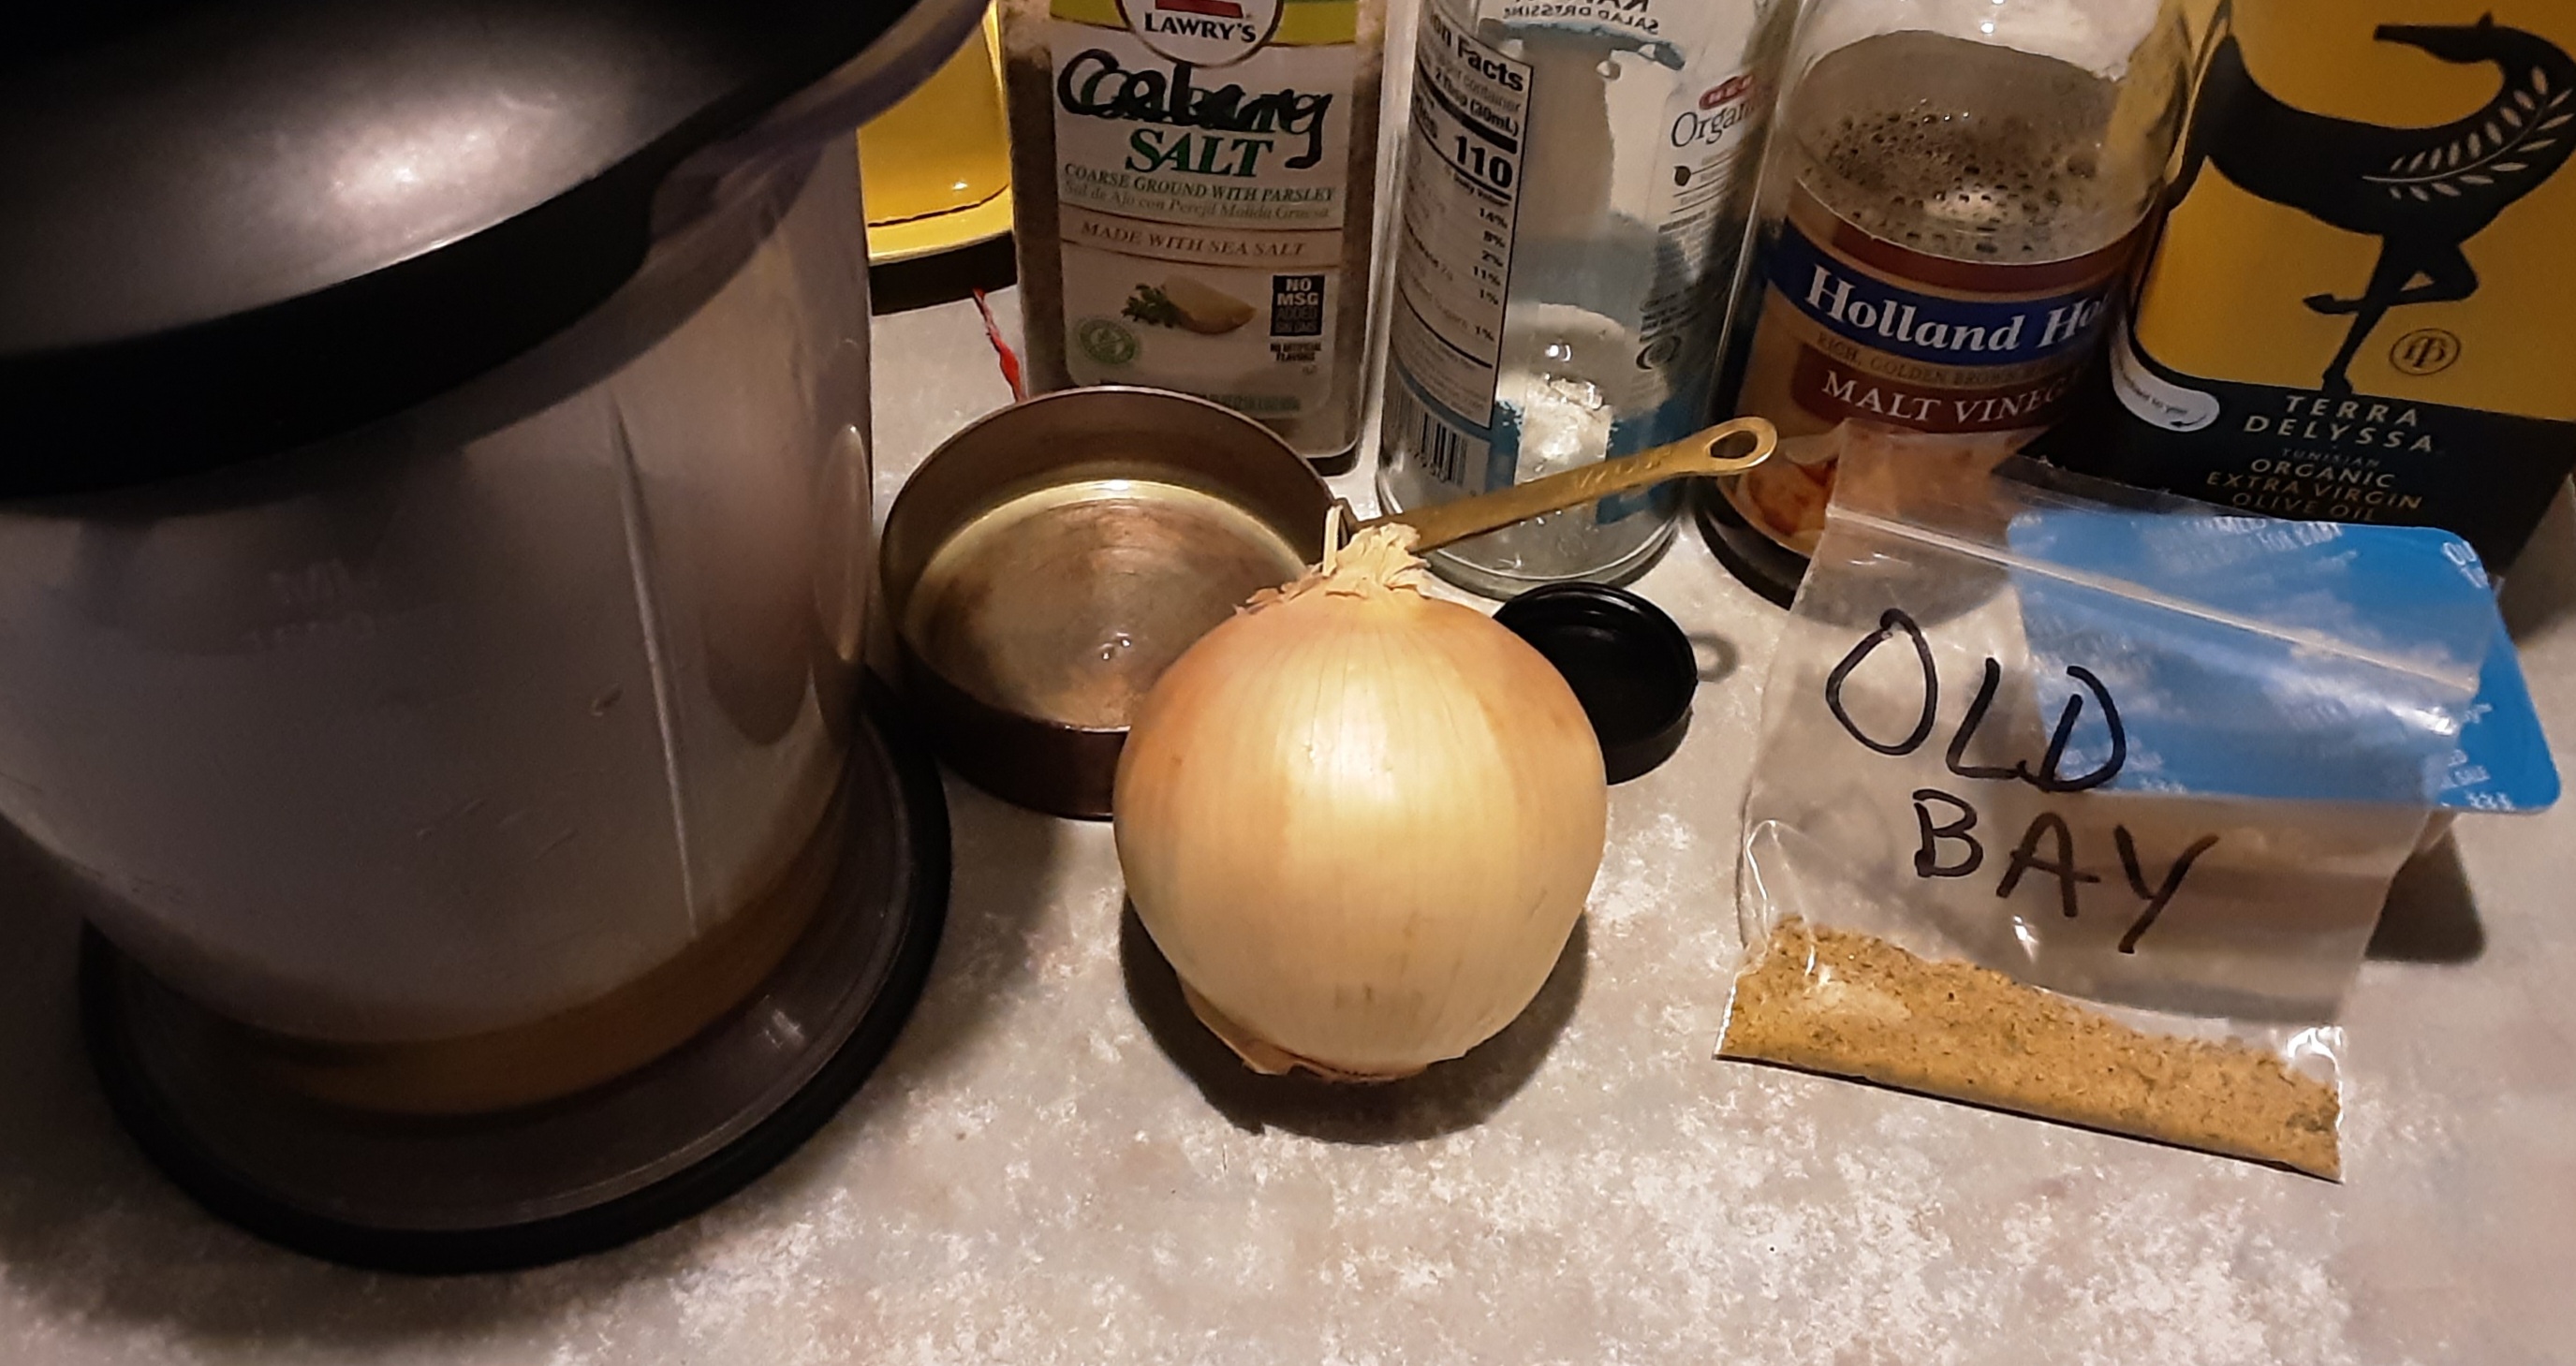
INGREDIENTS:
2 TBSP EVOO (best quality you can afford as this plays a vital role in the flavor–also, don’t substitute it for some other kind of cooking oil)
1/3 Cup minced yellow onion
1/3 Cup minced red onion
4 cloves garlic
1 Cup Beets (peeled and diced)
1 Cup Carrots (scrubbed and diced)
1 tsp Italian Seasoning
1 tsp Oregano
1 tsp dried Parsley
1 Cup Bone Broth (or filtered water) divided, used at different times.
1/2 Cup Bone Broth (or filtered water) divided, used at different times.
1 Cup Pumpkin Puree (this leaves 9 TBSP left over from a standard can of pumpkin–which I measured into 1 TBSP portions and froze on a silicone mat in the freezer before removing and storing in an air-tight labeled container in the freezer for convenient portion sized servings without wasting any)
1 TBSP lemon juice (fresh squeezed) * see note
2 tsp balsamic vinegar * see note
METHOD:
Begin by putting the olive oil and onions in the bottom of a sauce pan. Heat over medium heat until beginning to brown. Add garlic. Continue to sauté a few moments until garlic is fragrant.
Add bone broth, cubed carrots and beets, dried spices: Italian seasoning, oregano, and parsley. Cover and cook for 30 minutes over medium heat. Test for “fork tenderness” before proceeding. Cook longer, if needed. Remove from heat.
Add 1/2 cup of bone broth and the 1 cup of pumpkin puree to the pan. Use stick blender to carefully blend this mixture. Use caution because it is HOT!
Stir in lemon juice and balsamic vinegar.
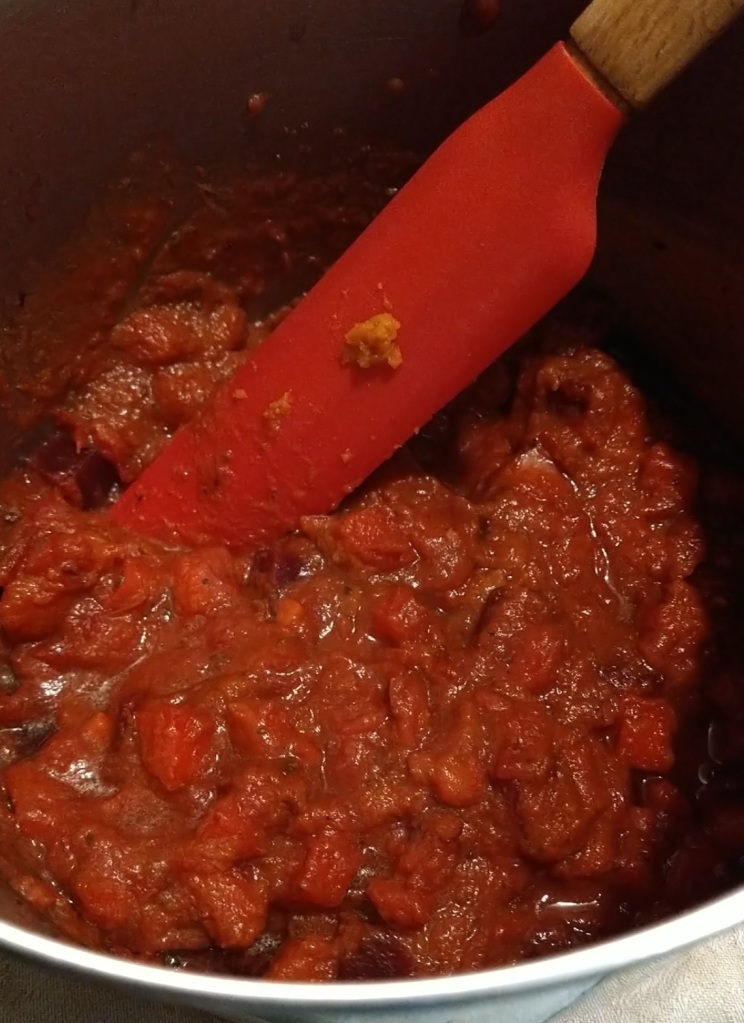
At this stage you can freeze a portion or two, or go ahead and use it in the recipe you intend to use it for. Comments from other users state it is excellent over: cassava noodles; zoodles (specialized zucchini); over spaghetti squash; made into meat sauce with celery, onions, and cooked & drained ground beef to mix together with cooked macaroni style noodles; or in a low-carb lasagna soup with spinach or kale or both.
After cooking but before blending
NOTES and TIPS:
Extra Virgin Olive Oil: This ingredient is super important to the quality or outcome of this recipe. You’re going to be cooking these ingredients in the olive oil. For this recipe, purchase the best tasting, freshest, imported olive oil you can afford to purchase.
Onion: The original recipe didn’t call for the specific blend of onions I used–I was just using what I had on hand to use up produce before it went bad and I’m recording the exact way to replicate the recipe, as I originally made it.
Carrots: Organic, of course! I didn’t peel mine. I skipped that step, but I used a stiff veggie brush to thoroughly scrub them, which removes the “fuzzy” root hairs and much of the peel without the added step of peeling the carrots, and thus preserves the nutrition in the peel, too. It didn’t make the end product “hairy” or any other “bitter” sign of having left on the peel. It is a very small amount of carrots in the recipe.
Garlic: My cloves of garlic were a few left over from the bunch I purchased last for the Passover celebration. I wanted to use them up, and they were small, so I peeled 4 of them and minced them to add to the sauce. In my opinion, the resulting sauce could have used more garlic. And more basil.
Water to thin: I used left over bone broth from making additive-free lunch meat earlier in the week but any type of liquid will work. Don’t have bone broth or liquid? Then boil the peels of the onions and carrots, you minced above into the desired amount of water, to make some while you are sautéing the onions in the the EVOO. Taste to adjust for saltiness as homemade broth and/or water can be significantly less salty than store bought. Likewise if you are reheating this recipe as left overs, you will likely want to add more water or bone broth to the recipe while reheating. Frankly, because this is true, I wouldn’t worry too much about getting the base recipe perfect, water content wise, as the left over portions will need water to perfect and if you over pour slightly, you can always “reduce” down the liquid. Makes the sauce taste great!
Parsley: I didn’t have fresh parsley on hand when i made this recipe the first time. However, it would taste BETTER with it! I highly recommend using fresh parsley. That’s especially true when re-heating this recipe (leftovers).
Pumpkin: The recipe will leave exactly 9 TBSP left over from a standard can of pumpkin–which I measured into 1 TBSP portions and froze on a silicone mat in the freezer before removing and storing in an air-tight labeled container in the freezer for convenient portion sized servings without wasting any. I’m going to consider purchasing enough ingredients to make this recipe turn out “even” in terms of the number of cans required to not have any left over, and then freeze the unused portions. I’ve seen other recipes substitute pureed squash (butternut) or yams/sweet potatoes if you don’t have pumpkin on hand (I am reminded my Australian friends don’t have canned pumpkins as Americans do). While it is easy to cut pumpkin in cubes, freezing them for later use like this recipe, it may not be available everywhere, or all the time.
Don’t skimp on the flavorings.
Nutritional Yeast: When reheating some of this sauce for “left overs” I sprinkled atop some of the instant cheese sauce I had on hand, salt, and pepper and it worked. Not the same as Parmesan cheese but dairy-free and allergen-free pretty close.
TOMATO PASTE SUBSTITUTE: This entire recipe tastes a bit like cafeteria food, but good. The texture before adding the additional bone broth was PERFECT as a substitute for tomato paste. I highly recommend freezing one batch of this recipe, perhaps with less flavoring added, just to use as a tomato-free substitute for tomato paste in recipes you used to enjoy before you couldn’t have nightshades. I am going to work on this for my favorite “Enchilada” sauce and for making dishes like American goulash, lasagna, and ketchup.
SERVING SIZE: this made six meal portions of sauce and a lot of people sampled it too! This freezes well and thaws well only when it is thawed it really needs the lemon juice and balsamic vinegar added back in.
One serving suggestion: Lasagna Soup. Another serving suggestion: spaghetti with making a meat sauce, adding this sauce and serving it over zoodles (spiralized zucchini).
This salad dressing is versatile, nightshade free, keto/low carb friendly and can be used together with mayo, sour cream, or cream cheese to make fry sauce, veggie dip, or other condiment like substitutions. Can be used as a substitute for cole-slaw dressing.
Combine all ingredients inside blender until well mixed . Pour into clean salad jar. Refrigerate.
NOTES:
While this recipe, tastes great, it doesn’t “sit” well in the fridge. It begins to break down and needs to be re-blended. It is best used the same day it is created and/or tweaked with the addition of a stabilizer which i will be examining in future editions of this recipe! My planned first trial will be Soy Lecithin, which is used in vegan butter recipes to hold it together.


You must be logged in to post a comment.