This versatile side dish is worthy of eating on its own, as the base to scoop up your favorite gravy or jam, to make a sandwich, or any other naan-bread like use you can think of! It can be made unleavened without sacrificing its texture or flavor, simply by leaving out the “baking powder” or using a baking powder replacement. There are a number of tested options for oil too–ranging from coconut oil, ghee, olive oil, melted butter, or even a veggie or fruit puree. All work well! Give it a try.
YIELD: 6 Flatbread pieces per batch This recipe takes some time to make, but is worth it. Even if you plan on making more than 6 flatbread pieces, make them one batch of dough at a time.
INGREDIENTS:
2/3 Cup Coconut Flour (I used HEB Organics)
2 TBS psyllium husk powder
Optional: 1 tsp Baking Powder
2 TBS Olive Oil (or use one of the following instead of the olive oil: Ghee, coconut oil, melted butter or a puree)
1/4 tsp salt
About 1 Cup Boiling Water
METHOD:
this recipe, once the dough is formed and rested, is very much like making “pancakes” –> you will be cooking the dough rolled or patted as thinly as you desire until it is cooked, then flipping it and cooking it on the other side too
Begin by assembling your ingredients.
Mix together the dry ingredients first.
Mix in the oil to incorporate, then slowly add the boiling water. Depending on the brand, and freshness of your coconut flour this may take more or less than 1 cup of water to form the dough. Mix until dough forms. (The texture is very much like “mashed potatoes”)
Allow the dough to rest 10 minutes, or until cool enough to handle. The dough needs this resting period to hold together, since it is not made with gluten.
Divide the dough evenly into 6 dough balls.
Roll the dough balls out, one at time, or pat with your hands, depending on the desired thickness.
Cook the bread, dry style, in a heated cast iron pan or griddle. Allow the first side to fully cook, before flipping to cook the second side.
OPTIONAL: Have melted butter (or other oil) available if desired to which you can add garlic, parsley, or other spices. Brush surface of bread with this herb oil (or serve with dipping sauce) after it is finished cooking and just before serving.
TIPS: – Other toppings include the option to have no topping, just enjoy the bread as it is, cinnamon stevia, green onions, jam, preservatives, lunch meat, cheese spread, fish spread (such as tuna or salmon salad), parsley, garlic salt, sesame seeds (with or without the oil being toasted sesame oil) or just about any other topping you can think of. – NOTE: This bread gets more and more MOIST after the first day. It works best to make a batch and use it up, rather than having it sit around too long. – Depending on the thickness, you can roll this as thin as a tortilla, although those are hard to turn, or patting them to a thickness like old-fashioned potato pancakes and they taste a bit like them, texture wise, too. The potato cake, or veggie nuggets, style makes a nice side dish.
Take a raw, full head or packaged, organic or home-grown cauliflower, add a delicious home-made Dairy-Free cheese sauce and viola! You’ve got a great chip and dip substitute which is satisfying, healthy, allergen friendly when everyone else is enjoying other snacks which aren’t allergen friendly, or when you are in the mood for something crunchy! While this combo is my personal favorite, other great dippable combos include carrots, crackers, broccoli, green onions, radishes, cucumbers, celery, and anything you can think of as a dippable.
Dealing with dairy and nightshade allergies? Then, you likely think having a taco salad is out of the picture, right? Nope. Guess again. Here is a simple, per serving, recipe and method of preparing Taco Salad Dairy and Nightshade free.
INGREDIENTS:
Romaine or other lettuce (approximately 4 cups per serving)
Fill a bowl with well washed greens. Use a combination of lettuce, romaine, or other greens, as desired.
Cook up the protein source of choice (beef, turkey, beans, mushrooms, tofu, TVP, etc)
Season protein choice with cumin, garlic, heavy black pepper and salt to taste. If you have been nightshade free for a while, having heavy pepper can mock hotter jalapeño style taco salads.
Add the cactus and enough water to bind the spices to the protein source of choice. The cactus will thicken it to a taco-flavored”gravy” so to speak and is an excellent substitution for green bell peppers.
Add flavored protein source, cactus, fresh cut green onion and black olives to prepared lettuce green bowl.
There are many recipes online for this, or a similar, recipe. However those recipes all call for using almond flour. If you cannot, or wish to have an alternative due to almond flour’s omega fatty content, here is the recipe for you.
INGREDIENTS:
3/4 Cup Flax Meal
1/4 Cup Arrow Root
1/2 Cup Sesame Seed Flour
1/4 Cup Nutritional Yeast
1/4 tsp baking powder
3 TBSP Olive Oil
5 TBSP Water
INSTRUCTIONS:
Preheat oven to 350 degrees.
Combine ingredients except water. Stir together.
Add water. Combine to form a dough.
Roll out as thin as you can get it (the thinner the better the result will be). Use parchment if necessary.
Pre-score or “cut” the dough into approximate 1″ squares. Pierce a while in the middle, if desired, with a toothpick.
Bake about 15 minutes, or until desired doneness.
Cool. Enjoy. Pairs nice with “Cheese” dip recipe.
OPTIONAL:
You may enjoy a bit more salt atop. The original author, from whom I adapted this recipe to be almond-free, suggested turning these 1/2 way thru the baking process. I tried with turning and without and it didn’t make a significant difference. Thinness vs. thick did, but turning did not.
RESULTS: Addictive! Can be modified as desired. Dippable.
This recipe is not my own. I found the specific one I “sort of” tried after reading many, many dairy-free, vegan (high carb, low carb, gluten free, grain free, etc) blog entries, pinterest recipes and watching YouTube videos. This is the way I made the recipe after consider several different approaches. It works, as is, but I also offer some modifications in the “Tips” section below.
INGREDIENTS:
3 TBSP Nutritional Yeast
2 TBSP White Vinegar
2 TBSP Tahini
2 TBSP Hemp Hearts
2 tsp Onion Powder
1 tsp Garlic Powder
1/2 tsp salt
1 cup water
DIRECTIONS:
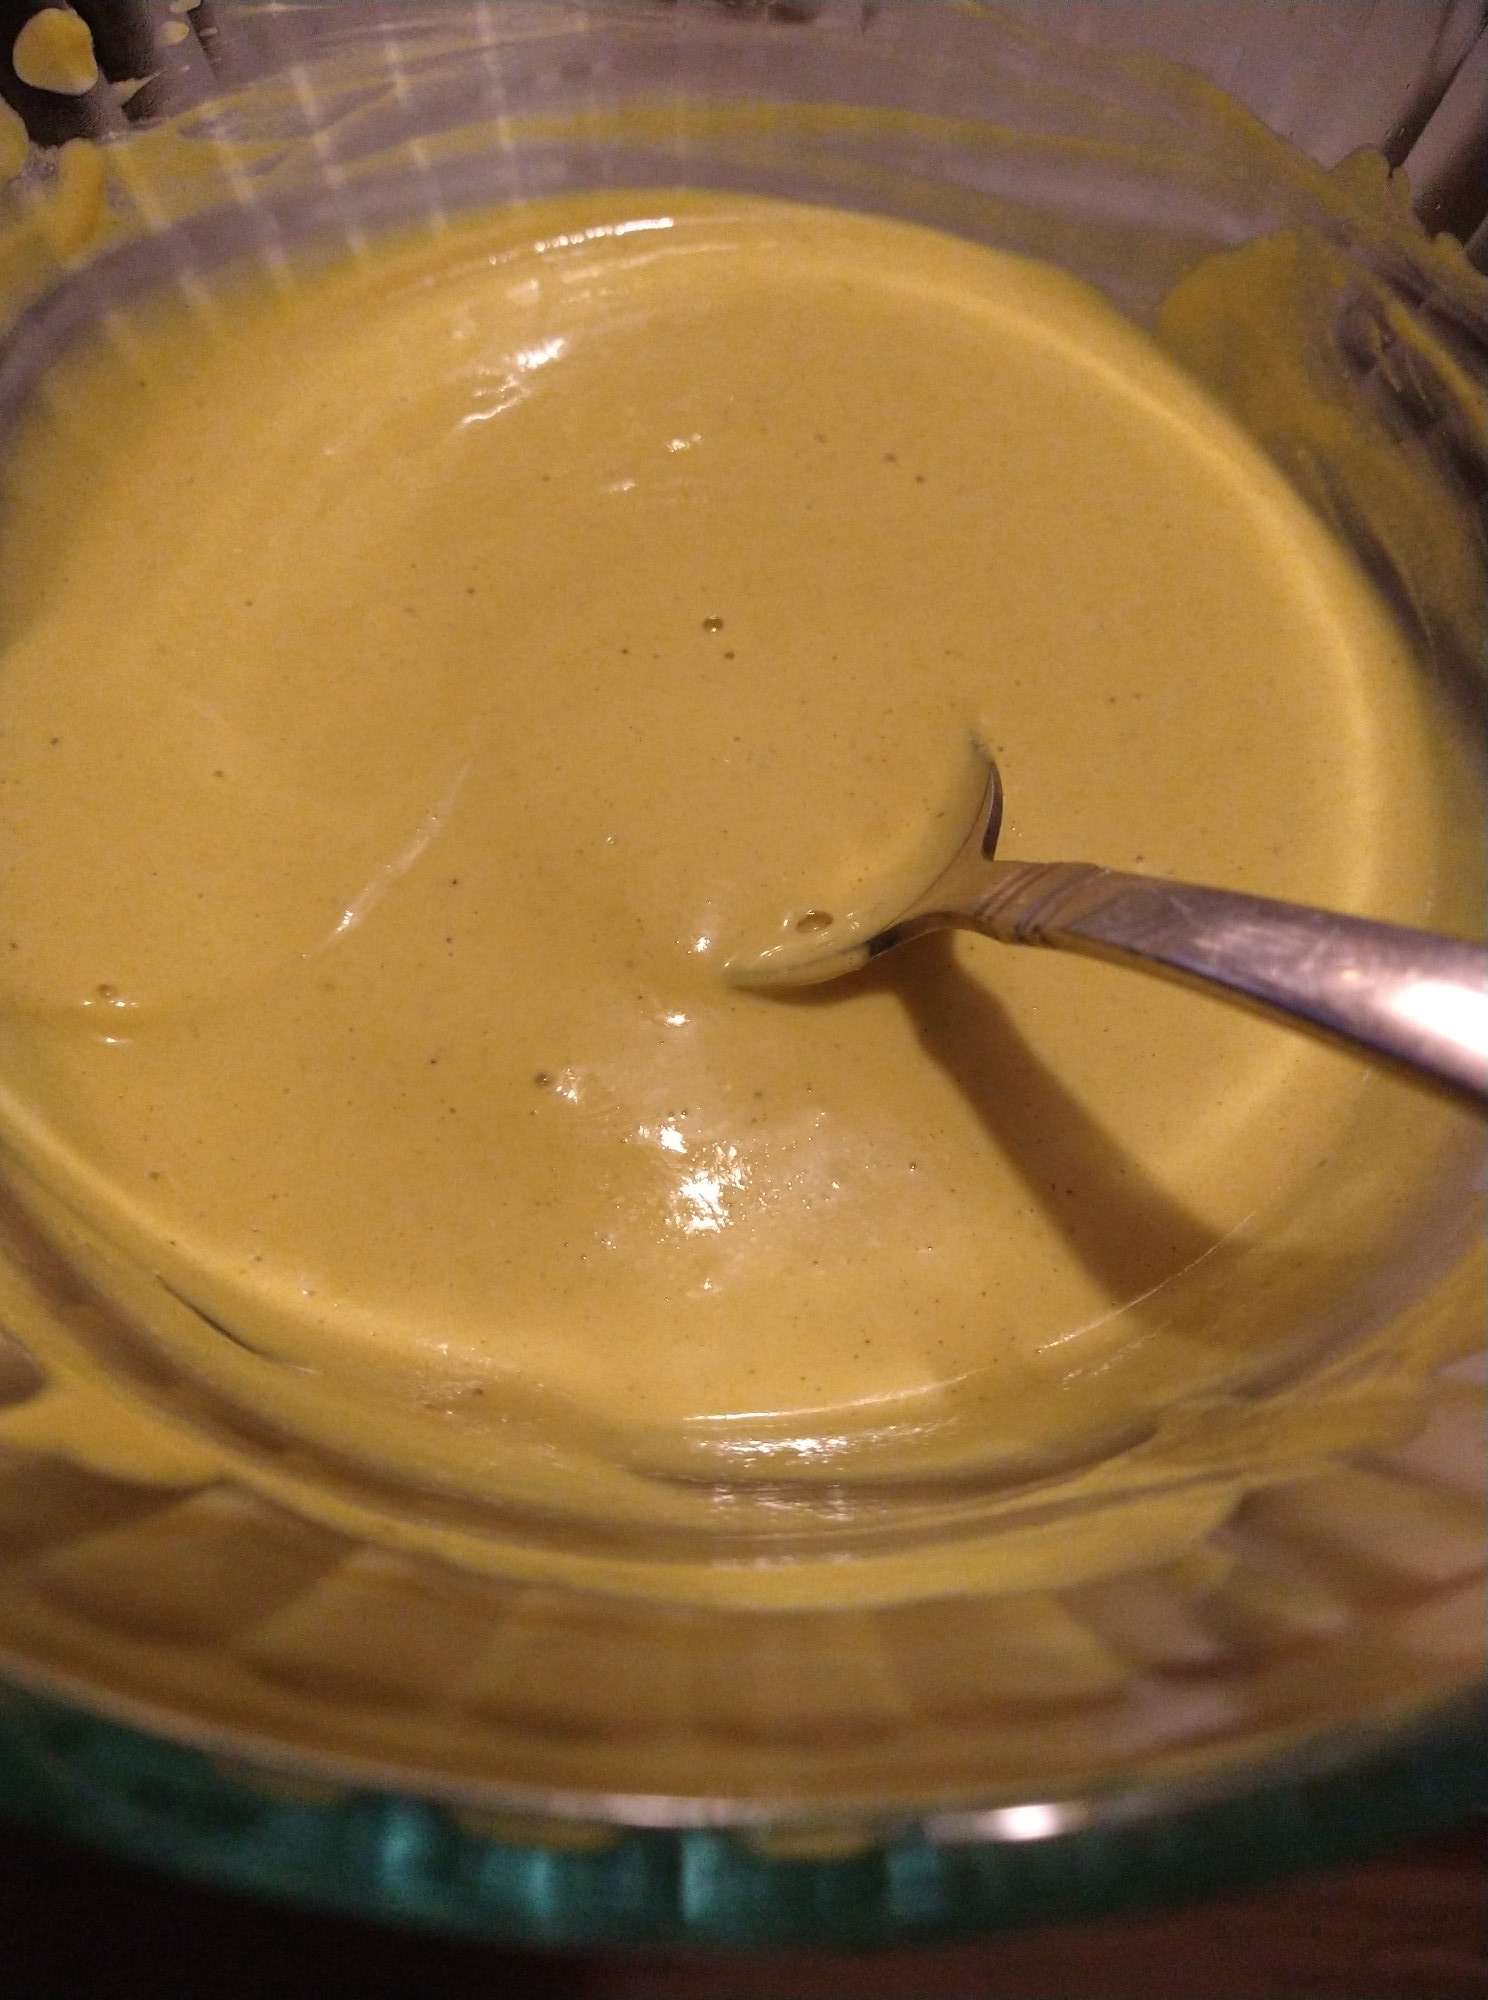
Combine all ingredients in a high speed blender. Start blending on the lowest setting . Once all of the ingredients are well incorporated, turn the blender to high speed and let it run until the sauce thickens up. Scrape down the sides into the mixture from time to time. When it is finished, allow to cool slightly. Enjoy. Or put it up in an air tight container.
SOURCE:
This is the blog where I originally saw the specific recipe I modified. https://ketovegetarianrecipes.com/low-carb-vegan-cheese-sauce-keto This recipe, and the blog, as well as the blog author is an excellent resource for many great recipes! I highly recommend being a regular reader. However, like a lot of folks these days, I only skim read the blog and messed up by not seeing until I was finished taste testing the blog recipe included “for a brighter yellow color, as a half-tsp of turmeric.
TIPS:
I’ve read many recipes, blog entries and watched YouTube videos which say this can be easily a great substitute for queso if you simply spice it with cumin and a bit of tex-mex flavors.
It will indeed look more like cheddar cheese or nacho cheese sauce, if you include either mustard powder or turmeric for color.
I could also see this recipe being used sparingly as a base substitute for its dairy counter parts in such recipes as: white pizza sauce, enchilada cheese sauce, quesadillas, or spiced with italian seasonings as a white lasagna cheese sauce.
“White Cheese” “Yellow” Cheese – added turmeric for coloring.
WHY: No matter if you landed on this blog topic because you are looking to occasionally avoid animal-based poultry eggs, your fridge is empty of eggs and your baking something, you have an egg/chicken allergy, or you are vegan–you are in the right place. Just how do you avoid eggs or find egg worthy substitutes? First off, if you are going to substitute a thing, in this case eggs, then you have to know something about the thing you are substituting.
THINGS TO CONSIDER: In the case of eggs we need to consider what function the eggs provide in the classic recipe which we are looking to find a substitute for the eggs included in the basic recipe. For example, do the eggs provide to the recipe volume? One large egg equals approximately three tablespoons of volume. Do the eggs provide stickiness, also thought of as a binder? Such as in the case of making meatloaf. Or are the eggs included in the recipe as part of the moisture needed for cooking? Often this is the case with many baked goods such as cookies or cake. Or do the egg make the recipe rise, such as in the case of quick breads. In many cases, the eggs called for in your original recipe provide all of these, as well as nutritional aspects which will be missing if we remove the eggs from the recipe without a proper substitution.
JUST egg
1/4 Cup = 1 Egg
While the name can be confusing and make people think all kinds of thoughts, such as does this product just include eggs in its ingredients? The answer is NO! This product is an entirely plant-based egg substitute which works well for as a scrambled egg replacement, as well as a baking substitute. To use in baking, substitute 3 TBSP JUST egg for each large egg called for in any recipe, or 1/4 cup.
JUST egg PROS:
Easy to use.
Liquid.
Familiar. So that’s a familiar use. These look like raw “scrambled” chicken eggs, though they are completely plant based, before cooking or including in a recipe.
Versatile. Can be used in savory or sweet dishes alike.
Fried in some type of oil they taste like fried eggs and/or egg-pho-young or fried rice.
Great in stir fries if you miss egg in your stir fry.
Fried egg sandwich.
JUST egg CONS:
Expensive! By far this the most convenient but the most expensive option, even not considering “spoilage” but especially when considering spoilage.
They spoil quickly. I don’t JUST mean (no pun intended) you have to use them shortly after purchasing them. I also mean that when I’ve purchased these, sometimes I can use them. Some times I need to toss them in the trash bin. I’ve gotten them home from the store and they are completely spoiled, not usable. Signs of spoilage I’ve seen include: 1) not liquid, but “something else”, 2) turn “green” and look like a science experiment gone wrong. 3) Partially liquid, partially “cooked” looking when first opened.
Flavor. There is a slight “mung bean” taste. If this bothers you, try adding some “black salt” to mask the mung bean flavor. Having said this, not everyone is sensitive to the mung taste and it is more pronounced in some baked goods than others. NOTE: see black salt, Kala Namak, entry below for info on black salt.
Allergen Warning! The ingredients change frequently. Don’t just assume the one you are purchasing is STILL allergen friendly because you purchased and used it safely before. Especially the folded, in the freezer product, verses the liquid product has very different ingredients. They are not the same ingredients.
For each egg called for in your original recipe which you wish to substitute, combine into a bowl: 2 TBS Arrowroot flour with 3 TBS water. Mix well and allow to dissolve into the water. Note: this liquid mixture will “settle” and become “sticky” at the bottom of your bowl so be sure it mix it well, again, before using in any recipe. I like to use it in conventional recipes I’m following. I simply start by “making the eggs” reading the number of eggs called for in the original recipe and then multiplying the number of Tablespoons of water/arrowroot I need into my “liquid bowl”, stirring and setting aside before moving on. While its setting, I continue putting my dry ingredients in another bowl, then stir before combining my liquid ingredients and the dry ingredients. This works for most recipes very well without any odd aftertaste. However, it does not work for raw eggs. If you are looking for an “egg sandwich” for example, skip this one! This one is better for baking. I’ll update as I try it with savory items soon.
Arrowroot Pros: Easy to use. Affordable. Realistic substitute. BEST go-to substitute for baking and/or converting any conventional recipe to egg free.
Arrowroot Cons: Not useful for omelets, scrambled eggs, fried egg substitute.
then let it sit for 10 minutes in the bowl before using (baked goods, omelets, etc)
2 TBSP + 2 TBSP Water = 1 egg
Use the “aquafaba” or water in canned chickpeas as you would egg whites, including being able to whip it to stiff peaks.
Chickpea flour can also be used to make an omelet (so not as a substitute for eggs in baking but as an actual omelet. To do so, warm a non-stick small pan over medium heat, allowing some butter to melt in the pan. Meanwhile combine 1/4 cup chickpea flour with 1/3 cup water until well incorporated. (If you are going to add any chopped veggies to this, do so now, otherwise just proceed). Once well mixed, add a pinch of black salt, until the mixture smells eggy and fragrant. Add to the prepared sauce pan and cook. Allow one side to cook completely before attempting to “flip” to the other side. This method also works for making breakfast sandwiches.
AQUAFABA
3 TBSP = 1 Egg
Aquafaba is bean water or bean juice. In other words, if you soak your own dry beans over night, it is the water you may otherwise dump after soaking the beans. Likewise, if you purchase store-bought canned beans, aquafaba is the liquid you can drain off before using those canned beans.
Aquafaba can be used as an egg substitute, either for egg whites (whipped into merengue for example) or for whole eggs in any recipe.
If you frequent Vegan blogs, aquafaba is going to be extremely familiar to you; however, it is worth noting and paying attention to word usage. Some times vegans use the word aquafaba to mean ONLY the bean liquid from chickpeas, and other times the word aquafaba is used more generically to mean the juice left over from soaking most any bean.
BLACK SALT:
This is a salt product, also known as Kala Namak, available in specialty shops or online from “Amazon” and other such shopping outlets. Black salt is harvested near volcanic areas and is therefor high in sulfur content. NOTE: this may be an allergen for some! Because of its high sulfur content, it tastes like eggs. No egg involved! This product can many just about anything have a eggy taste. Note: a little goes a long way so buying a small quantity lasts a LONG time! Worth the investment if you are craving “egg” but cannot or will not eat it.
FLAX:
1 TBSP + 3 TBSP water = 1 egg
“Flax Egg” is a common term in vegan and allergen baking. Some times people even abbreviate it to “flegg.” Flax seeds have many perceived health benefits. Here is one such article summarizing some of them, as well as listing the nutritive value: https://www.healthline.com/nutrition/benefits-of-flaxseeds#TOC_TITLE_HDR_7
There are two versions of this egg replacement too. There is a recipe, a bit involved, but which works a lot like aquafaba and can be used for egg white replacement. This method involves some prep, so it is not as quick as some of the other methods listed in this quick tutorial. Basically, WHOLE FLAX SEEDS are cooked in the correct ratio for making a gel. Then the seeds are strained and the gel is preserved. The resulting gel, when cooled, can be used as egg whites in any recipe calling for them (including ones which are “whipped” or it can even be used as a hair gel.
Alternatively, you can purchase (Costco: Bob’s Red Mill is one example, there are many others) pre-ground flax seeds or grind them yourself. The idea is that flax seeds can go rancid (and therefore should likely be stored in the fridge or freezer depending on how frequently you use them).
CHIA SEED:
1 TBSP ground + 3 TBSP water = 1 egg
One of the easiest “chia seed egg” recipes is to measure 1 TBSP of whole chia seed, and place in a clean coffee or spice grinder. Process these into a flour. Then, combine the flour with 3 TBSP of water. Mix to combine well and remove any lumps, if they form. Use this in place of 1 egg. multiple the recipe to the desired number of eggs.
Other folks online like using chia seeds whole to make their chia eggs. I do not as whole, they get stuck in my teeth. Thus, I prefer the grinding the seed to a powder first before combining with water. But you can give the whole seeds a try. If so, add 1 TBSP Whole Chia Seeds to 1/4 Cup water and allow the solution to gel for 15 minutes. Then use this to replace 1 egg in your recipes.
SODA: Info and recipes (club soda or other flavors provide bubbles in baked goods)
CHEMISTRY CLASS (WELL SORT OF)
VERSION 1: Baking Soda, when combined with vinegar, can make things rise. Think back to school!
1 TBSP White vinegar + 1 tsp baking soda = 1 egg
VERSION 2: Best used in quick breads, where the egg is only used for its rise. Other possible uses are for muffins, scones and other quickly mixed, then baked, “break” like items.
Banana: 1/4 cup mashed banana is used to replace 1 egg; however, keep in mind banana does impart its own flavor, as well as its own sweetness to the recipe.
Carrot Puree
Pumpkin Puree
Applesauce: use 1/4 cup unsweetened applesauce to replace 1 egg.
Rhubarb: User 1/4 cup, cooked, purée, to replace 1 egg.
ARROWROOT:
2 TBSP + 3 TBSP Water = 1 egg
Some say this option isn’t the best, because of the flavor. That could be true, if you are sensitive to it, however, I am not. Now, about the flavor, remember teething biscuits? They were/are made from arrowroot too–but we aren’t using the cookies/biscuits for egg replacement, we are using the flour its self.
SIDE NOTE: As a quick side note, I also use a small portion, TBSP per TBSP, of Arrowroot as a replacement for wheat flour when making a standard Roux for gravy. People who have tasted my gluten-wheat flour version of gravy, versus the made with arrowroot gravy cannot tell the difference either in taste or texture. Also, it can be used as a TBSP per TBSP replacement for cornstarch. Further, when I’m out of Tapioca, I use it as a replacement for Tapioca, too. Which makes arrowroot super handy to have on hand, unless of course, you cannot tolerate the flavor. Everyone is unique.
1/4 cup yogurt = 1 egg. If you are dairy free, or vegan, one tested and true way to use yogurt as a replacement is to use unsweetened coconut yogurt, soy based yogurt, or almond milk based yogurt.
This recipe is grain-free, low carb, can be made sugar free, quick and easy to whip up and is delicious! Eat it plain, as is, or served with your favorite berries or berry sauce atop, with or without whipped cream. Another serving suggestion is with chocolate sauce and whipped cream. Enjoy!
INGREDIENTS:
1/4 Cup coconut flour
3 TBSP melted butter, coconut oil, or other neutral oil
1/3 Cup JUST eggs vegan liquid egg replacement
3 TBSP sweetener (or about 6 stevia packs)
1/4 tsp rum
1/4 tsp cinnamon powder
1/4 tsp salt
1/4 tsp baking powder
METHOD:
Turn on your toaster oven (If using) to 400 degrees.
Meanwhile prepare a 6 muffin tin with muffin liners (or grease with butter, coconut oil, or other neutral-flavored oil)
Begin by mixing together in a bowl all of the dry ingredients. Make sure the mixture is well combined and none of the dry ingredients have lumps.
Stir in the melted butter or oil, as well as the liquid JUSTeggs brand egg replacement.
Mix well to combine.
Drop by heaping TBSP into prepared muffin tins. Distribute batter evenly between 6 muffin tins. Batter rises, but it doesn’t spread much, so spread it out evenly in the muffin tin before baking.
Bake until golden about 10-15 minutes depending on your toaster oven.
Various Serving Suggestions:
This recipe yields 6 small shortbread portions. Those individual portions can be slit in half to stuff with , or top with, fruit of choice and cool whip/whipped cream. It makes a nice snack or dessert.
Leave out the rum, cinnamon powder and sweetener; use olive oil in place of butter or coconut oil for a savory flavor. Pairs nicely with garlic or Italian seasonings.
For portion control, you could bake for a shorter time, 12 mini muffins instead of 6 regular muffins.
As is, this recipe tastes great as a short cake (with any fruit/juice and whipped cream).
Top with cream cheese.
Other topping ideas, besides fruit include just using whipped cream. And/or adding chocolate bits. Walmart carries a sugar free brand of chocolate bits. Or, you can make your own.
Taste great at room temperature with some butter on it.
Try it with sugar-free jelly or jam.
This recipe is surprisingly quick and easy to make, with very little clean up. You can make it frequently.
Source: For this recipe, I looked at high carb recipes, gluten free recipes, and other online recipes which were similar to this one. Then I made up a hybrid type recipe without any of the allergens the folks I’m cooking for avoid.
One of the most requested recipes I’ve made and others have enjoyed is Cheesy Potatoes. But not everyone can eat nightshades/potatoes or high-carb side dishes such as the original recipe for Cheesy Potatoes. Solution? Cheesy FROZEN Cauliflower Rice Faux-Tatoes.
Why use frozen cauliflower? Many brands (or fresh-made) rice cauliflower have a lot of flavor from the veggie. Whereas the frozen cauliflower is rather bland, by comparison, lending its use as a substitute for hash browns without the traditional cauliflower flavor.
What’s different? Frozen cauliflower is super moist compared to frozen potatoes. You’ll need to thaw and pat dry the cauliflower rice before using.
INGREDIENTS:
1 Pound Frozen Cauliflower Rice (plain)
Pepper
Celery Salt
Shredded cheese
Minced Onion
1/2 stick of butter
METHOD:
Thaw the riced cauliflower.
Pat the cauliflower dry with a clean kitchen towel.
Place mixture in bowl.
Mince onion and stir into cauliflower rice mixture.
Add celery salt and pepper. If you would like, add fresh or dried parsley. It looks lovely and adds nutritive value too. Stir well to incorporate.
Mix 1/2 of the cheese into the mixture. Smooth out in 9×9 (or 8×8) baking dish. Top with the remaining 1/2 of cheese.
Bake at 375 until cheese is golden brown.
NOTES:
This was still too moist. I had friends say it tastes exactly like the cheese potatoes I make. However, I wasn’t satisfied with the moisture content. I left the condensed soup out, to help keep nightshades and carbs out of this recipe (and make it gluten free too) and also because I thought it would be too moist with condensed soup included. It turned out to be a bit moist/runny even with removing the soup. It could use another spice or two, which can compliment your main dish. Such as “Old Bay” if you are enjoying fish, garlic with just about any main, or any other favorite spice(s) and/or blend(s) of choice. Next time too, because of the moisture, I think I will try using dried minced onions from the spice aisle instead of freshly minced onion. This recipe can easily be doubled and baked in a 9×13 pan. Could be eaten as is, or enjoyed with a dollop of sour cream and a snip of chives along side.
BENEFITS: Lower carb than regular pasta noodles. They can be eaten raw and are quite nice that way. They could be used cut into ribbon shapes in soup.
CONS: Baked they get stringy and chewy, as well as they put a lot of lemon-flavored fluid into the dish.
BEST USE: Fish-based lasagna with white sauce, “hamburger helper” style pan lasagna with these noodles tossed in at the very end of the cooking process so they don’t get over cooked.
MUST: Rinse and drain well before use.
THOUGHTS:
These pasta-substitute noodles are made from palm. They are cut in the shape of lasagna noodles. They are readily available at local grocery stores (at least in my area) or online from the manufacturer or amazon.
Unlike the angel hair Palmini pasta substitute, the lasagna noodles didn’t work for me. When I saw them for sale at the grocery store, I got some to try. I thought immediately of using them to create a lasagna version of my “kale bake”.
The package says to rinse and drain the noodles then use them as you would normally use lasagna noodles. So I did so. I discovered in a 9×9 baking dish, a layer included 8 pieces of Palmini laid four wide, two deep, fit in the pan perfectly.
The result? Yulk! Baked as a new layer into the Kale-Bake recipe I recently posted here (this recipe is my own creation) these noddles get stringy and fibrous; as well they taste like artichoke hearts once baked. Very lemony. So if you enjoy seafood/fish lasagna with a white sauce, go for it! Otherwise, I’d skip this version.
Having said that, however, I’d also be willing to try in the future (if I buy more of these) these noodles roughly chopped up to make a “hamburger helper” style of pan lasagna. To do so I suggest cooking the meat or beans, draining if needed, adding any veggies and sauce to cook those completely, seasoning to taste, and then adding chopped Palmini lasagna noodles which have been rinsed and well drained. Serve as soon as they are hot.
SERVINGS:
One package, as shown above, rinsed and drained had 20 lasagna shaped pieces in it.
SIZE:
I found the only photos of what is inside this package to be a bit misleading or confusing as to side. The rectangle Palmini sheets are about the size of a 2lb block of cheese thinly sliced.
I have two recipes I’ve tried for Brioche Buns. One is conventional (high carb) and the other is low carb. Both are really great recipes. Given some time, I may combine the two methods and come up with my own version, as there are things I like about each version. Normally, when I test out a recipe from the internet (this one I found on Pinterest) I simply list the “source” of the recipe I tried, and modified for various needs, at the bottom of the recipe. This time I’m putting the source right up top because this food blogger has a lot of tips you may want to read thru prior to making this recipe. The source for this recipe is FatKitchen.com
INGREDIENTS:
a quality kitchen scale
a baking sheet
a clean kitchen towel
236 grams 80-degree water
1.5 tsp sugar
2 tsp yeast
100 grams room temperature JUSTeggs
80 grams lupin flour
170 grams vital wheat gluten
38 grams Oat fiber
3.5 TBSP allulose
3.5 grams real salt
2 TBSP room-temp butter
(Optional) egg wash, melted butter, everything bagel seasoning or sesame seeds to top the rolls before baking.
METHOD:
Add water , sugar, and yeast to the bowl of your stand mixer. Allow this to begin to bubble to test the yeast.
Meanwhile, in another bowl measure by gram weight and mix together the lupin flour, vital wheat gluten, and oat fiber until combined. Set aside until later.
If your yeast is proofed, then add the dough hook to your stand mixer and slowly add the JUSTeggs on low speed until mixed.
Now add 1/2 of the flour mixture we sat aside above. Let the dough hook in the mixer run on low for 3 minutes. Then add the remaining flour mixture and let the mixer’s dough hook run on low for another 12 minutes. (Great time to clean up and put things away!)
Add the real salt and softened butter. Allow both to mix in well. The dough should not be greasy if the butter is mixed all the way in. Keep mixing longer if the dough feels greasy.
Remove the dough hook from the mixer. Cover your mixing bowl with the dough in it with a clean towel and allow to rest 30 minutes.
Remove dough from bowl. Turn out onto a cutting board. Cut in to 8 equal sized portions.


You must be logged in to post a comment.