Dairy Free Sprinkle Cheese

This recipe produces a  “cheese” powder you can store in an air tight jar and then sprinkle on foods as a topping, much like store-bought Parmesan cheese, but with out dairy or nightshades, which are common in other products.

Besides using this recipe as a sprinkle-on seasoning, you can also turn this recipe into a quick cheese sauce. To do so, simply add 4 TBSP of the powder to 4 TBSP of butter in a pan over medium heat. Then add cup of liquid (broth, water, “milk”, etc). This recipe easily scales up or down, as needed. Use it in making Alfredo style sauces too.

INGREDIENTS:

METHOD:

  1. Grind the thyme into smaller flakes or powder.
  2. Combine all of the ingredients together.
  3. Store in an air-tight container at room temperature. Consider adding to a well-labeled recycled spice jar with a tight-fitting lid, to use as a sprinkle on topping over favorite food
Pictured is a quick, go-to, freezer meal including: 7-Spice meat balls, zucchini, 2 TBS Faux Tomato Pasta Sauce, steamed until fork tender sprinkled with salt, pepper, and sprinkle cheese sauce for a quick meal.

CREAMY SAUCE INSTRUCTIONS:

To make a cheese-like sauce, you will need to add to a sauce pan over medium heat 4 TBSP of the “cheese sauce” powder mix, 4 TBSP of butter. Allow this to cook until fragrant and all of the butter is melted and mixed well into the “sauce” mix like you would to make any traditional Roux gravy. Once the roux is fragrant, add 1 cup of liquid. For the liquid pick what ever makes sense for the use you are making the sauce. If you want creamy mac-n-cheese style sauce, consider using a plant based milk. If you want to flavor it with meat or veg, consider using bone broth or veggie broth. If you are short on time or don’t have any thing else on hand in your pantry, use water. It is still good!

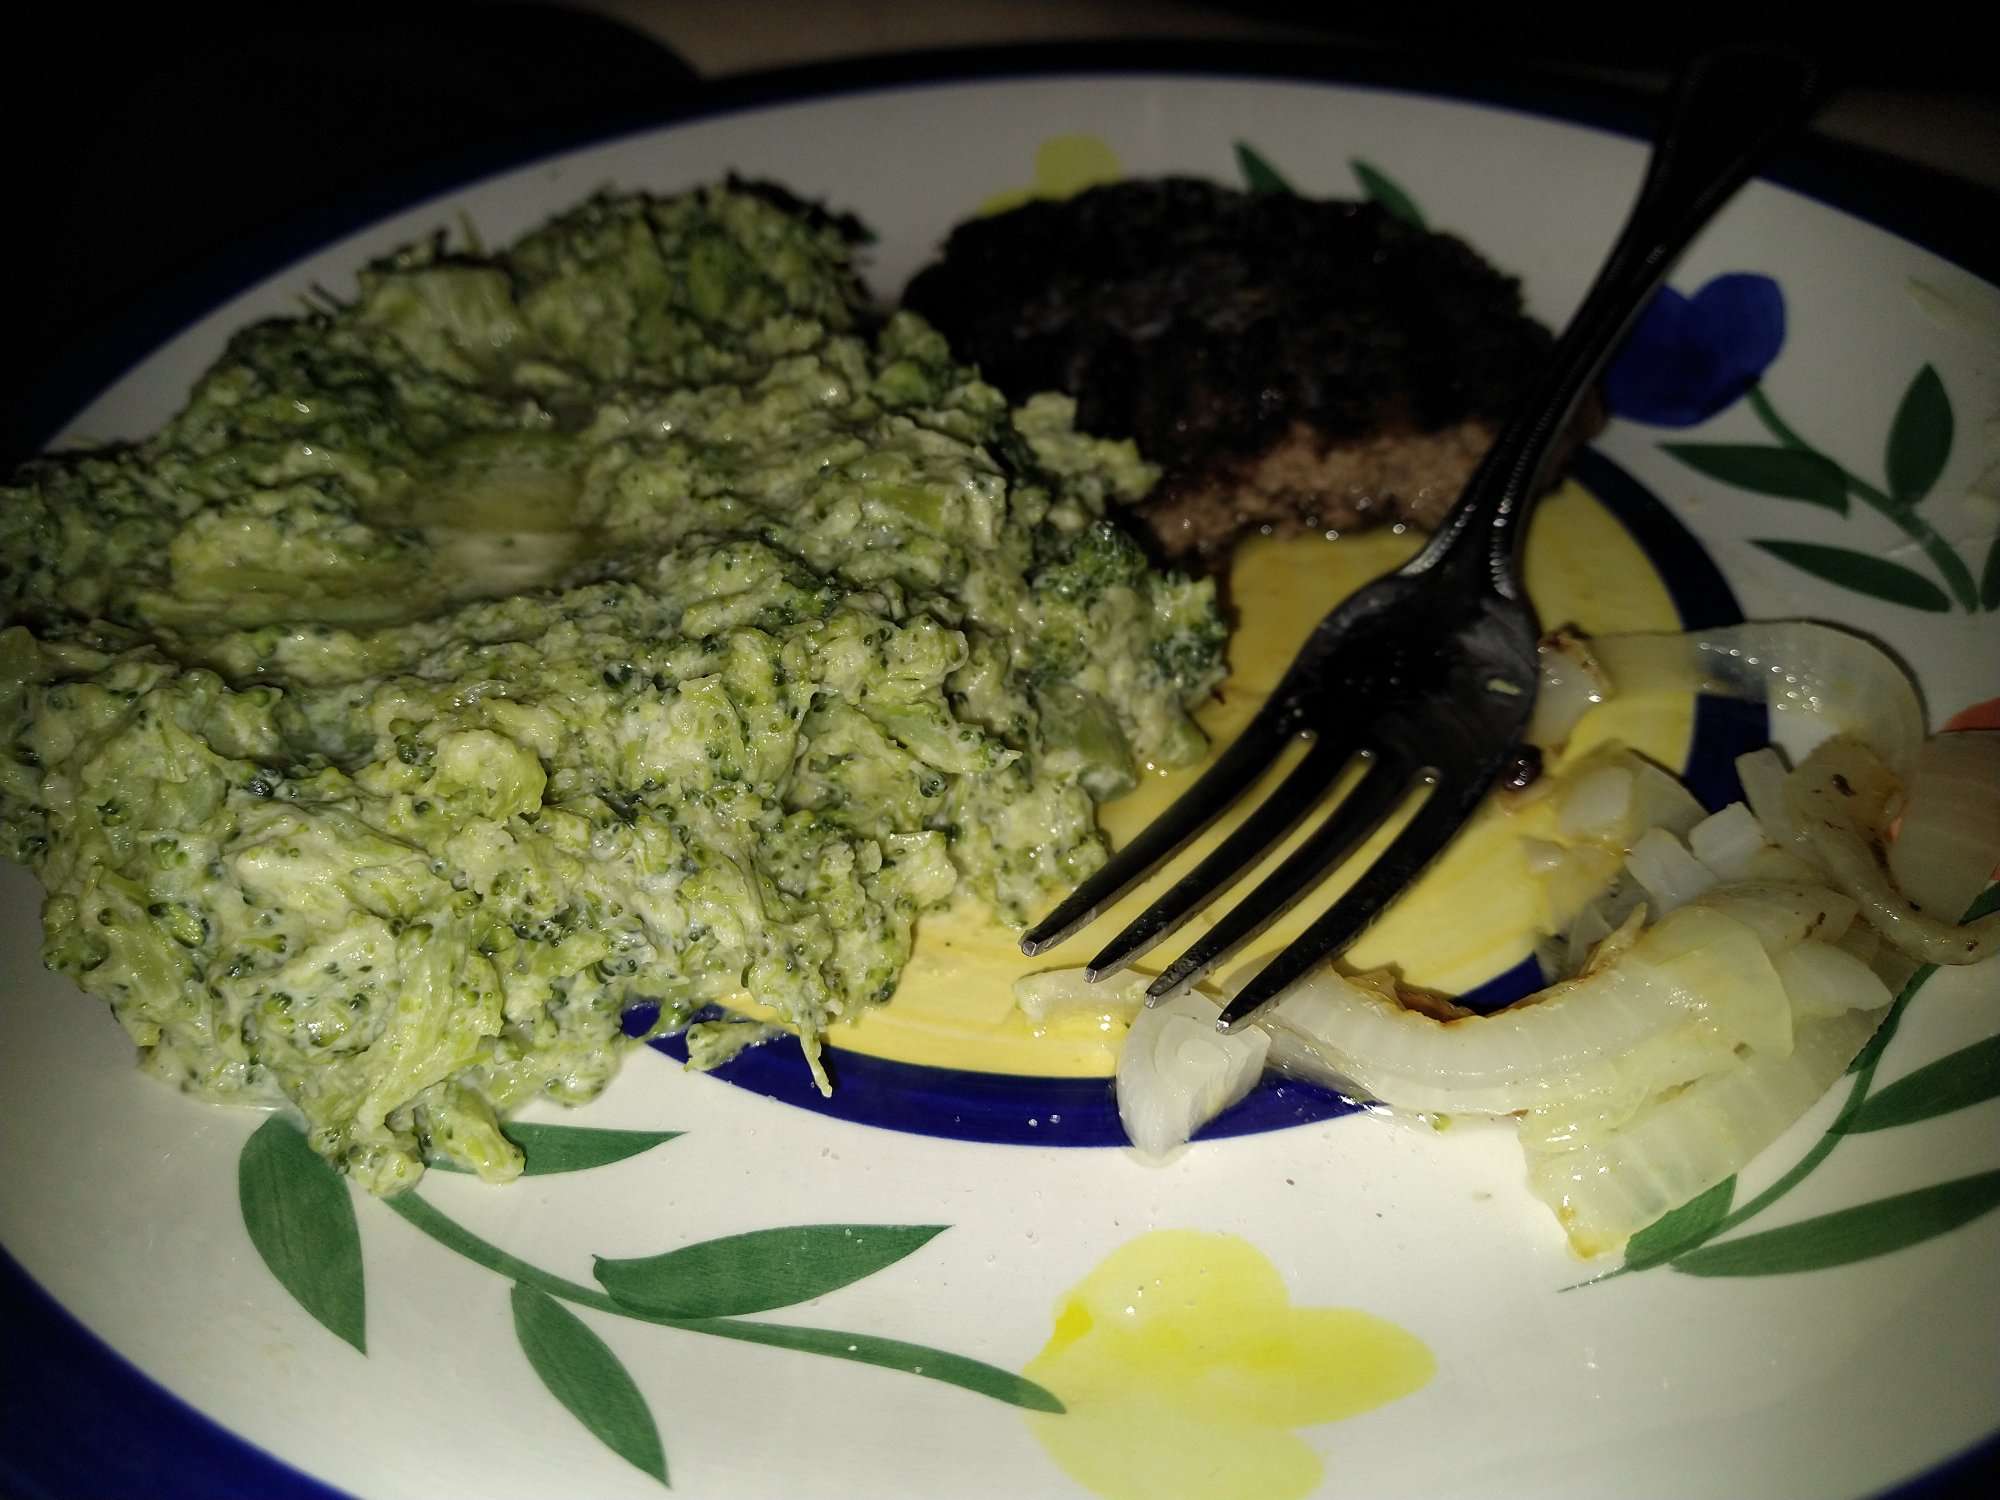
The creamy sauce pairs nicely with so many things! You can use it as a cheese sauce for dipping veggies and crackers into. You can use it as a salad dressing for taco salad. You can pair it with poultry, beef, or sausage. You can use up left over veggies such as cauliflower or broccoli or other yum veg with this sauce. It pairs really nice too with home made sausage. And one of my favorites is cauliflower or broccoli rice! YUM!

To turn left over veg, such as cauliflower rice, into the most delicious cauliflower rice you’ve ever tasted follow these steps: start with cold, refrigerated left over cauliflower rice (or other cold, left over veggies–if your veggies are too large, don’t worry, you can “chop” them into the sauce to smaller, bite-sized, pieces to amalgamate the flavors and different veggies into a flavorful way to eat up left overs). Make up the Creamy Sauce as instructed above, toss in the left over veggies, blend and serve. This makes a nice lunch, too, if you have too little of a portion of left over (meat) added to the dish to use everything up. Serve while hot and enjoy.

Left over broccoli “riced” with this cheese sauce served with onion style “noodles” and beef patty.

VEGAN: This recipe is very easy to turn into a vegan recipe. Simply swap out “butter” for vegan butter or a neutral flavor oil when making the sauce use a plant-based milk or water.

RESULT: This is a basic go-to recipe which I’ve re-made many times since first giving it a try. One note: it is claimed by other health care experts that fortified nutritional yeast vs unfortified, natural, nutritional yeast makes a big difference in health; however, as I’ve not studied it out for myself and the only brand of nutritional yeast available to me in my local market is not fortified, but naturally rich in nutrients, I didn’t bother to research this topic out–but if your nutritional yeast is fortified, you may want to do so before using it in this quantity, especially if you have people in your life who are allergic to several things, have autoimmune, or other health issues already.

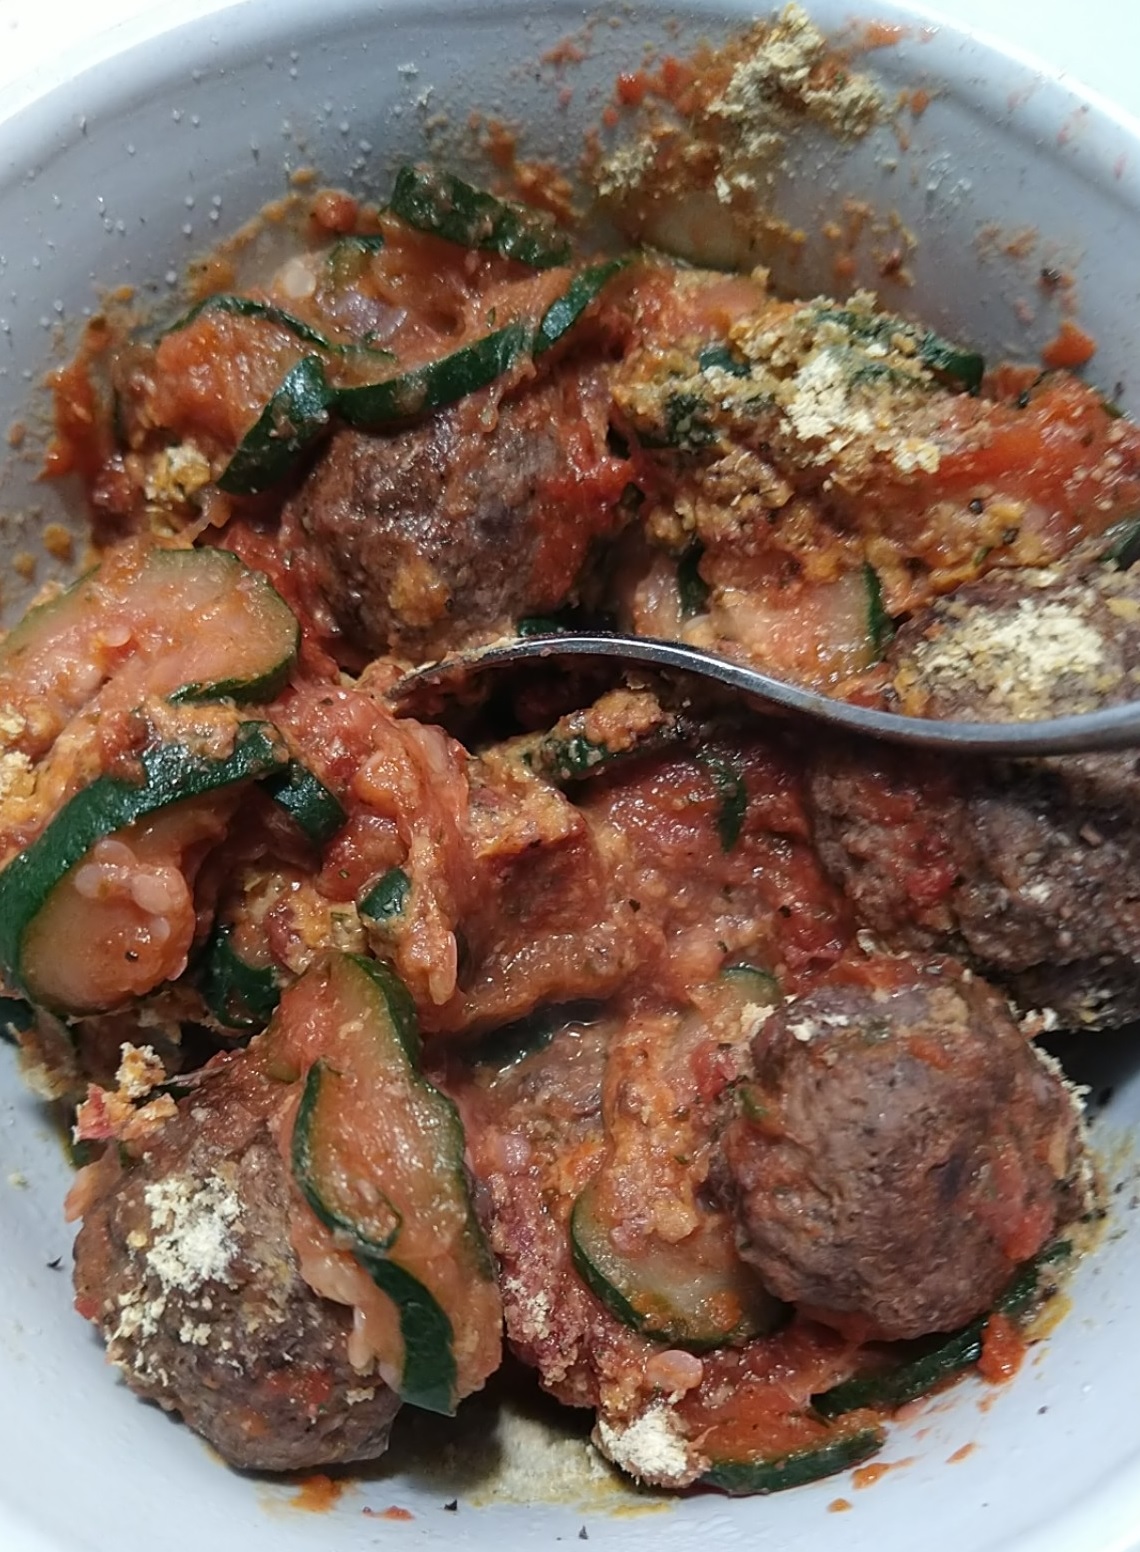
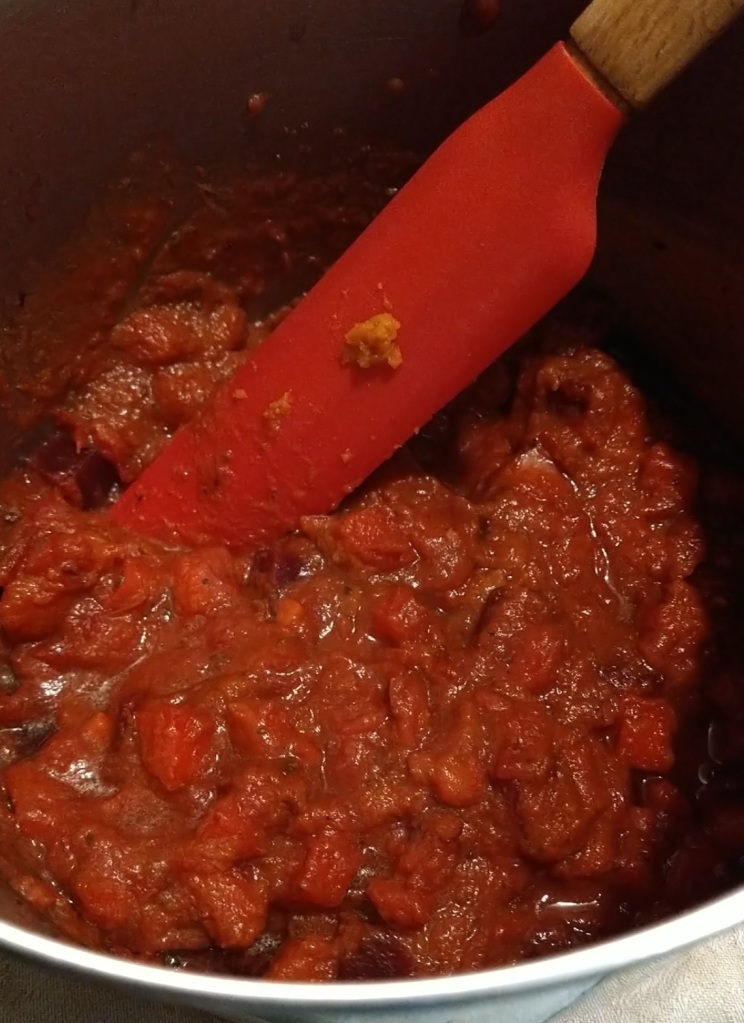
Another use of this sauce: you can make a cheeseburger hamburger-helper type of meal, making up this cheese sauce, adding a cooked protein (beef, turkey, kidney beans, and so on) and adding pasta or a pasta substitute (cauliflower for example) and then adding seasoinings and/or veggies, as desired.

Breakfast Cookie

This can be rolled, shaped, or even baked as bars.

INGREDIENTS:

  • 1/3 cup hemp seeds.
  • 1/2 cup shredded coconut (unsweetened)
  • 3 eggs (for egg-free use 3 TBSP arrowroot in 9 TBSP water)
  • 1/4 cup coconut flour
  • 1/4 cup coconut oil (melted, cooled)
  • 2 tsp pumpkin pie spice
  • dash of salt
  • 1/4 brown sugar substitute
  • 1/3 cup add in (options include chopped nuts, such as walnuts or macadamia; chopped chocolate chunks, crainraisins, raisins, chopped fruit)

METHOD:

  1. Preheat oven to 350.
  2. Line a baking sheet. Set it aside.
  3. Mix together coconut oil and eggs.
  4. Add dry ingredients. Mix well. Allow dough to rest 10 minutes.
  5. Shape into cookie shapes. Makes 12-14 cookies.
  6. Bake for 15 minutes.

I have made this recipe several times with lots of different options. The only note I would make is if you make a stir-in optional choice which is more dry, or your coconut ingredients are more dry than other times, you may need to add a dash of coconut milk or water before shaping your cookies. If you make them as bars, it is so much quicker, but then you have to play around a bit with the time to bake them.

Chia Seed Wraps (Epic Fail)

This recipe is very simple to make but not worth the effort, time, dishes to clean after making it, or the flavor. Using a lettuce-wrap is far superior to the poor taste of this “wrap” AND it may be unhealthy, too. Why? While the wrap is cooking, before it full dries out enough to eat (if you try you will soon discover the wrap is still chia-seed slime in the middle) it starts smoking like bad oil burning. It doesn’t taste like it burned, but it looks like its having a problem with heat. Cooking another one on a lower heat, didn’t prevent that from happening.

Wet, even after cooking, flexible, but it tastes like slimy chia.

INGREDIENTS:

  • 1 Cup Water
  • 1 Cup ground chia seeds
  • 1 pinch salt

METHOD:

  1. Begin by placing 1 cup of water in a pan over medium heat.
  2. Add a pinch of Real Salt.
  3. Meanwhile, while you are awaiting the water to boil, grind 1 cup of chia seeds into powder.
  4. Add the powder to the boiling water and stir vigorously.
  5. Divide the resulting dough into 4 portions.
  6. Roll 1 portion at a time between two layers of parchment paper.
  7. Cook in a dry, well seasoned pan. Turn when finished cooking on one side. Enjoy.

NOTES:

  • there are a number of pinterest pins of this “wrap” and also several channels with videos of this being made.
  • my original thought was that perhaps adding some soy sauce or liquid aminios to the water, before it boils, and adding a small amount of ground caraway seeds may make this taste like a rye bread flavor. i didn’t try it.
  • the pan needs to be very well seasoned as otherwise this dry cooking method will cause the wrap to stick to the pan and cause an awful mess.
  • its hard to get this off the parchment paper after rolling it. it sticks. it sticks to its self.
  • the end result is a rollable, foldable, bendable wrap which tastes exactly like chia seeds.

Everything “Bagels” (Epic Fail)

Today, I tried a very popular (in terms of the number of times I’ve seen it on various people’s Pinterest accounts, YouTube channels, and blogs) but for me it was an EPIC FAIL! This recipe isn’t even worth washing the dishes it created!

EPIC FAILURE:

Why is this recipe a waste of time, effort, and ingredients? Because the sweetness of coconut with the garlic/salt of the everything bagel seasoning was too much of a mash up. Speaking of mash up, the pre-baked dough literally looked like and tasted like mashed potatoes. Even after baking, while it looked more like cake, it still tasted like lattkes or smashed spuds. The texture was also rubbery. Having said that, I am still blogging about this recipe as a way of recording that I’ve tried this recipe as I don’t want to try it again, by mistake.

TIPS OR TWEAKS?

It could work, perhaps as: a. muffins instead of trying to parade its self as bagels. b. as spiced sweet such as cinnamon (raisin), pumpkin spice, or apple pie spice, or even classic spice blend together like an old-fashioned spice-cake. These do not rise much so perhaps making them in a ramekin or muffin tin would work better where the “molds” could hold more batter than the small donut pans. It tasted best with some butter on it.

INGREDIENTS:

  • Faux Eggs (to replicate 3 eggs use 3 TBSP arrowroot powder dissolved into 3 TBSP water)
  • 1/2 cup plus 1 TBSP coconut flour
  • 3/4 cup coconut milk
  • 3 TBSP coconut oil
  • 1 TBSP gelatin powder (unflavored)
  • 1/4 tsp baking powder
  • 1/4 tsp salt
  • 1 tsp melted butter
  • everything but the bagel seasoning

METHOD:

  1. Mix together in a small bowl, 3 TBSP arrow root into 9 TBSP water. Stir well and set aside for 15 minutes. Stir before using as an “egg” replacement (or simply use 3 eggs below where this egg replacement is called for in the recipe).
  2. This recipe yields 6 servings so lightly grease a six-hole donut pan with coconut oil.
  3. In a bowl, mix together coconut flour, gelatin, baking powder, and salt until well blended and any clumps are broken up.
  4. Add in wet ingredients (“faux eggs” coconut milk and coconut oil); mix well to combine.
  5. Distribute dough into donut mold pan.
  6. Brush tops of donuts, before baking, with melted butter and sprinkle on everything bagel seasoning.
  7. Bake at 350 for 30 minutes (toothpick will come out cleanly)

Pasta Sauce (Tomato Free)

Also known as “Italian Gravy” pasta sauce is traditionally made by cooking down tomatoes (a nightshade plant family), reducing the liquid, and adding a number of Italian seasonings. This experiment is a night-shade free version. It is pretty good–sort of like mystery meat in the cafeteria: you can eat it just fine, but you know its not quite chicken, or beef, or pork or what ever the TVP is imitating.

SOURCE: I saw there are MANY versions of this recipe (sometimes also called “nomato sauce” online at various cooking sites, recipe databases, YouTube, blogs, and Pinterest. Yet I decided to go first with the Cotter Crunch recipe because I had all the ingredients on hand. There are a number of versions, even within her website’s recipe, and I haven’t yet tried all of them–but I will! I highly recommend reading her thoughts on the various ingredients and why she included them (read those here). Recording the results here so I remember which ingredients worked best for the people I make meal for their enjoyment.

INGREDIENTS:

  • 2 TBSP EVOO (best quality you can afford as this plays a vital role in the flavor–also, don’t substitute it for some other kind of cooking oil)
  • 1/3 Cup minced yellow onion
  • 1/3 Cup minced red onion
  • 4 cloves garlic
  • 1 Cup Beets (peeled and diced)
  • 1 Cup Carrots (scrubbed and diced)
  • 1 tsp Italian Seasoning
  • 1 tsp Oregano
  • 1 tsp dried Parsley
  • 1 Cup Bone Broth (or filtered water) divided, used at different times.
  • 1/2 Cup Bone Broth (or filtered water) divided, used at different times.
  • 1 Cup Pumpkin Puree (this leaves 9 TBSP left over from a standard can of pumpkin–which I measured into 1 TBSP portions and froze on a silicone mat in the freezer before removing and storing in an air-tight labeled container in the freezer for convenient portion sized servings without wasting any)
  • 1 TBSP lemon juice (fresh squeezed) * see note
  • 2 tsp balsamic vinegar * see note

METHOD:

  1. Begin by putting the olive oil and onions in the bottom of a sauce pan. Heat over medium heat until beginning to brown. Add garlic. Continue to sauté a few moments until garlic is fragrant.
  2. Add bone broth, cubed carrots and beets, dried spices: Italian seasoning, oregano, and parsley. Cover and cook for 30 minutes over medium heat. Test for “fork tenderness” before proceeding. Cook longer, if needed. Remove from heat.
  3. Add 1/2 cup of bone broth and the 1 cup of pumpkin puree to the pan. Use stick blender to carefully blend this mixture. Use caution because it is HOT!
  4. Stir in lemon juice and balsamic vinegar.
  5. At this stage you can freeze a portion or two, or go ahead and use it in the recipe you intend to use it for. Comments from other users state it is excellent over: cassava noodles; zoodles (specialized zucchini); over spaghetti squash; made into meat sauce with celery, onions, and cooked & drained ground beef to mix together with cooked macaroni style noodles; or in a low-carb lasagna soup with spinach or kale or both.

After cooking but
before blending

NOTES and TIPS:

  • Extra Virgin Olive Oil: This ingredient is super important to the quality or outcome of this recipe. You’re going to be cooking these ingredients in the olive oil. For this recipe, purchase the best tasting, freshest, imported olive oil you can afford to purchase.
  • Onion: The original recipe didn’t call for the specific blend of onions I used–I was just using what I had on hand to use up produce before it went bad and I’m recording the exact way to replicate the recipe, as I originally made it.
  • Carrots: Organic, of course! I didn’t peel mine. I skipped that step, but I used a stiff veggie brush to thoroughly scrub them, which removes the “fuzzy” root hairs and much of the peel without the added step of peeling the carrots, and thus preserves the nutrition in the peel, too. It didn’t make the end product “hairy” or any other “bitter” sign of having left on the peel. It is a very small amount of carrots in the recipe.
  • Garlic: My cloves of garlic were a few left over from the bunch I purchased last for the Passover celebration. I wanted to use them up, and they were small, so I peeled 4 of them and minced them to add to the sauce. In my opinion, the resulting sauce could have used more garlic. And more basil.
  • Water to thin: I used left over bone broth from making additive-free lunch meat earlier in the week but any type of liquid will work. Don’t have bone broth or liquid? Then boil the peels of the onions and carrots, you minced above into the desired amount of water, to make some while you are sautéing the onions in the the EVOO. Taste to adjust for saltiness as homemade broth and/or water can be significantly less salty than store bought. Likewise if you are reheating this recipe as left overs, you will likely want to add more water or bone broth to the recipe while reheating. Frankly, because this is true, I wouldn’t worry too much about getting the base recipe perfect, water content wise, as the left over portions will need water to perfect and if you over pour slightly, you can always “reduce” down the liquid. Makes the sauce taste great!
  • Parsley: I didn’t have fresh parsley on hand when i made this recipe the first time. However, it would taste BETTER with it! I highly recommend using fresh parsley. That’s especially true when re-heating this recipe (leftovers).
  • Pumpkin: The recipe will leave exactly 9 TBSP left over from a standard can of pumpkin–which I measured into 1 TBSP portions and froze on a silicone mat in the freezer before removing and storing in an air-tight labeled container in the freezer for convenient portion sized servings without wasting any. I’m going to consider purchasing enough ingredients to make this recipe turn out “even” in terms of the number of cans required to not have any left over, and then freeze the unused portions. I’ve seen other recipes substitute pureed squash (butternut) or yams/sweet potatoes if you don’t have pumpkin on hand (I am reminded my Australian friends don’t have canned pumpkins as Americans do). While it is easy to cut pumpkin in cubes, freezing them for later use like this recipe, it may not be available everywhere, or all the time.
  • Don’t skimp on the flavorings.
  • Nutritional Yeast: When reheating some of this sauce for “left overs” I sprinkled atop some of the instant cheese sauce I had on hand, salt, and pepper and it worked. Not the same as Parmesan cheese but dairy-free and allergen-free pretty close. An even better alternative to Parmesan cheese is this dairy free, but tasty recipe.
  • TOMATO PASTE SUBSTITUTE: This entire recipe tastes a bit like cafeteria food, but good. The texture before adding the additional bone broth was PERFECT as a substitute for tomato paste. I highly recommend freezing one batch of this recipe, perhaps with less flavoring added, just to use as a tomato-free substitute for tomato paste in recipes you used to enjoy before you couldn’t have nightshades. I am going to work on this for my favorite “Enchilada” sauce and for making dishes like American goulash, lasagna, sloppy joes, and ketchup.

SERVING SIZE: this made six meal portions of sauce and a lot of people sampled it too! This freezes well and thaws well only when it is thawed it really needs the lemon juice and balsamic vinegar added back in.

One serving suggestion: Lasagna Soup. Another serving suggestion: spaghetti with making a meat sauce, adding this sauce and serving it over zoodles (spiralized zucchini).

Herbed Pilaf (Keto Style)

Tasty. Simple. Nice “side”.

INGREDIENTS:

  • 1 TBSP minced red, green onion, or fresh shallot
  • 1-3 garlic cloves (peeled and minced; i used one)
  • 1 TBSP butter (or olive oil for vegan)
  • 1/4 tsp Italian Seasoning
  • 2/3 cup hemp hearts
  • 2 TBSP water, bone broth, or veggie broth
  • 1 1/3 tsp fresh parsley chopped

METHOD:

  1. Dice garlic cloves and red onion. Set aside.
  2. Add butter to non-stick skillet over medium heat.
  3. Saute onion 1-2 minutes in butter.
  4. Add garlic and Italian seasoning. Saute 30 seconds longer. This should be really fragrant now! Yum Yum!
  5. Add hemp seeds. Stir well to mix in the seasonings.
  6. Add brother (or water). Continue to cook, while stirring, until the brother (or water) has evaporated and the hemp heart seeds are fluffing up/drying out. This takes about 7 minutes.
  7. Add 3 teaspoons of parsley and transfer to serving bowl. Top with remaining parsley as a garnish.

TIPS:

  • This works just great as is. There are things which can be done to modify its flavor to your personal preferences, or meal plan.
  • Pairs lovely with fish, or any protein. Pairs nicely with many different veggie sides.
  • May be a nice replacement for rice, for those not into cauliflower rice.

Serving Size: 1/3 cup each. Makes 2 servings.

SOURCE: I found this recipe on many pinterest and blogs; however, most people claim it was originally from the Atkins website. I did indeed find a version of it there which looks pretty similar. My personal twist is the water. I tested this recipe using water, instead of opening up and/or making broth for such a small quantity and it worked just fine with water instead of the more nutritious broth. The Atkins website also has a feature by which this recipe can easily be scaled to feed more people than 2 servings, as the version I found and made is only for 2 people. That seemed about right. It turned out about 3 to 3.5 servings with a protein and veggie side served along with this.

Breakfast Sausage Patties (Turkey)

This recipe, while super easy to make, and fabulous in its texture, is nothing special. It left me less than impressed. It may be worthy of tweaking, or I may find another recipe which is better. Nevertheless, recording I recently made it, how I made it, so I don’t duplicate efforts.

INGREDIENTS:

INSTRUCTIONS:

  1. Assemble all of the ingredients.
  2. In a bowl, combine all of the spices and mix well.
  3. Drain any blood from meat package, and combine meat with seasonings in the bowl.
  4. Divide into 6 portions.
  5. Cook on a griddle pan, a few minutes each side until the edges are done and no longer pink, then flipping and cooking the second side for the same time on the additional size.
  6. Drain off blood and grease while cooking. A serving size is one patty.

TIPS:

  • The fennel seeds, whole, in this recipe seemed a bit too sparse to taste throughout. If I made this recipe again, I would either increase the amount of fennel, or crush it or grind it, before adding to the recipe.
    • For my taste buds, the maple syrup was too sweet in this recipe and not needed. If I make this again, I’d leave it out.
    • The salt/pepper taste was too mild. This is what makes the sausage, sausage. If I made this recipe again, I would increase both.
    • This recipe could benefit from increasing the spices ratio to meat.
    • This recipe works well for “breakfast sandwiches” or for things like faux fried potatoes (cooked up with onions, green cactus, turnips and sausage; with or without kale or spinach tossed in)
    • While I did not attempt to freeze this recipe, it appears to be something which could easily freeze/thaw quite well without any issues.
    • It cooks up super nice! It is so easy. It holds together well.

Carrot Fries

This is a simple to make, tasty snack or nice side to a meal.

INGREDIENTS:

  • 1 pound organic carrots
  • 2 TBSP Olive Oil
  • 2 TBSP Tapioca Flour
  • 1 tsp salt
  • 1/2 tsp black pepper
  • 1/2 tsp onion powder
  • 1/2 tsp garlic powder
  • 1/2 tsp dried thyme

METHOD:

  1. Preheat the oven to 450 degrees.
  2. Prep a baking sheet with either a silicone mat, or parchment paper liner. Set aside.
  3. Wash carrots, scrubbing the exterior to remove any dirt or blemishes. Peeling is not necessary.
  4. Cut into shoestring or matchstick sized pieces. Try to cut the pieces to approximately the same time so they finish cooking at similar times.
  5. Coat cut carrot “fries” with all of the remaining ingredients. Mix well to ensure everything is coated well and well mixed in.
  6. Spread the carrot fries on your prepared pan in a single layer without any overlap.
  7. Bake until the fries are at the desired texture. Turn at about 1/2 way so both sides crisp up.

YIELD: 4 servings. According to the CM app, each1/4 lb serving has 120 calories and 11 net carbs.

NOTES:

  • These amazingly do not taste like carrots!
  • They are a great side dish of their own.
  • They taste better than sweet potato fries.
  • Baking time may vary on the size of your carrot slices, as well as oven differences. Watch closely.
  • These are good on their own, or with any of your favorite dip or condiments.
  • I served these along size a classic burger, and zucchini salad.

Granola Bars (Hemp Seeds)

Want a simple, yet satisfying snack or grab-and-go breakfast idea? Then here is the recipe for you.

INGREDIENTS:

  • 1 Cup Hemp Seeds
  • 1 Cup Pumpkin Seeds
  • 2 TBSP Chia Seeds (if the texture of chia bothers you, consider grinding these in a coffee or spice grinder)
  • 1 Cup Unsweetened Coconut Flakes
  • 4 TBSP Coconut Oil (or butter)
  • 1 Cup Sunflower Seed Butter (or other nut or seed butter)
  • 1 Cup Walnuts (or any combination of nuts equaling one cup measurement)
  • 8 Packs Sweetleaf Stevia
  • 1 tsp cinnamon

METHOD:

  1. In a bowl, mix together all ingredients. Blend together well.
  2. Press mixture evenly into an 8×8 silicone pan or a lined with parchment paper pan.
  3. Place in freezer.
  4. Once frozen, take bars out of the freezer. Remove the granola block from the silicone pan. Cut in half, forming two portions. Continue cutting each portion in half to form 16 granola bars of equal size.

NOTES:

  • You can eat these straight out of the freezer. They do not freeze “hard” so they are eatable. I wouldn’t even bother keeping them in the fridge. Simple package them into an air tight container and store them, well labeled, in the freezer.
  • There is a LOT of flexibility in this recipe. Potential add ins can switch up the flavor (and the carb count). Try some different combinations. Some things to try: Pistachio nut-butter; macadamia nuts with cranraisins; walnuts with raisins; a stir in of chopped dark chocolate or coating the outside with melted chocolate along one edge.

Seasonings: Garlic Salt (Organic)

If you have not tried it yet, the Simply Organic Garlic salt is an excellent product. Why?  It tastes great and is the perfect blend between the seasonings, making it extremely versatile!  Use it on salads, croutons, a dash ontop of spread butter, in baked goods as well as while cooking. But, having said that, my local store doesn’t sell it! The cost to purchase it online and have it shipped is ridiculous, and the drive to the “nearest” grocery store which does carry it is ridiculous — especially given the cost of gas, and the drive time, these days. Viola!  Homemade Organic Garlic Salt is born.

INGREDIENTS:

  • 2 TBSP Parsley
  • 5 TBSP Garlic Powder
  • Real Salt, or Sea Salt
  • Funnel
Blend of parsley, garlic, and real salt.

Using your funnel positioned over a clean, empty, dry recycled Garlic Salt or other container, carefully measure 1 to 2 TBSP of dried organic Parsley into the container. NOTE: if you want the final product to easy flow through the normally included top, with those pretty tiny holes, you will need to grind your parsley a bit smaller to fit.

Next, measure approximately 4 to 5 TBSP of Organic Garlic powder into the container, depending on your taste preferences.

Now fill the rest of the container with salt. Be sure to leave some head space at the top of the jar, so later you can mix it well to incorporate all of the spices well. 

Store in an air-tight container. Enjoy! 

Final results.

Gathering and Collecting Goodies

Design a site like this with WordPress.com
Get started