“Caesar-Style” Salad Dressing (Vegan)

This vegan salad dressing is you ceasar-style but dairy-free and anchovy free.

INGREDIENTS:

  • 1/3 Cup Coconut Yogurt (or other non-dairy based yogurt)
  • 1 TBSP Olive Oil
  • 1 TBSP Lemon Juice
  • 1/2 clove of Garlic
  • 1 tsp capers, minced
  • 1 tsp brown mustard seeds
  • black pepper (I used 2 twists, fresh cracked)

METHOD:

  1. Place all of the ingredients into a blender.
  2. Whirl.
  3. Taste. Add pepper to taste. Adjust seasonings, as needed.
  4. Enjoy right away, or store in an air-tight container in the fridge.

NOTES:

This is good served over romaine lettuce. But it is also good as a salad dressing over any greens. Capers grow in a plant family which is closely related to cabbage and mustard. Capers give this vegan dish its saltiness, which is a substitute for anchovies which are traditionally used in the non-vegan version.

Tzaziki Sauce (Dairy Free)

This sauce can be made with dairy, by choosing dairy-based yogurt as the main ingredient, or dairy free using coconut-based or soy-based yogurt. Adjust the seasonings accordingly. Make in advance, to allow the flavors to blend best in the fridge.

INGREDIENTS:

  • 1/2 Cup Yogurt (dairy free: coconut or soy based; or greek yogurt for dairy option)
  • 1/2 Cup grated cucumber (peeled or unpeeled per personal preference)
  • 1 TBSP Olive Oil
  • 1 clove pressed Garlic
  • 1 tsp dried dill
  • 1 drop YLEO Peppermint
  • 1 TBSP Lemon Juice

INSTRUCTIONS:

Mix all ingredients together and refrigerate at least a few hours, if not over night, before using to make shawarma, falafals, kebabs, or salads based on these flavors.

7-Spice Kebabs

This recipe has a Middle-Eastern taste to it. If you haven’t tried Middle-Eastern foods, it is a good recipe to try. The recipe is very versatile as this spice blend tastes great with a wide variety of protein choices including: lamb, beef, turkey, chicken, chickpea, etc. Try them all and see what your favorite combination is–as well the 7 spice blend in this recipe is nice as a seasoning on various vegetables, especially drizzled with olive oil and roasted. Optional: serve with rice (cauliflower) and tzatziki sauce, if desired.

INGREDIENTS:

  • 1 lb of protein (ground or minced meat, beans, etc)
  • 1/4 cup Parsley, chopped
  • 1/4 cup Red Onion, minced
  • 3 cloves Garlic, minced
  • 1/2 tsp Real Salt or Sea Salt
  • 1/4 tsp Coriander Seed
  • 1/4 tsp Cloves
  • 1/4 tsp Black Pepper
  • 1/4 tsp Cinnamon
  • 1/4 tsp All Spice
  • 1/8 tsp Nutmeg
  • 1/8 tsp Ginger

DIRECTIONS:

  1. Mix together all dried spices.
  2. Chop and mince parsley, onion, and press garlic cloves.
  3. Mix spice and herbs into protein source. Mix longer than you think you will need to do so to ensure the flavoring is equally distributed.
  4. Portion the mixture into 1 ounce servings and shape, either as a meatball shape or more elongated per your personal preference.
  5. To enjoy immediately: bake at 400 degrees until done. To enjoy later: freeze in a single layer on a baking sheet in the freezer; then store in an air tight container in the freezer to have an easy Go-To meal or snack option available.

Seasonings: Herb Seasoning Salt

Simple. Useful.

INGREDIENTS:

  • 2 TBSP Salt
  • 2 TBSP Oregano
  • 2 TBSP Thyme
  • 1 TBSP Sage
  • 1 TBSP Chives
  • 1 TBSP Garlic
  • 1 TBSP Onion
  • 1 TBSP Parsley

INSTRUCTIONS:

  1. Gather ingredients.
  2. Blend together. I ground mine in a coffee grinder devoted to this purpose of grinding herbs, seeds, and spices.
  3. Store in air tight container.  Use as a general all-purpose seasoning.

Yield:  one conventional-sized spice jar.

Product Review: Maille Old Style Mustard

My local grocer store carries as its cleanest, nightshade-free, mustard (most brands have paprika added, which is a nightshade) this Old-Style Mustard.

PROS:

  • Comes in a reusable convenient glass jar without plastic/PBA exposure.
  • Has fairly clean ingredients, with the only better being making your own at home.
  • Convenient.
  • Easily available locally.
  • Small enough to take with you when you are going to be out and about.
  • Easy to use.
  • Made in Canada.
  • Gluten Free for those who are looking for such products.
  • Type of vinegar (could be a pro or a con depending on people’s allergens).

CONS:

  • Prefer to avoid ingredients such as “natural flavorings” which can hide all kinds of corn, MSG or other related derivatives.
  • A bit expensive (especially compared to making your own).
  • Needlessly contains “Sugar”
  • Type of vinegar (could be a pro or a con depending on people’s allergens).
  • Lactic acid. Fermented products are great, except for those who are sensitive to them.

Lemon Poppy-Seed Dressing (Vegan)

Easy. Quick. Tasty. Basic go-to recipe which you can rely on over and over again.

INGREDIENTS:

PROCESS:

  1. Gather blender, measuring equipment, a clean bottle for the final salad dressing, and the other food ingredients.
  2. Put all ingredients, except the reserved poppy seeds, into the blender.
  3. Blend ingredients until mixed together well. My mixture turned red! Wow, hm? Pretty pink-red color. Taste and see if you need to adjust any of the spices before continuing.
  4. Gently stir in the Poppy Seeds.
  5. Use right away, or store in fridge in an air-tight container. Enjoy within the week as this recipe has no preservatives. The flavors mature best overnight.

YIELD:

This recipe fits perfectly in a “bullet blender” style blender and refills a repurposed glass salad dressing bottle perfectly. As it is super flavorful, you don’t need much to flavor an entire salad or a veggie plate.

NOTES:

  • The olive oil I used is all natural, so when you start to make your salad, set out this dressing to allow it to return to liquid state as the quality olive oil will solidify in the fridge.
  • For me, 1/2 cup of lemon juice was about 3 organic lemons.
  • Wash and roll the lemons prior to juicing them. Rolling them under the palm of your hand releases more juice. Washing them means you can save the peels for: 1. freezing and using with your zester as needed in recipes 2. cutting and prepping for candied citrus peels 3. dehydrating to use in recipes like Lemon Pepper Seasoning.
  • If you are making this recipe sugar-free, try using simple syrup made with your favorite sugar-free sweetener.
  • 1/4 cup of minced onions was way too much for me. I think next time I will go just shy of 1/4 cup minced onion.
  • This pairs nicely with a crunchy salad, spinach, or even as a veggie dip if you catch it at the right “thickness” from the fridge.
  • For the convenience of those living in Texas, and myself, I’ve linked to the products used in making this recipe so I can more easily re-order them when I run out and want to make this recipe again. It is also available on Carb Manager for tracking/nutritional info.

Savory Crackers

This recipe is a trial of turning various recipes I’ve viewed online into an allergen-friendly recipe based on the allergens I’m making meals and meal plans around based on the folks in my life who have various allergies and sensitivities.

INGREDIENTS:

  • 1 cup freshly GROUND sunflower seeds.
  • 4 tsp nutritional yeast
  • 2 tsp psyllium husk powder
  • 1.5 tsp italian seasoning powder
  • 1 tsp salt
  • 1 tsp garlic powder
  • 1 tsp onion powder
  • 1/4 cup boiling filtered water

METHOD:

  1. Begin by measuring all of the dry ingredients into an appropriate sized bowl.
  2. Mix together dry ingredients well.
  3. Add boiling water.
  4. Mix together well to incorporate all dry ingredients into water. Press together until it forms into a dough ball (it may be a bit sticky–that’s okay)
  5. Allow “dough” to rest for a few minutes.
  6. Place dough ball on baking tray between either two pieces of parchment paper or two silicone baking mats. Roll out thin. Now you can leave it whole and bake it that way (watch closely this is going to require longer baking by a few minutes), score it to break easily, or cut it into bite sized crackers. Any method works great depending on how you are going to use it later.
  7. Bake until desired done in a 350 F degree toaster oven. Cooking time may vary on each batch.

NOTES:

  • Add color: parsley flakes, mustard or turmeric powder, beet or spinach water (left over from cooking and draining a colored veg) or never mind the fact they look ugly–they taste fabulous! With the fresh nutritional yeast combined with the other herbs and spices this tastes like Italian Parmesan something–not quite the texture of breadsticks but not bad either.
  • Watch the salt. It can taste too salty. So adjust to your likely and purpose. This is okay as is, but I would tweak the salt down (or leave it out all together) for some uses.
  • Serving suggestions: with dip: Don’t pre-cut or score the dough prior to baking. Instead bread into dippers and serve on your snack boards with dip. as a chip: simply enjoy as you would chips or crackers on the side with favorite go-alongs or alone, as is. as a snack: spread with jam, preserves, butter, a compound butter, or top with dairy-free cheese or fish/salmon/sardine/ or plant-based “spreads” atop such as pesto or olive tapenade.

Flat Bread (Dairy Free, Gluten Free, Grain Free)

This versatile side dish is worthy of eating on its own, as the base to scoop up your favorite gravy or jam, to make a sandwich, or any other naan-bread like use you can think of! It can be made unleavened without sacrificing its texture or flavor, simply by leaving out the “baking powder” or using a baking powder replacement. There are a number of tested options for oil too–ranging from coconut oil, ghee, olive oil, melted butter, or even a veggie or fruit puree. All work well! Give it a try.

YIELD: 6 Flatbread pieces per batch
This recipe takes some time to make, but is worth it. Even if you plan on making more than 6 flatbread pieces, make them one batch of dough at a time.

INGREDIENTS:

  • 2/3 Cup Coconut Flour (I used HEB Organics)
  • 2 TBS psyllium husk powder
  • Optional: 1 tsp Baking Powder
  • 2 TBS Olive Oil (or use one of the following instead of the olive oil: Ghee, coconut oil, melted butter or a puree)
  • 1/4 tsp salt
  • About 1 Cup Boiling Water

METHOD:

this recipe, once the dough is formed and rested, is very much like making “pancakes” –> you will be cooking the dough rolled or patted as thinly as you desire until it is cooked, then flipping it and cooking it on the other side too

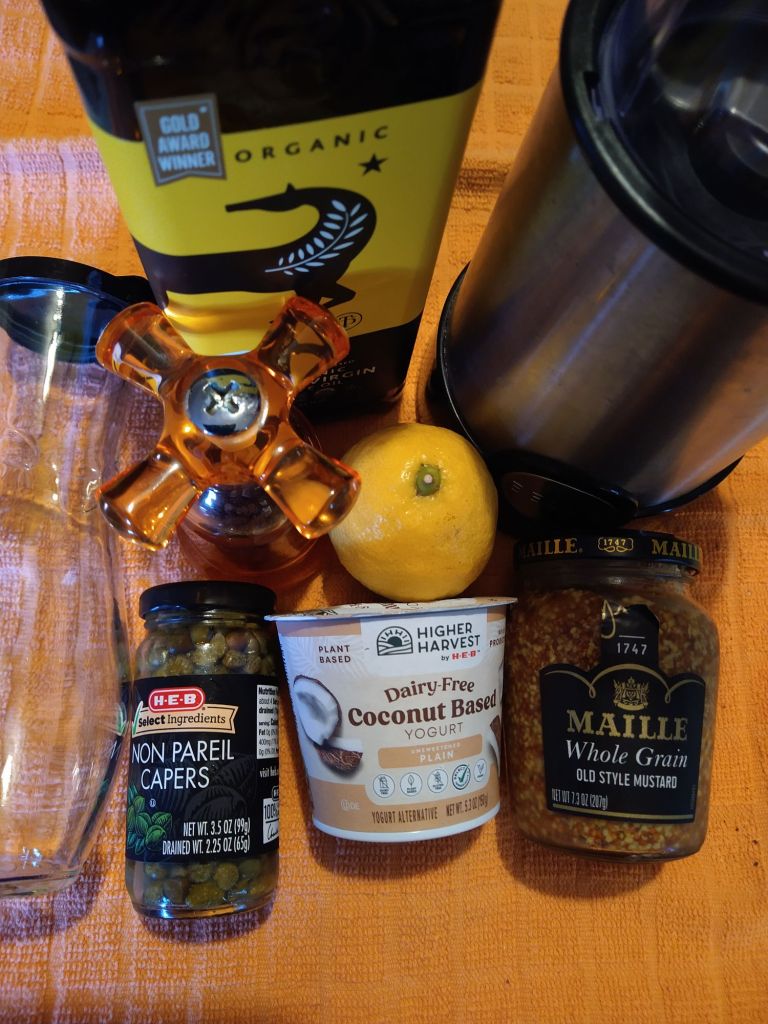
  1. Begin by assembling your ingredients.
  2. Mix together the dry ingredients first.
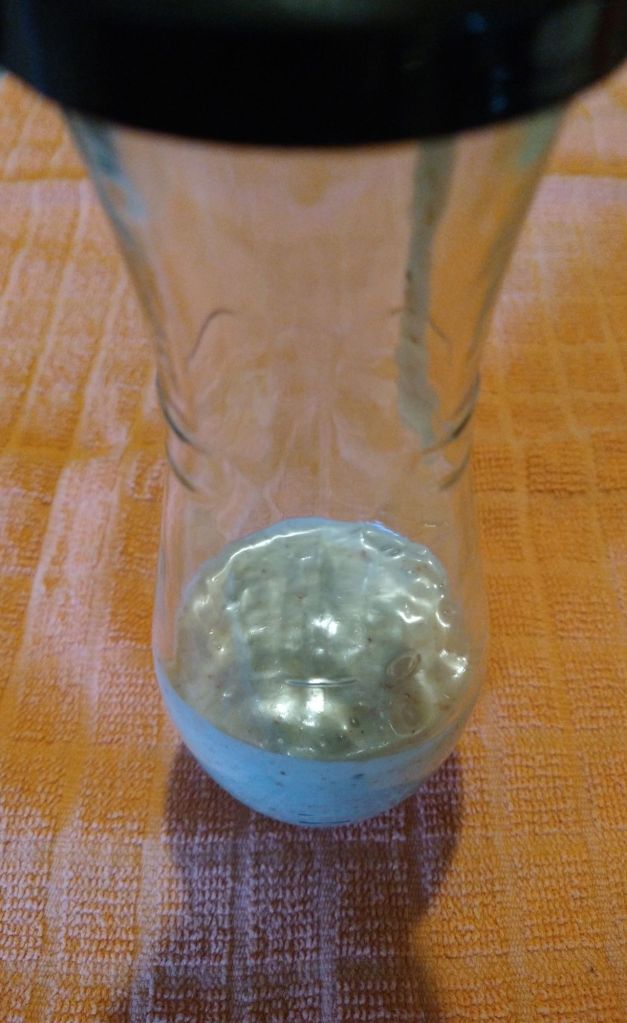
  3. Mix in the oil to incorporate, then slowly add the boiling water. Depending on the brand, and freshness of your coconut flour this may take more or less than 1 cup of water to form the dough. Mix until  dough forms. (The texture is very much like “mashed potatoes”)
  4. Allow the dough to rest 10 minutes, or until cool enough to handle. The dough needs this resting period to hold together, since it is not made with gluten.
  5. Divide the dough evenly into 6 dough balls.
  6. Roll the dough balls out, one at time, or pat with your hands, depending on the desired thickness.
  7. Cook the bread, dry style, in a heated cast iron pan or griddle. Allow the first side to fully cook, before flipping to cook the second side.

    OPTIONAL: Have melted butter (or other oil) available if desired to which you can add garlic, parsley, or other spices. Brush surface of bread with this herb oil (or serve with dipping sauce) after it is finished cooking and just before serving.

TIPS:
– Other toppings include the option to have no topping, just enjoy the bread as it is, cinnamon stevia, green onions, jam, preservatives, lunch meat, cheese spread, fish spread (such as tuna or salmon salad), parsley, garlic salt, sesame seeds (with or without the oil being toasted sesame oil) or just about any other topping you can think of.
– NOTE: This bread gets more and more MOIST after the first day. It works best to make a batch and use it up, rather than having it sit around too long.
– Depending on the thickness, you can roll this as thin as a tortilla, although those are hard to turn, or patting them to a thickness like old-fashioned potato pancakes and they taste a bit like them, texture wise, too. The potato cake, or veggie nuggets, style makes a nice side dish.

Another recipe I’m going to try too, which is similar but uses a few different ingredients is: https://myheartbeets.com/coconut-flour-naan/

Cauliflower Snack

Take a raw, full head or packaged, organic or home-grown cauliflower, add a delicious home-made Dairy-Free cheese sauce and viola! You’ve got a great chip and dip substitute which is satisfying, healthy, allergen friendly when everyone else is enjoying other snacks which aren’t allergen friendly, or when you are in the mood for something crunchy! While this combo is my personal favorite, other great dippable combos include carrots, crackers, broccoli, green onions, radishes, cucumbers, celery, and anything you can think of as a dippable.

Taco Salad (Dairy-Free)

Dealing with dairy and nightshade allergies? Then, you likely think having a taco salad is out of the picture, right? Nope. Guess again. Here is a simple, per serving, recipe and method of preparing Taco Salad Dairy and Nightshade free.

INGREDIENTS:

  • Romaine or other lettuce (approximately 4 cups per serving)
  • Black Olives (6-8)
  • Green Onions (1-2 chopped)
  • Nopilitos (Cactus leaf cut into squares)
  • Cumin
  • Garlic
  • Black Pepper
  • Real or Sea Salt
  • Dairy Free Cheese Sauce

INSTRUCTIONS:

  • Fill a bowl with well washed greens. Use a combination of lettuce, romaine, or other greens, as desired.
  • Cook up the protein source of choice (beef, turkey, beans, mushrooms, tofu, TVP, etc)
  • Season protein choice with cumin, garlic, heavy black pepper and salt to taste. If you have been nightshade free for a while, having heavy pepper can mock hotter jalapeño style taco salads.
  • Add the cactus and enough water to bind the spices to the protein source of choice. The cactus will thicken it to a taco-flavored”gravy” so to speak and is an excellent substitution for green bell peppers.
  • Add flavored protein source, cactus, fresh cut green onion and black olives to prepared lettuce green bowl.
  • Top with Dairy-Free Cheese Sauce.
  • Enjoy.

Gathering and Collecting Goodies

Design a site like this with WordPress.com
Get started