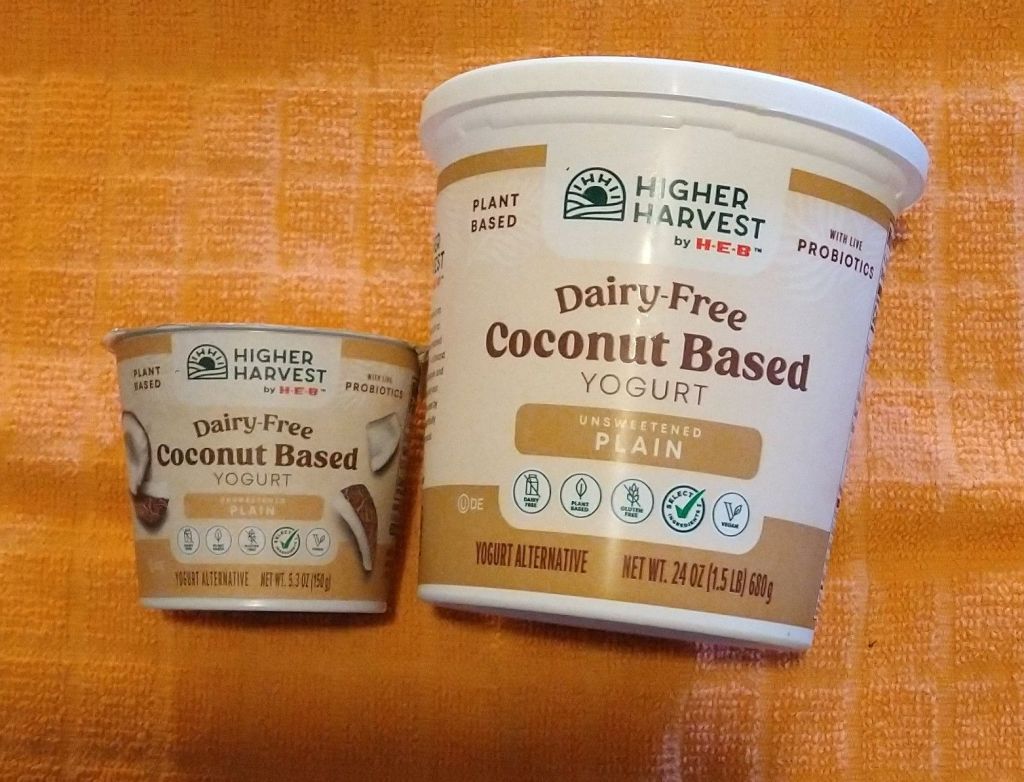
The brand I am reviewing is an HEB brand. HEB is a grocery store (plus) located in Texas. If you live outside of Texas, these brands are likely not available to you but something with similar ingredients, or even soy-based yogurt will likely produce similar results for the dairy-free recipes I’ve tried, only you may have to adjust the seasonings to your taste buds and/or allergies/preferences.
PROS:
* easy to use * readily available * good egg substitute, volume wise, in baking recipes.
CONS:
* flavor * for the best outcome, things like sauces need to be mixed sufficiently ahead of time and allowed to mix to taste good. * coconut exposure
Such a popular, and important, spice blend it is included in the encyclopedia! This blend is especially good on “gamey foods” such as lamb, goat, moose, or other hunted game, but it is equally nice on vegetables or vegan proteins.
You can take any recipe for compound butter and make it a vegan compound butter simply by using yesterday’s “butter” idea.
While there are read-at-market vegan butter products, those also have preservatives. Likewise, there are other (much more complicated) recipes for making vegan butter which require some type of new skill acquisition to deal with learning new emulsification techniques.
However, this recipe, is simple, easy, sustainable in the sense if you have the ingredients and a clean container, you’ve got it made in no time!
INGREDIENTS:
Quality Olive Oil which solidifies partially at room temp (as olive oil should if it is not refined)
Stir in (suggestions include any kind of jam, jelly, or sweet preserve you enjoy; fresh fruit pureed, vegetable puree including baby food, herbs or spices).
INSTRUCTIONS:
Stir together the add on ingredients into the butter to the quantity you desire. Or, if you prefer, “swirl” in your puree (such as strawberry or blueberry swirl).
Flavors to consider making:
Garlic Bread (Olive oil, fresh roasted garlic paste from a clove or two of garlic, and parsley with a pinch of salt optional).
Fruit Spread (olive oil, any fruit puree, jam, jelly, or preserve mixed in) Figs, Strawberries, Etc.
Cinnamon Sugar (use a sweetener of choice and cinnamon)
Herb (use your favorite salad herbs as a stir in)
Onion (use dried, flaked onion stirred into warm olive oil)
NOTE: if using dried spices (such as garlic flakes or onion flakes or herbs de provence, allow time for the mixture to remain in the fridge to absorb the flavors before its first use. Otherwise you can use these right away. Be certain to store any left overs in the fridge in an air-tight container.
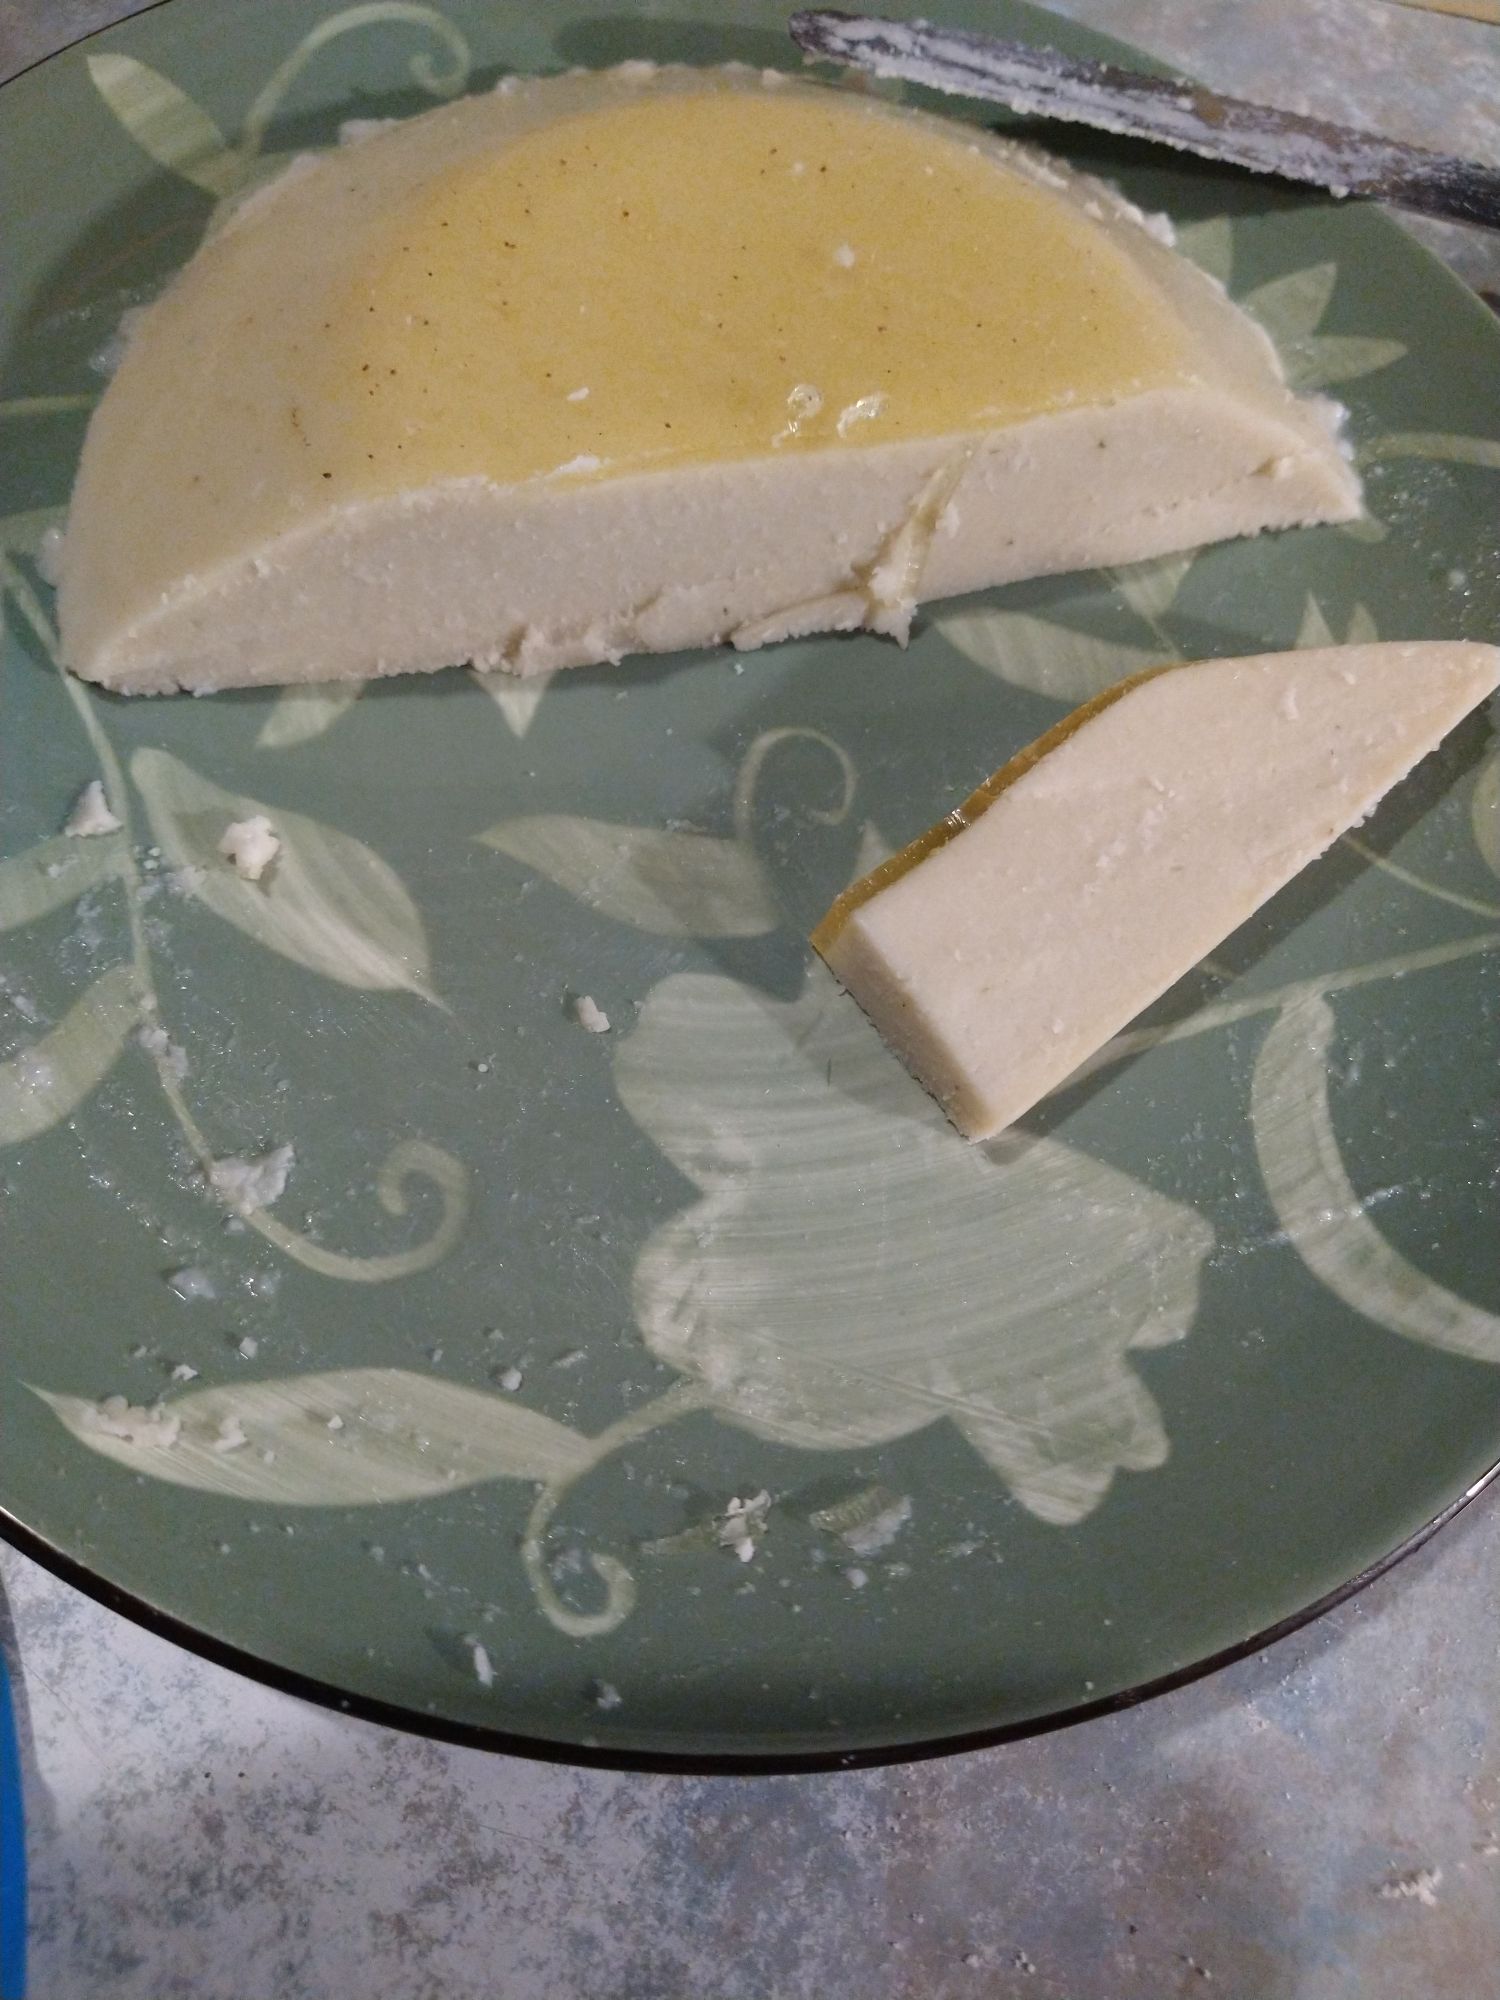
Need something to spread, like butter? But perhaps you are out of dairy-butter, prefer to or can only eat vegan, than this is the answer for you! I’ve not tried this with other name brands. This “recipe” (really its more of a method than a recipe) only works for the name-brand listed. What brand is that?
Terra Delyssa Organic Extra-Virgin Olive Oil makes a GREAT vegan butter spread
INSTRUCTIONS:
Find a clean glass snap-lid container, a wide mouth small canning jar, or baby food container which is wide enough to use like an old-school “butter dish” so you can use a knife to spread your resulting vegan butter on the things you would like to spread them with vegan butter.
Pour the olive oil into your clean container.
Seal tightly in your air-tight container.
Place in the fridge.
When it is time to use your vegan butter spread, grab it out of the fridge, grab a butter knife and enjoy! Be sure to replace the tightly sealed container back into the fridge.
Nutella is a brand name of a popular hazelnut-based chocolate spread which, like peanut butter, can be used in recipes or on its own. This recipe is a great way to either take a break from hazelnuts, or have a nut-free alternative version. Adjust this recipe as to sweetness and thickness by adding more or less sweetener, or hemp seeds, to thin or thicken as desired.
INGREDIENTS:
1/2 Cup of Hemp Seeds
2-3 TBSP of Sweetener (Maple Syrup, Stevia, or both)
2-3 TBSP of Cocoa Powder
1/4 Cup of Coconut Oil, room-temp butter, or Palm Oil
INSTRUCTIONS:
Blend in a bullet style blender.
Taste.
Adjust accordingly. Consider adding more sweetener, if desired; add more hemp seeds for a thicker spread, or more oil for a thinner recipe).
Place in fridge inside an air tight container.
Enjoy!
RESULT & TIPS:
Small Batch -preserves the Omega 3
Taste – Fabulous! This is a a tried and true favorite.
I use 3 TBSP softened butter, 3 TBSP maple syrup (or sugar free), and 2 scoops of KAL stevia, as my personal fav.
Ready to use: by the spoonful, as the base for making truffles, spread on cassava bread or crackers, great as a dip with pretzels or with dippers (Pecans, Walnut, Figs), or spread on a wrap.
Recently, while looking for ideas to make my own candy bars, I ran across Steve’s Serious Keto recipe. His recipe, while great for many, includes some not-friendly ingredients for the people I cook for–so, here is Steve’s version (video) and my version (recipe below).
3 TBSP Butter
3 TBSP Olive Oil (or Coconut Oil)
1/8 tsp flavoring (rum, peppermint oil, tangerine oil, or cream de coco, are ideas)
2 TBSP Sweetener (Steve used confectioners Swerve, I’m using 2 packs of Sweet Leaf Stevia or 8 scoops of Kals)
3 TBSP Nut or Seed butter of choice (Steve used Almond Butter, I’m using Pistachio butter, walnut butter, or sunflower seed butter and it might be nice on occasion to switch it up with hazel nut butter)
2 TBSP coco powder
My suggestion is to store these individually wrapped, in the freezer until you are wanting to enjoy one but they work okay, too, in the fridge.
Mine turned out a bit thicker than Steve’s in his video–no doubt because I used different ingredients.
Trial 1: I made two trials using the same batch of chocolate, just slitting 1/2 of it for one type, and using the other 1/2 for the other kind. For one, I coarsely chopped pistachios, in place of the cereal Steve used;
Trial 2: I mixed together approximately 1/2 cup of hemp hearts with about 3 TBSP butter, and several drops of YL-Vitality Peppermint Essential Oil as the flavoring. I used the butter and hemp hearts to be the base or carrier f or the essential oil flavoring.
Result: This worked beautifully. It was just right distributed out into the 3 bars of chocolate (I trialed 3 peppermint, 3 pistachio with the same portions and idea Steve outlined in his video)
Quick, easy, tasty-treat, and dairy free. Depending on your choices, this can be low carb, vegan, low sugar, or it can be honey/maple syrup or any other sweeteners.
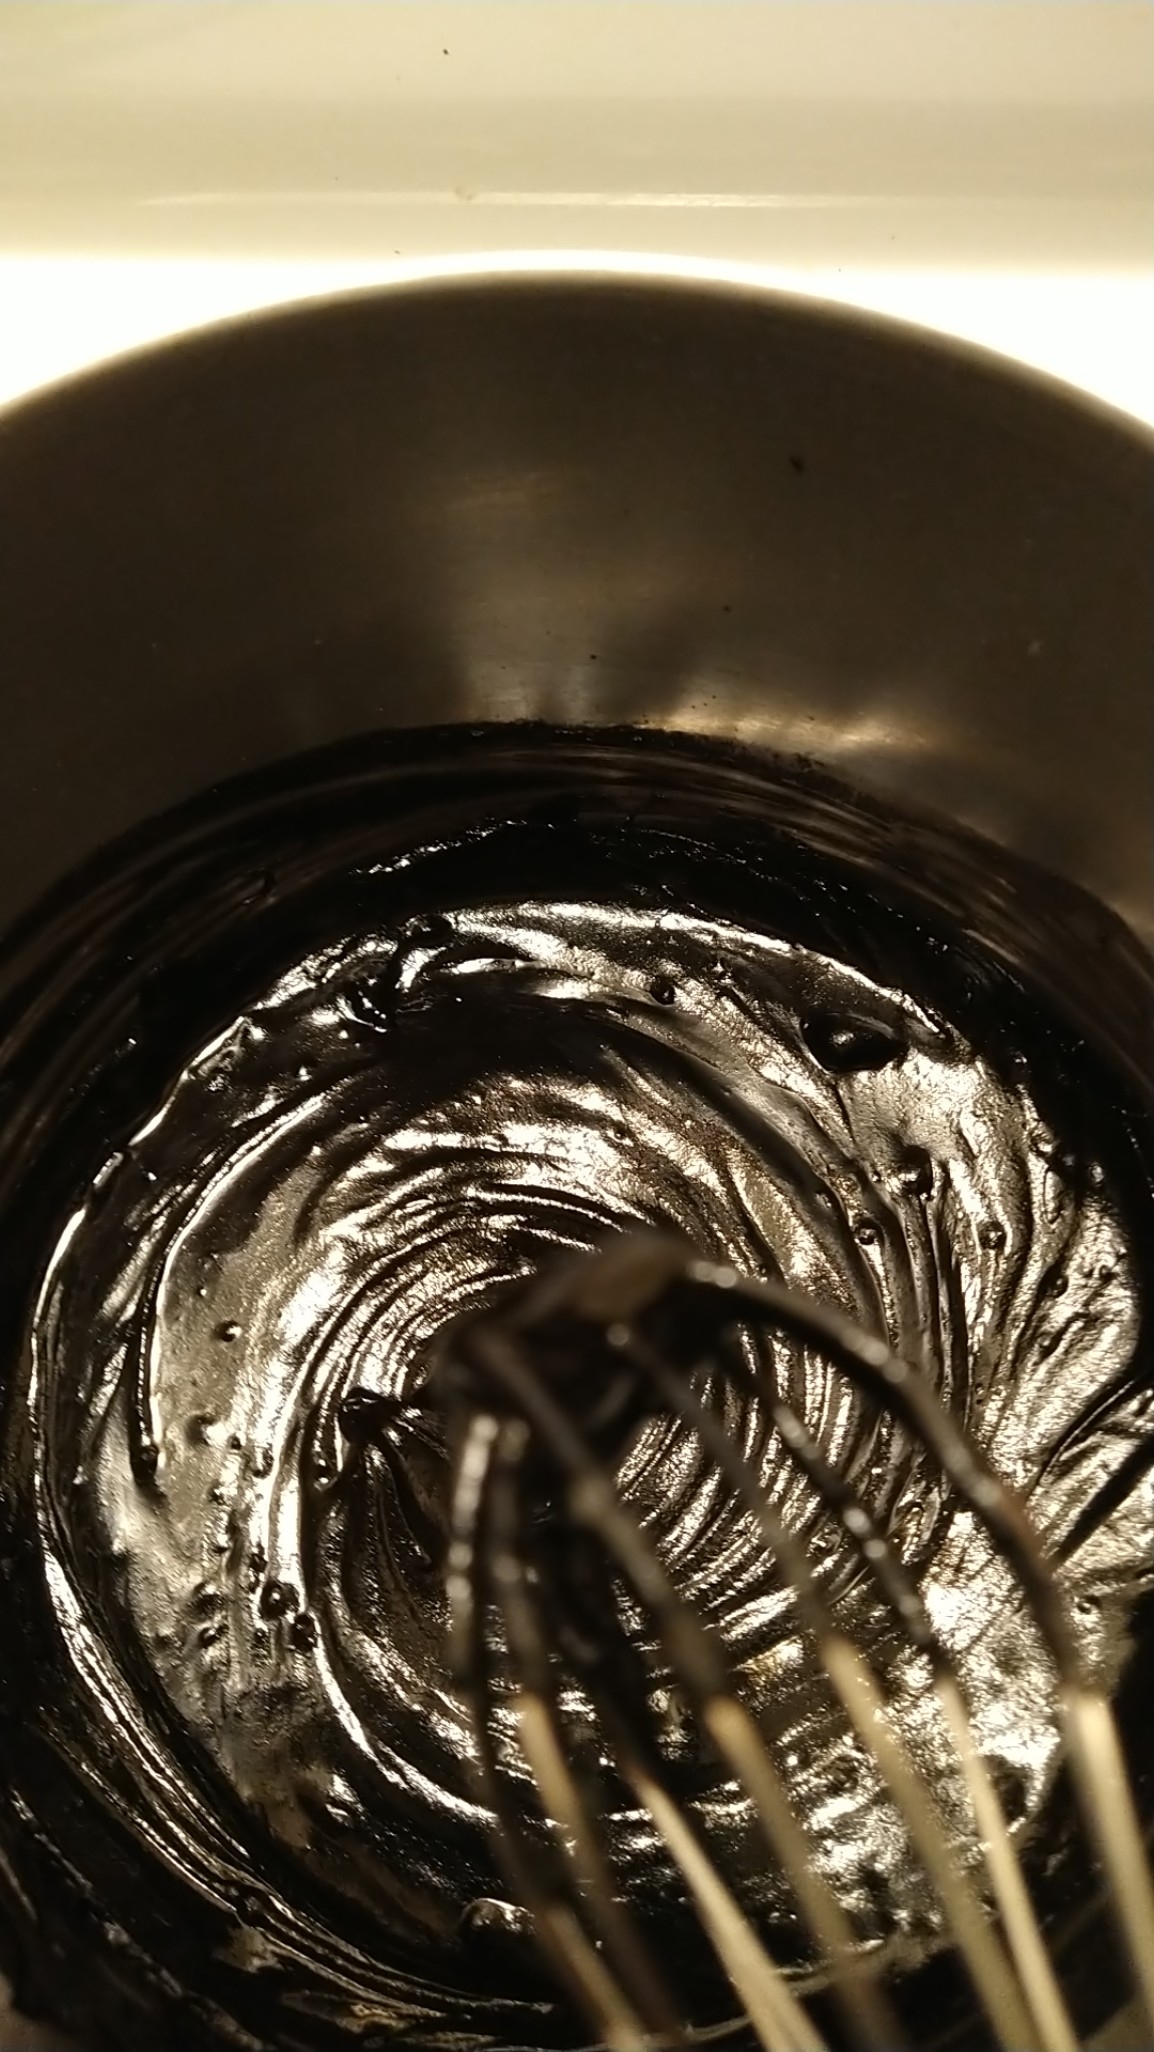
Churning, loveliness!
INGREDIENTS:
2 Cans Organic Coconut Milk
1/2 cup boiling water
1/2 cup BLACK cocoa
1/2 cup maple syrup (if substituting for another sweetener use powdered sweetener such as swerve powdered or walden farms sugar-free maple walnut syrup)
1.5 tsp cream de cocoa liquor
8 mini scoops Kal Stevia powder (pure stevia–not their version with maltodextrin mixed in)
INSTRUCTIONS:
This is a trick my 1890’s born grand mum taught me: when making anything chocolate, start with boiling water! It does something amazing. This recipe is no exception. Begin with 1/2 cup of boiling water.
Once the water boils, place into it your 1/2 cup of BLACK cocoa powder. It will be nice if you use another kind of cocoa but it won’t be “oreo” flavoring.
Mix till a beautiful and fragrant chocolate emerges. Based on the smell, you may be tempted to taste it, at this stage; however, be aware it is dark chocolate with no sweetener despite how it looks and despite how it smells. Be forewarned! 🙂
Now stir in all of the coconut milk including the fat. Mix well. (Optional: reserve a tiny amount of the coconut cream until the end–mix that in at the very end for a “cookies and cream” style swirl.)
Mix in the sweetener of choice and the cream de cocoa. This helps the ice cream freeze, but not as solid as it does without it!
Taste the mixture. Adjust sweetener, if needed.
Pour this well mixed beautiful concoction into the prepared ice cream maker and follow the manufacturers directions for use.
OPTIONAL: last step when the ice cream is ready, stir in the reserved coconut cream, if desired for the oreo-cookie-and-cream style ice cream. This is optional.
STORAGE: Enjoy this right away, or store in the freezer. I suggest storing this in individual sized servings. I use some recycled glass bullion jars to have a serving size ready to enjoy as desired. It does take a moment or two of thawing before it is soft enough to eat.
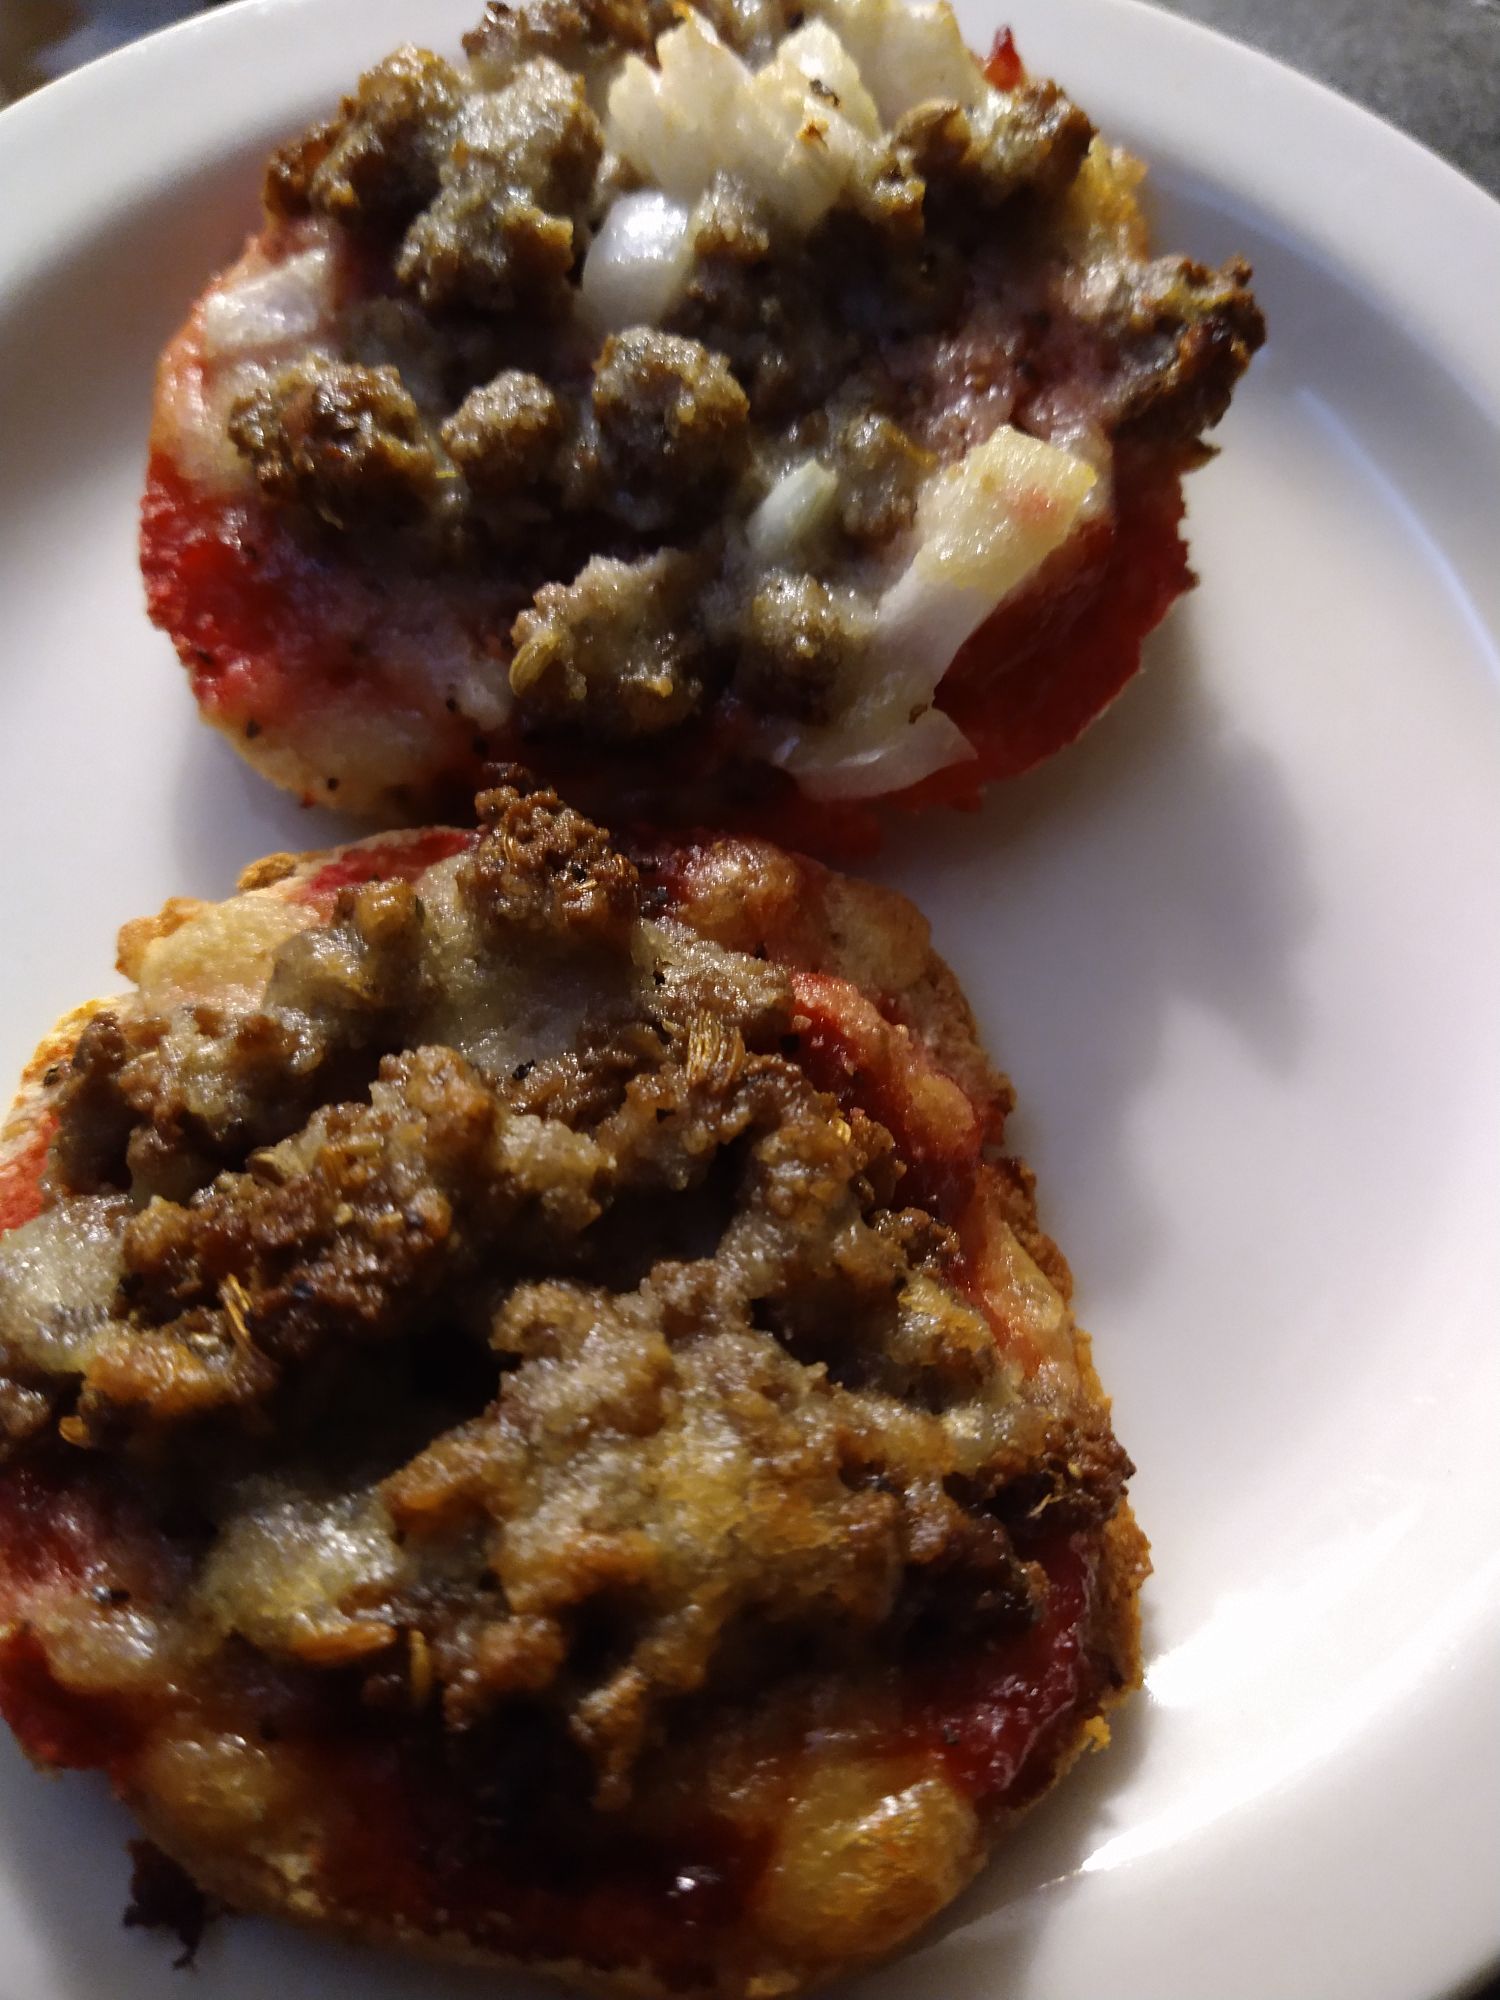
Who ever heard of a dairy-free, grain-free, gluten-free, tomato/nightshade-free pizza with the convenience of simply going to your freezer and pulling it out, placing it in your toaster oven, and waiting for that beautiful fragrance to hit your nose before enjoying piping hot from the oven? Well, here you go!
Example: hot from the toaster oven, ready to enjoy!
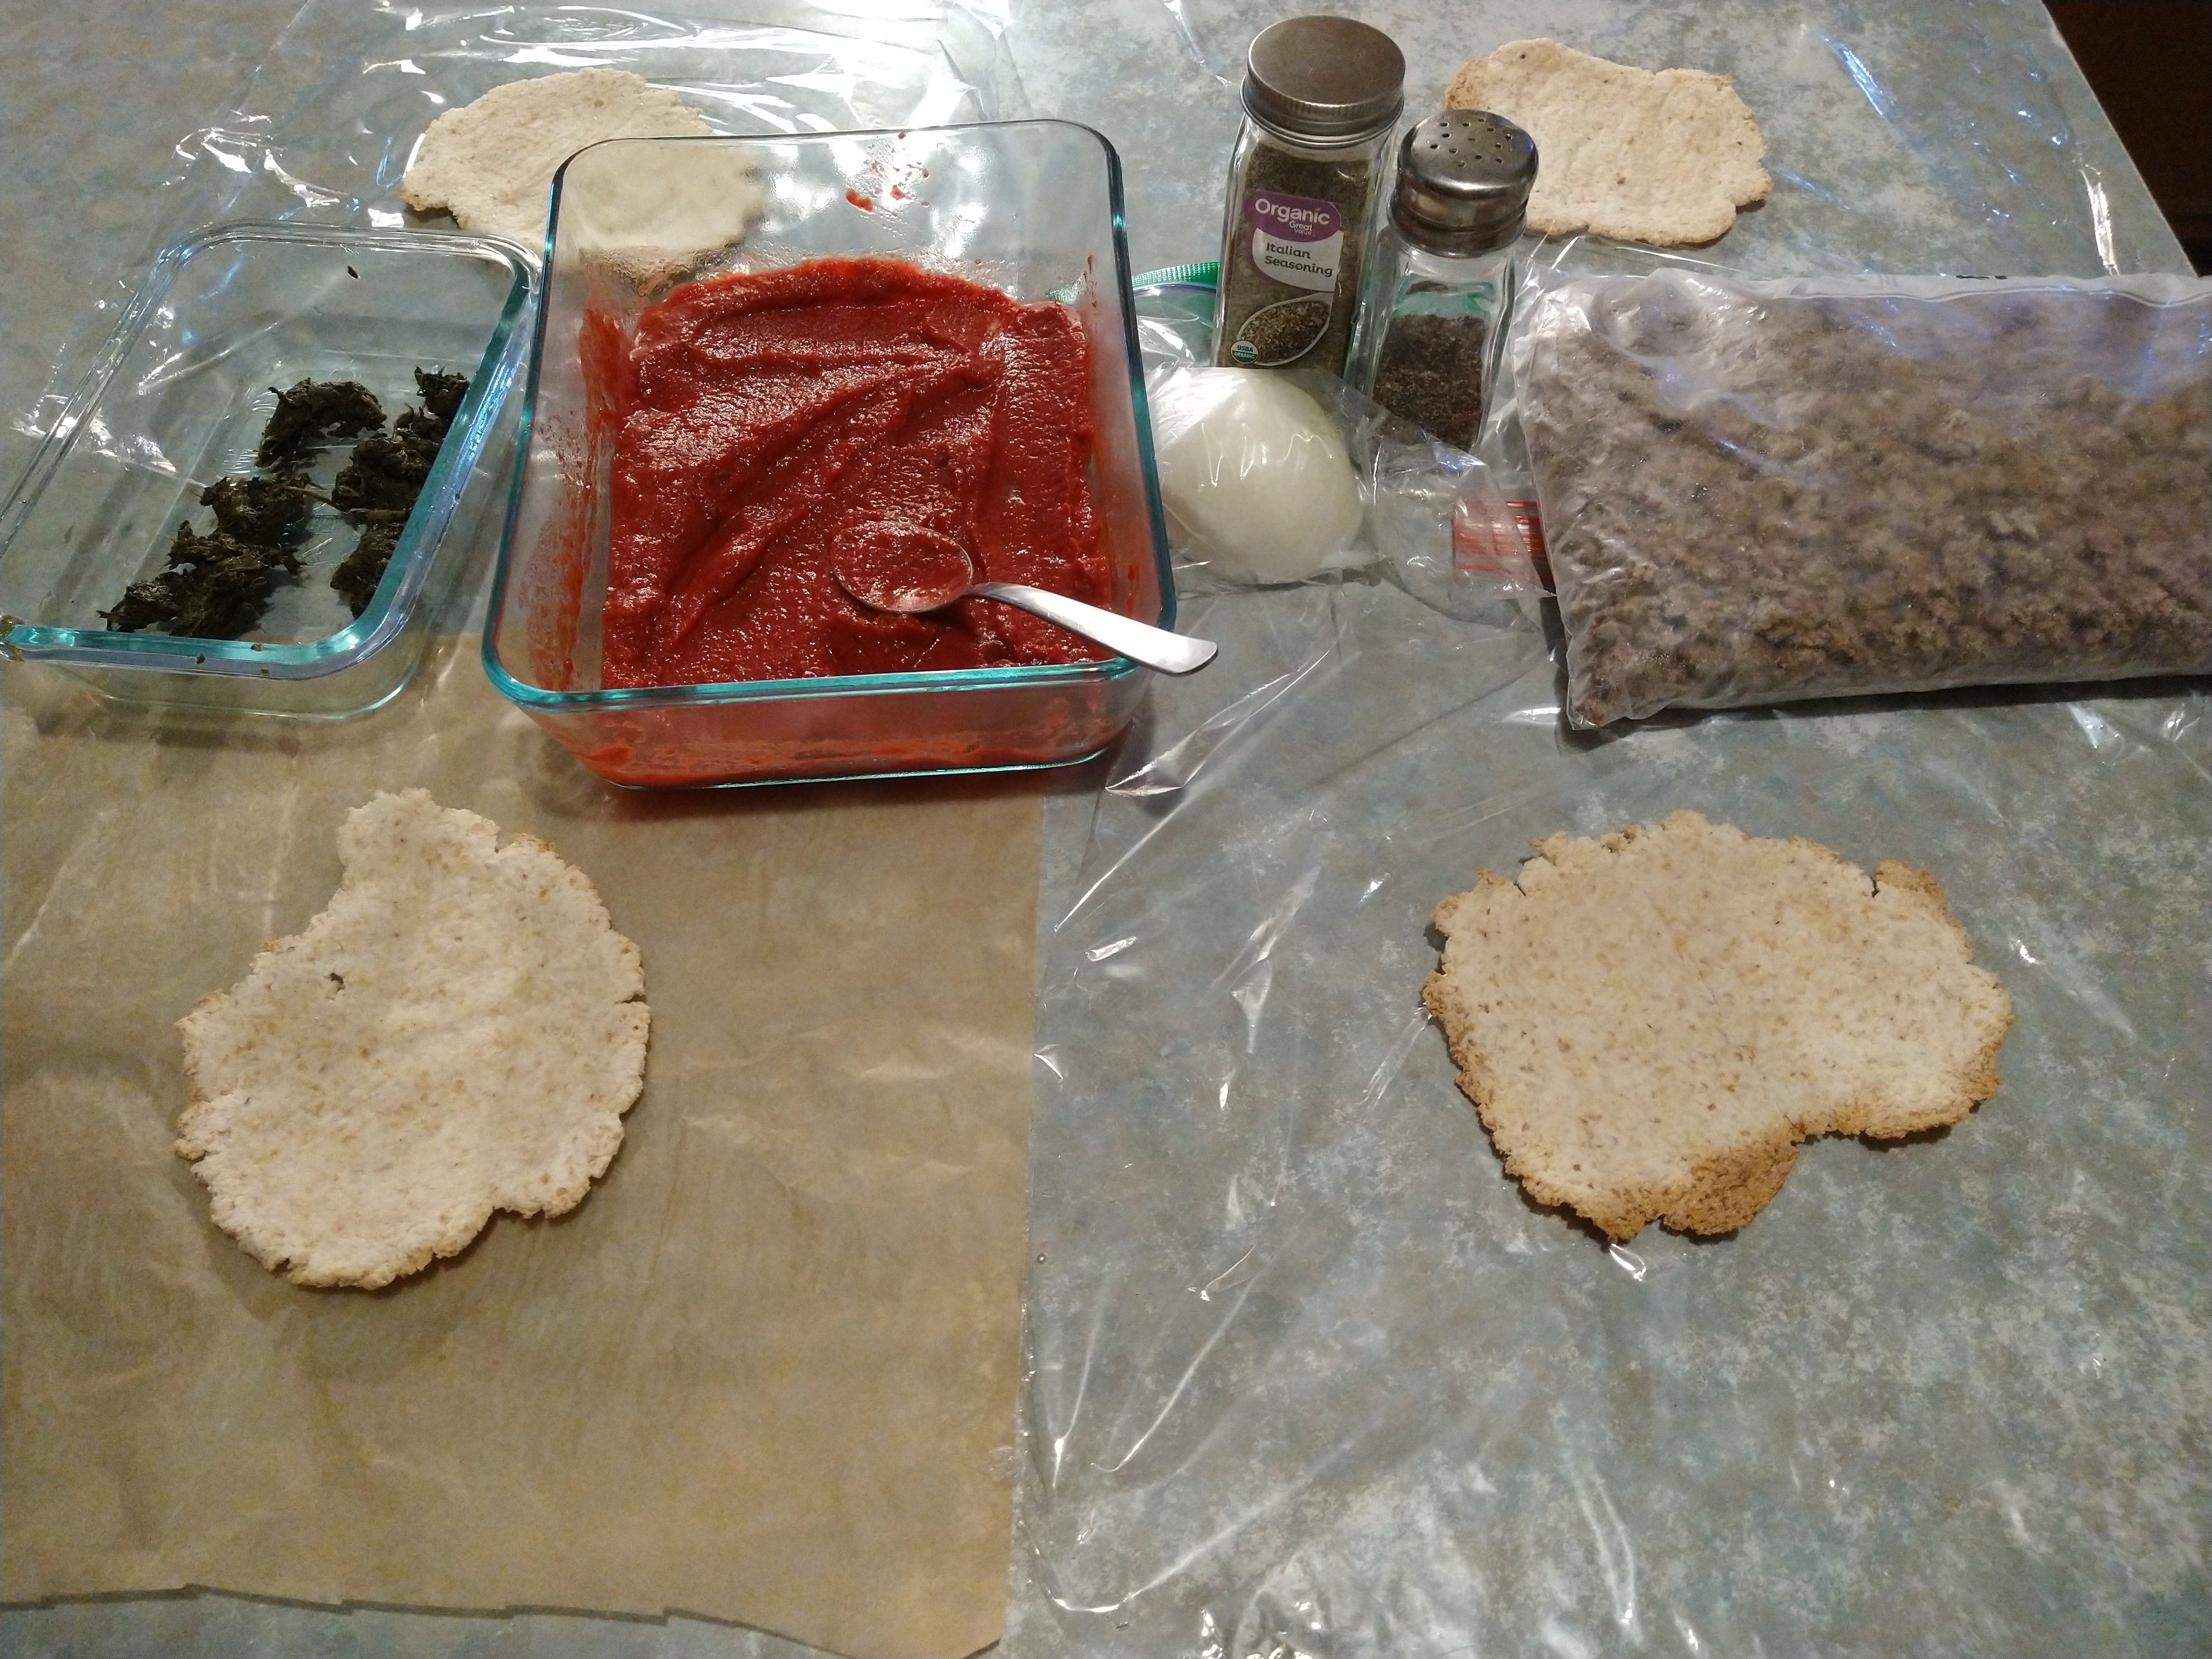
When ever protein is on sale, I buy what’s on sale. Sometimes I spice it as sausage and freeze it ready to go. I’ve shared that discussion, previously, in my “Kale Bake” recipe (including a vegan option). This recipe uses meal prepped and frozen beef sausage. But you can use any protein, or none at all.
From 12 noon, clockwise, we see 4 pizza rounds laid out, onion, italian seasoning, black pepper, frozen meal-prep sausage bits, pasta sauce, and cooked left-over spinach all ready to be prepared for future pull-from-the-freezer-and-bake meals or snacks. Portion wise this is perfect for a snack or add a salad and it is a meal plan too.
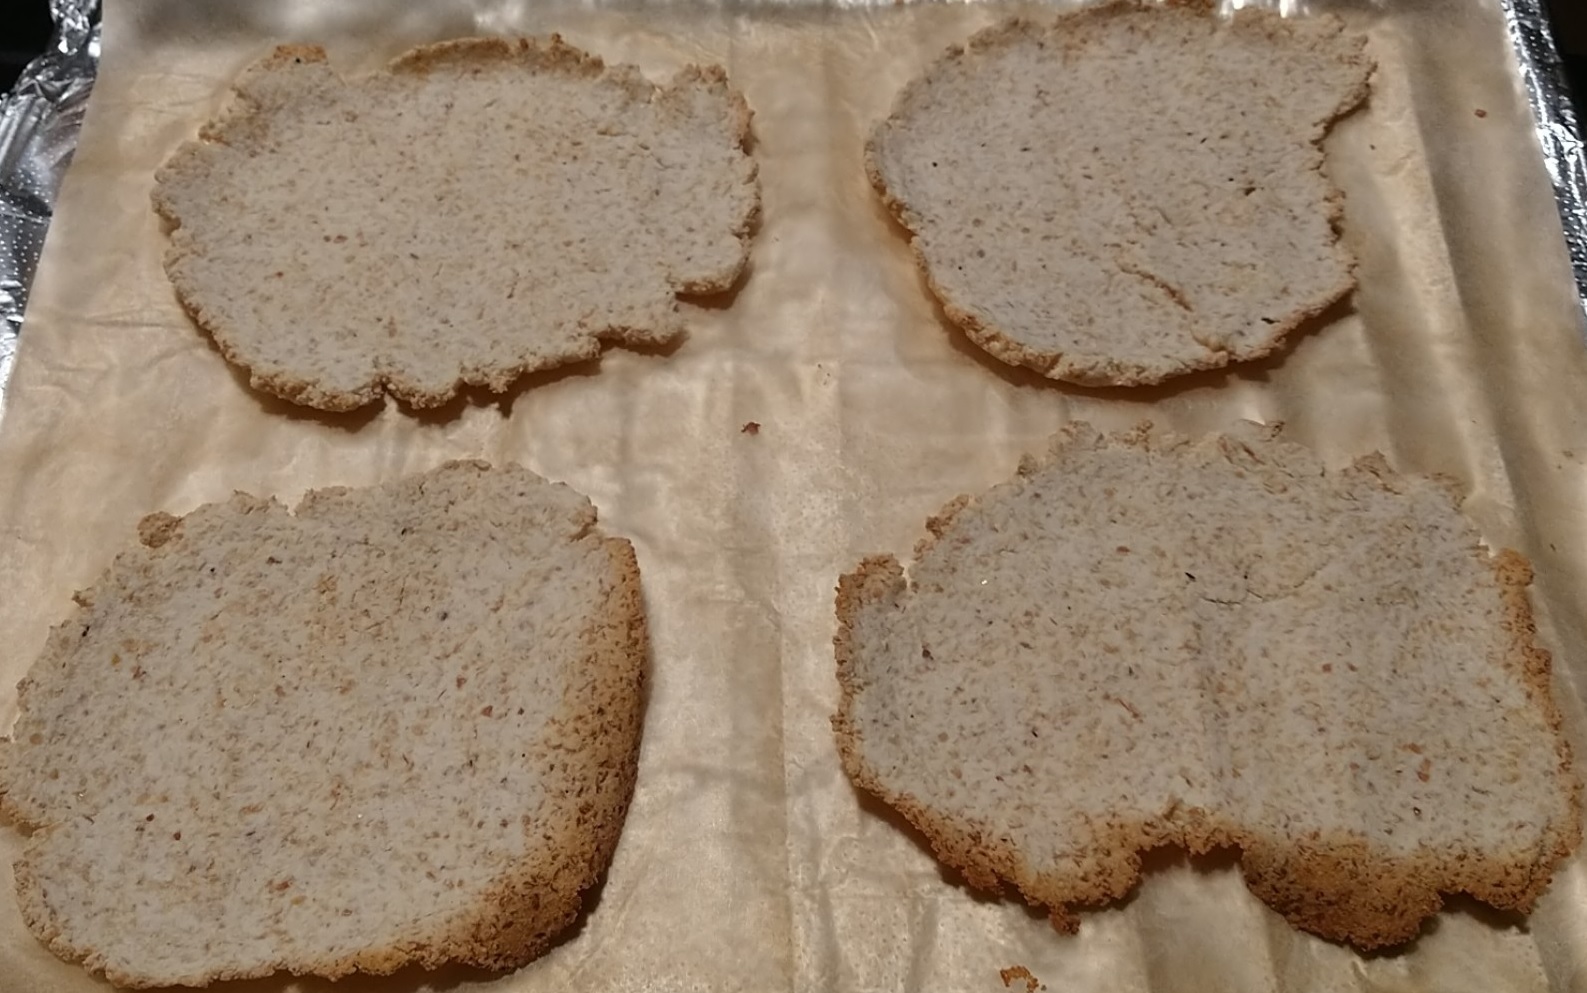
This recipe for batch freezer pizzas also uses an entire batch of this dinner roll recipe‘s dough. Instead of fixing the dough into 4 dinner roll shapes, divide the dough into 8 more or less equal portions and roll them as flat as will hold up (or as thin as you want them). Why 8? Why flat? I enjoy thin crust pizza and it also helps to keep the overall carb count lower for this recipe. Once these are rolled flat bake them for the full time, as called for in the dinner roll recipe. Here is how they turned out:
After letting the dinner roll “pizza crust rounds” fully cool, I froze them by placing them flat on a tray in an individual layer, not touching one another, until fully frozen before making up each base into a pizza round to freeze for later.
This meal prep recipe also calls for a serving of Pasta Sauce. If you, like me, have it frozen in batches, take one out and allow it to thaw. Stir well to combine.
Other ingredients? I added some Italian seasoning. Use what ever toppings you have on hand, enjoy, or want to use. You don’t need any, or you can use a wide variety of ingredient toppers. For my toppers, I has a small bit of cooked spinach left over–not enough for another meal–but perfect for this! I also had a tiny bit of onion already cut, so I used it too. Other options I could have considered would have been: black olives, other protein sources, other spices, cactus (which I use like a replacement for the no-no nightshade green pepper).
Italian Seasoning, Oregano, or Black Pepper (Optional)
Onion (Optional)
Black Olive rounds (Optional)
Cactus (cut like bell pepper shapes, optional)
Cooked Spinach, Kale, or other left-over veggies (optional)
“Vegan Parmesan” cheese (Optional)
INSTRUCTIONS:
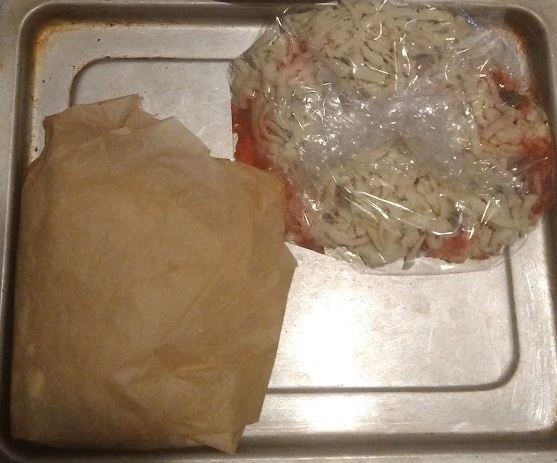
Begin by preparing a work area. Lay out what you are going to use to wrap your individual ingredients to help all of the toppings freeze to the base.
Lay one “dinner roll” recipe pizza base on each of the prepared wrappers. Note: I trialed using BPA-free cling wrap and parchment paper to see what works best. They both worked well. Non-waste items such as washable thin kitchen towels may work well too. If you like these, it may be worth your while to invest in a food sealer.
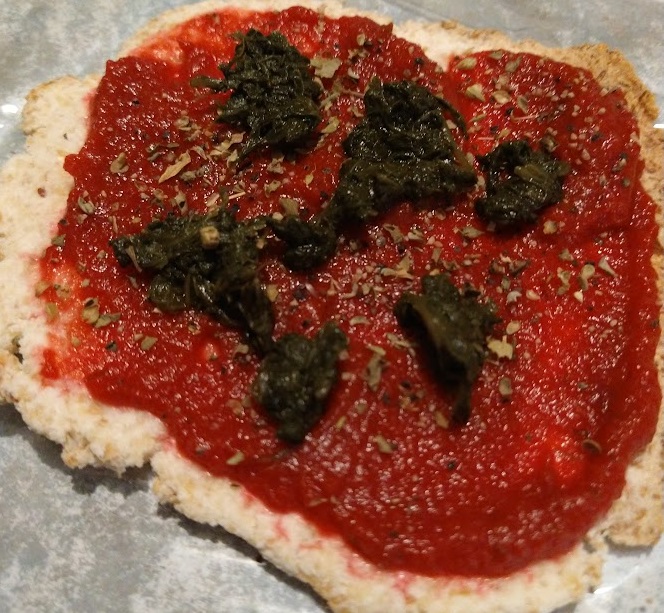
Top the pizza base with about 1 TBSP of the Pasta Sauce. Spread the sauce around evenly.
Top with your favorite extra seasonings, if any, including vegan Parmesan, nutritional yeast, either oregano or Italian seasoning, or even black pepper or something else to give it a bit of heat. Your choice–or as this is optional–you can skip it.
Now top with any of the cooked veggies you desire to use, if any.
Now top with the protein you wish, if any. I used homemade sausage.
Top with the non-dairy Pizza Cheese. Wrap. Freeze until stiff. Transfer to a zip lock or freezer bag.
When you are ready to use your new personal-sized mini snack pizza, simply remove it from the freezer, remove the wrap, and place in a preheated toaster oven to bake until the cheese is your desired level of done. The sauce should be bubbly and the cheese should be melted.
Alternatives? You can make this vegan, you can make this simply the pasta sauce and cheese, you can make this “Mexican” by flavoring your protein choice with cumin, garlic, adding green onion and a bit of nutritional cheese. Play around. Have fun. A quick, allergen-friendly go to!
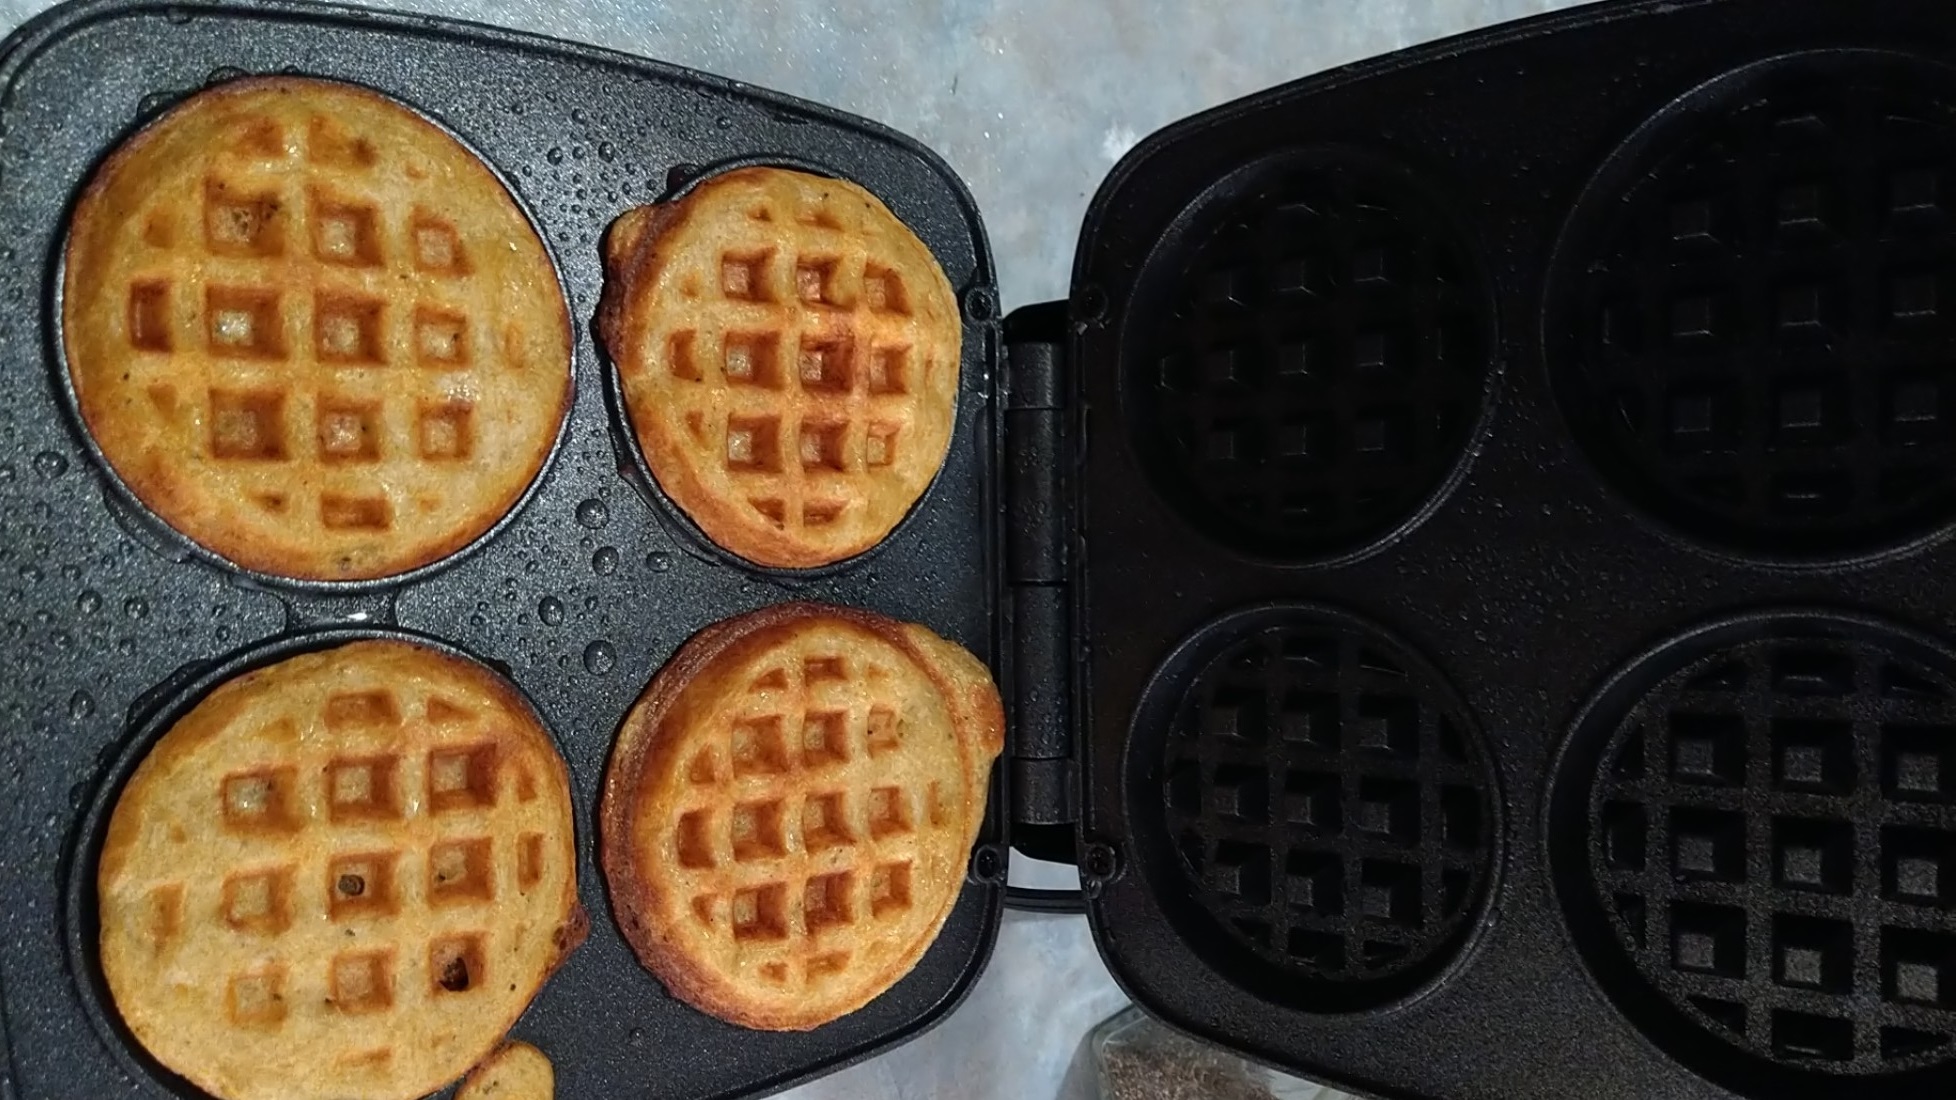
This is a staple you can make up, one or more batches at a time, and have ready when you want a soy-free, dairy-free, nut-free, gluten-free, grain-free version of waffles ready to go. This freezes well and can go from freezer to toaster without any issue.
Last 4 in the batch–turned out as good at the first ones! Be sure to use a preheated, greased, mini waffle iron for this one.
INGREDIENTS:
2 unripe plantains
6 TBSP Coconut Milk (or just use water/olive oil if you cannot have coconut)
1/2 tsp baking soda
1/2 tsp salt
1 TBSP white vinegar.
INSTRUCTIONS:
Use a mini waffle iron. Begin by pre-heating it.
Peel Plantain. Cut into small slices.
Place plantains and coconut milk into a bullet blender.
Blend until batter forms.
Add remaining ingredients, blend to mix.
Grease waffle iron.
Drop batter, one heaping teaspoonful into pre-heated waffle cavity. Spread dough around. Seal. Cook for 5 minutes.
This recipe yields 12 mini waffles.
USE AND STORAGE:
Eat right away. Or allow to cool. These are very moist and steamy so you need to let them cool completely before storing them or you will have a lot of condensation from the steam cooling.
If you are going to freeze them, and they freeze lovely by the way, do so after they are cooled by placing them flat, in a single layer until frozen. Then package accordingly for your freezer.
Once frozen, you can thaw and enjoy; Or you can toast these successfully in a toaster. Just be aware, like coconut flour items, these turn very GREEN when toasted. It also makes it nice to realize when they are finished as the green hue gives away their heat status.
Toppings: Butter, plain, cinnamon and sweetener of choice, maple syrup, honey, or any other jab are all nice choices. Or try these with savory items like chili or other savory waffle toppings.


You must be logged in to post a comment.