While traditional tempura uses eggs, this tempura is egg-free and vegan as well as gluten free. Use it to bread your favorite veggies to deep fry them.
INGREDIENTS:
1/2 Cup Chick Pea Flour
2 – 3 TBSP water (to make a dipable batter consistency)
Seasonings as desired up to 1 tsp (switch it up, use just the basic salt and pepper, or use one or more seasoning to match your meal such as italian seasoning, lemon pepper, or another favorite combo),
a pinch of baking soda.
INSTRUCTIONS:
Blend all ingredients together to form a batter. Dip your veggies into the batter. Deep fry in hot oil.
A FEW SUGGESTED ITEMS to DEEP FRY?
Cauliflower
Broccoli (try nutritional yeast dip as a condiment)
zucchini
other squash varieties
fish
tofu
poultry
onions
NOTE: Fully cook, deep fried, cool in a single layer freeze and seal once frozen in an air-tight sealing bag for reheat and serve later treats minus the common nightshades in such store-bought versions.
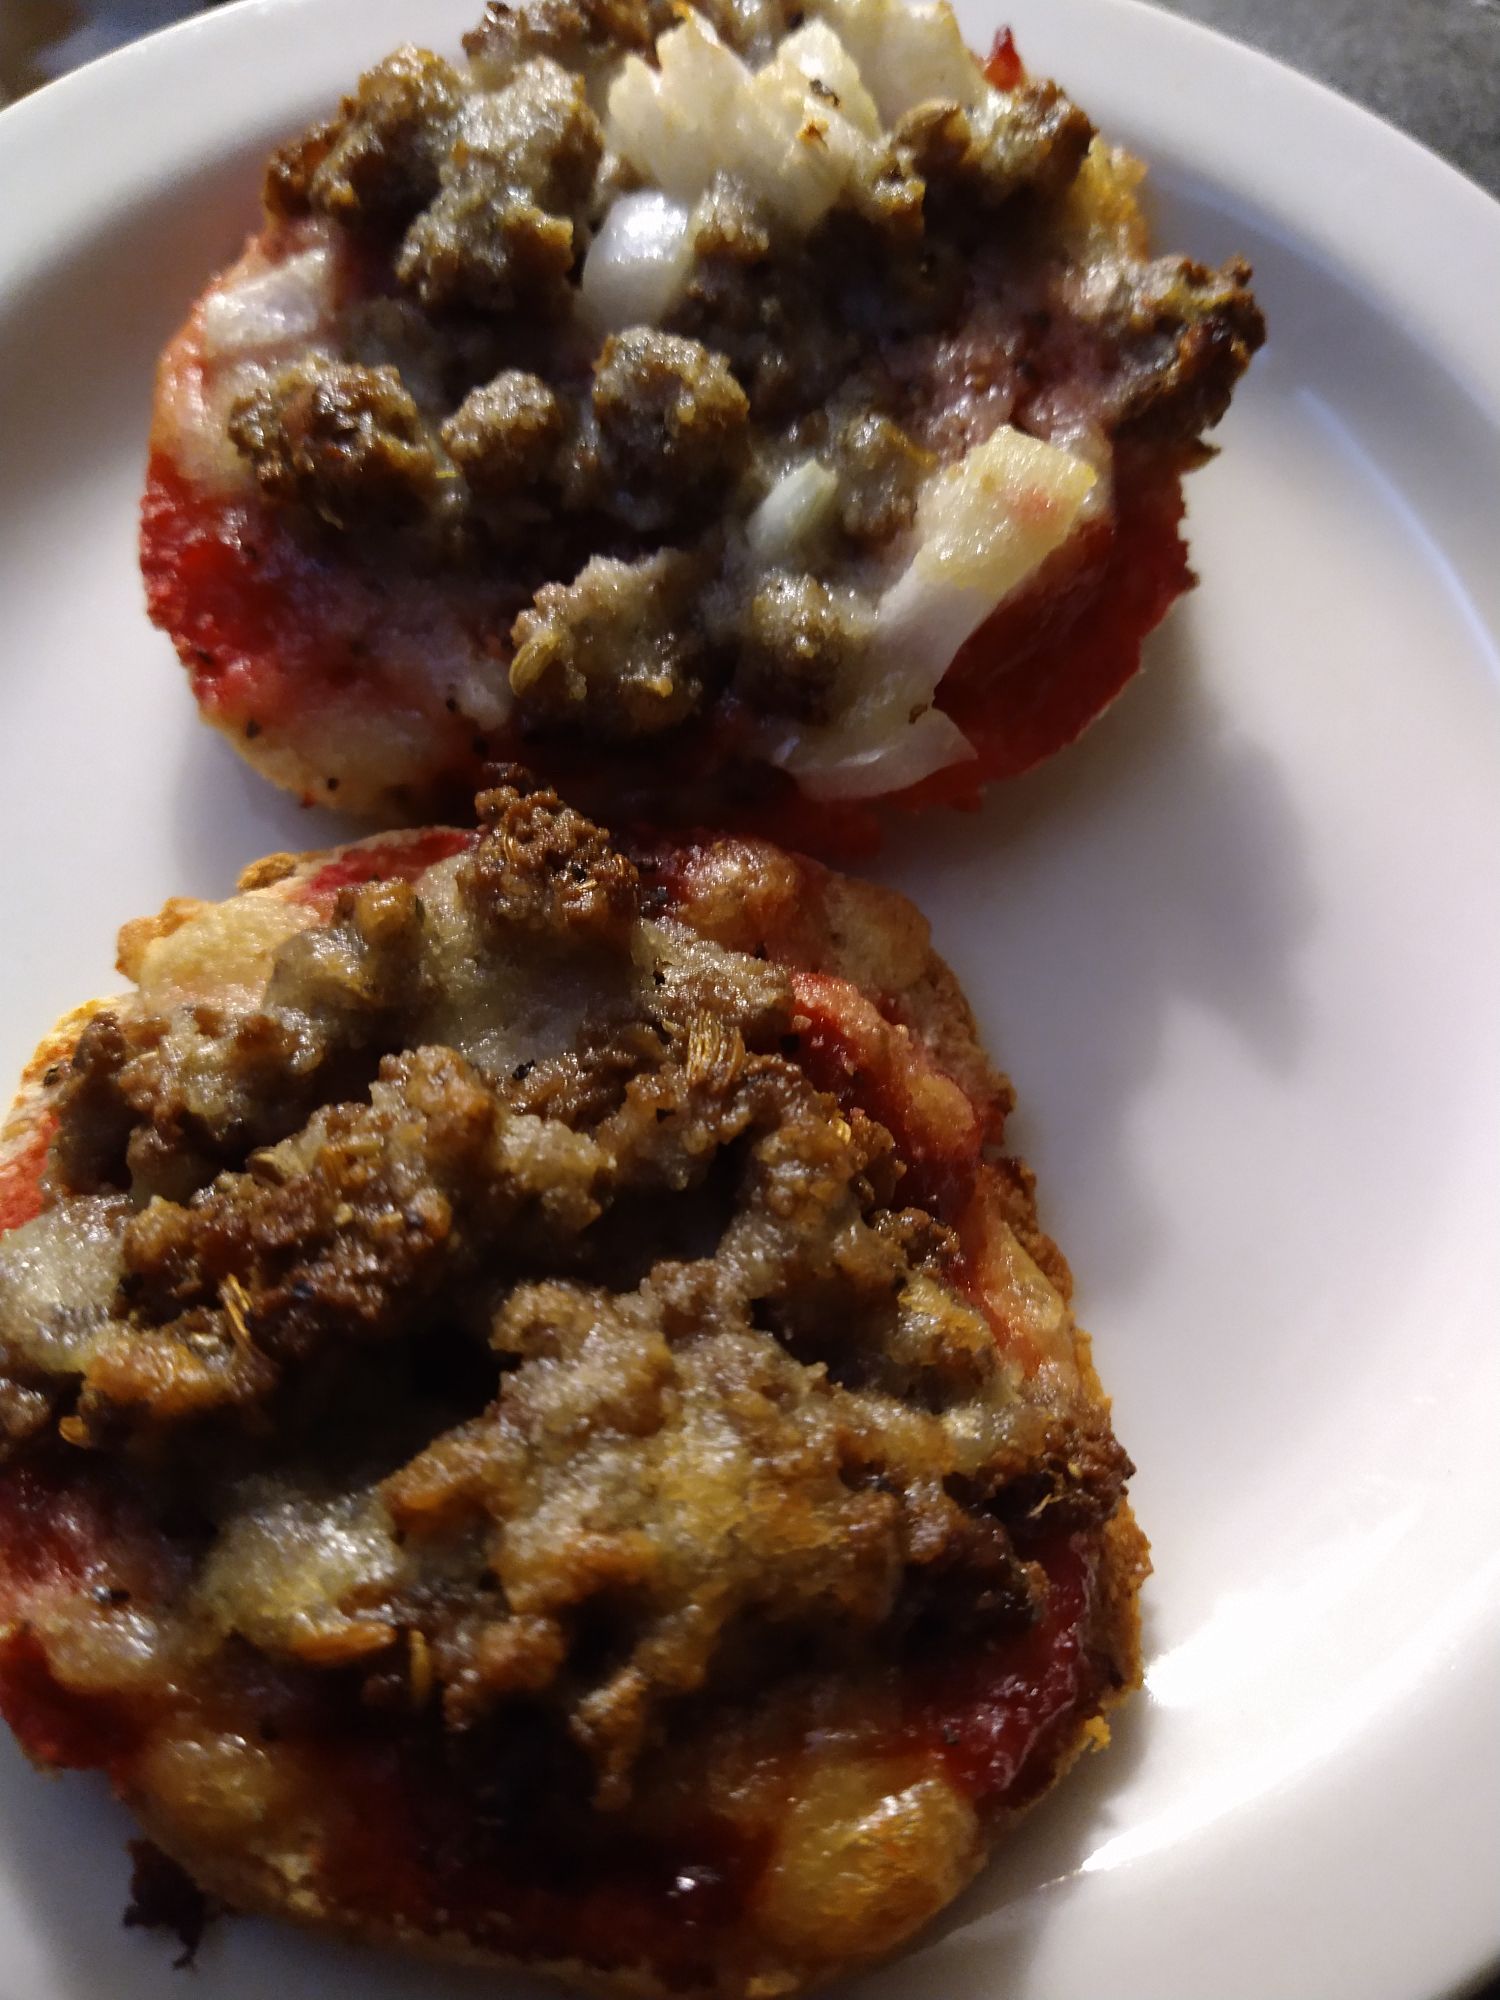
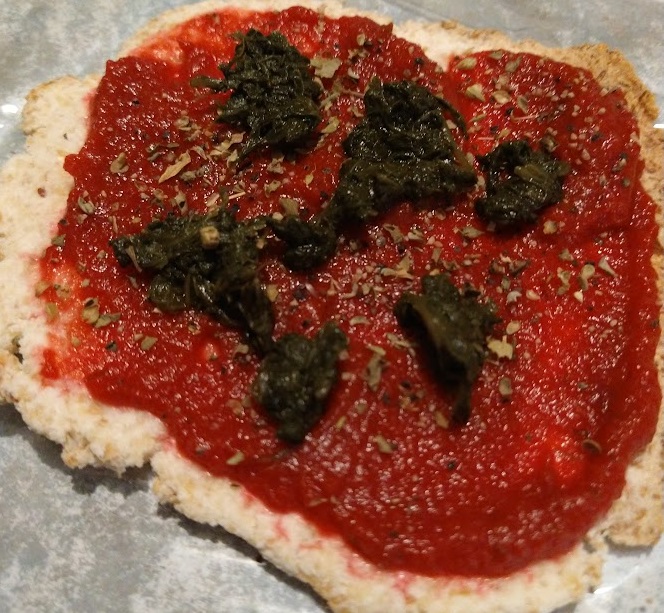
Who ever heard of a dairy-free, grain-free, gluten-free, tomato/nightshade-free pizza with the convenience of simply going to your freezer and pulling it out, placing it in your toaster oven, and waiting for that beautiful fragrance to hit your nose before enjoying piping hot from the oven? Well, here you go!
Example: hot from the toaster oven, ready to enjoy!
When ever protein is on sale, I buy what’s on sale. Sometimes I spice it as sausage and freeze it ready to go. I’ve shared that discussion, previously, in my “Kale Bake” recipe (including a vegan option). This recipe uses meal prepped and frozen beef sausage. But you can use any protein, or none at all.
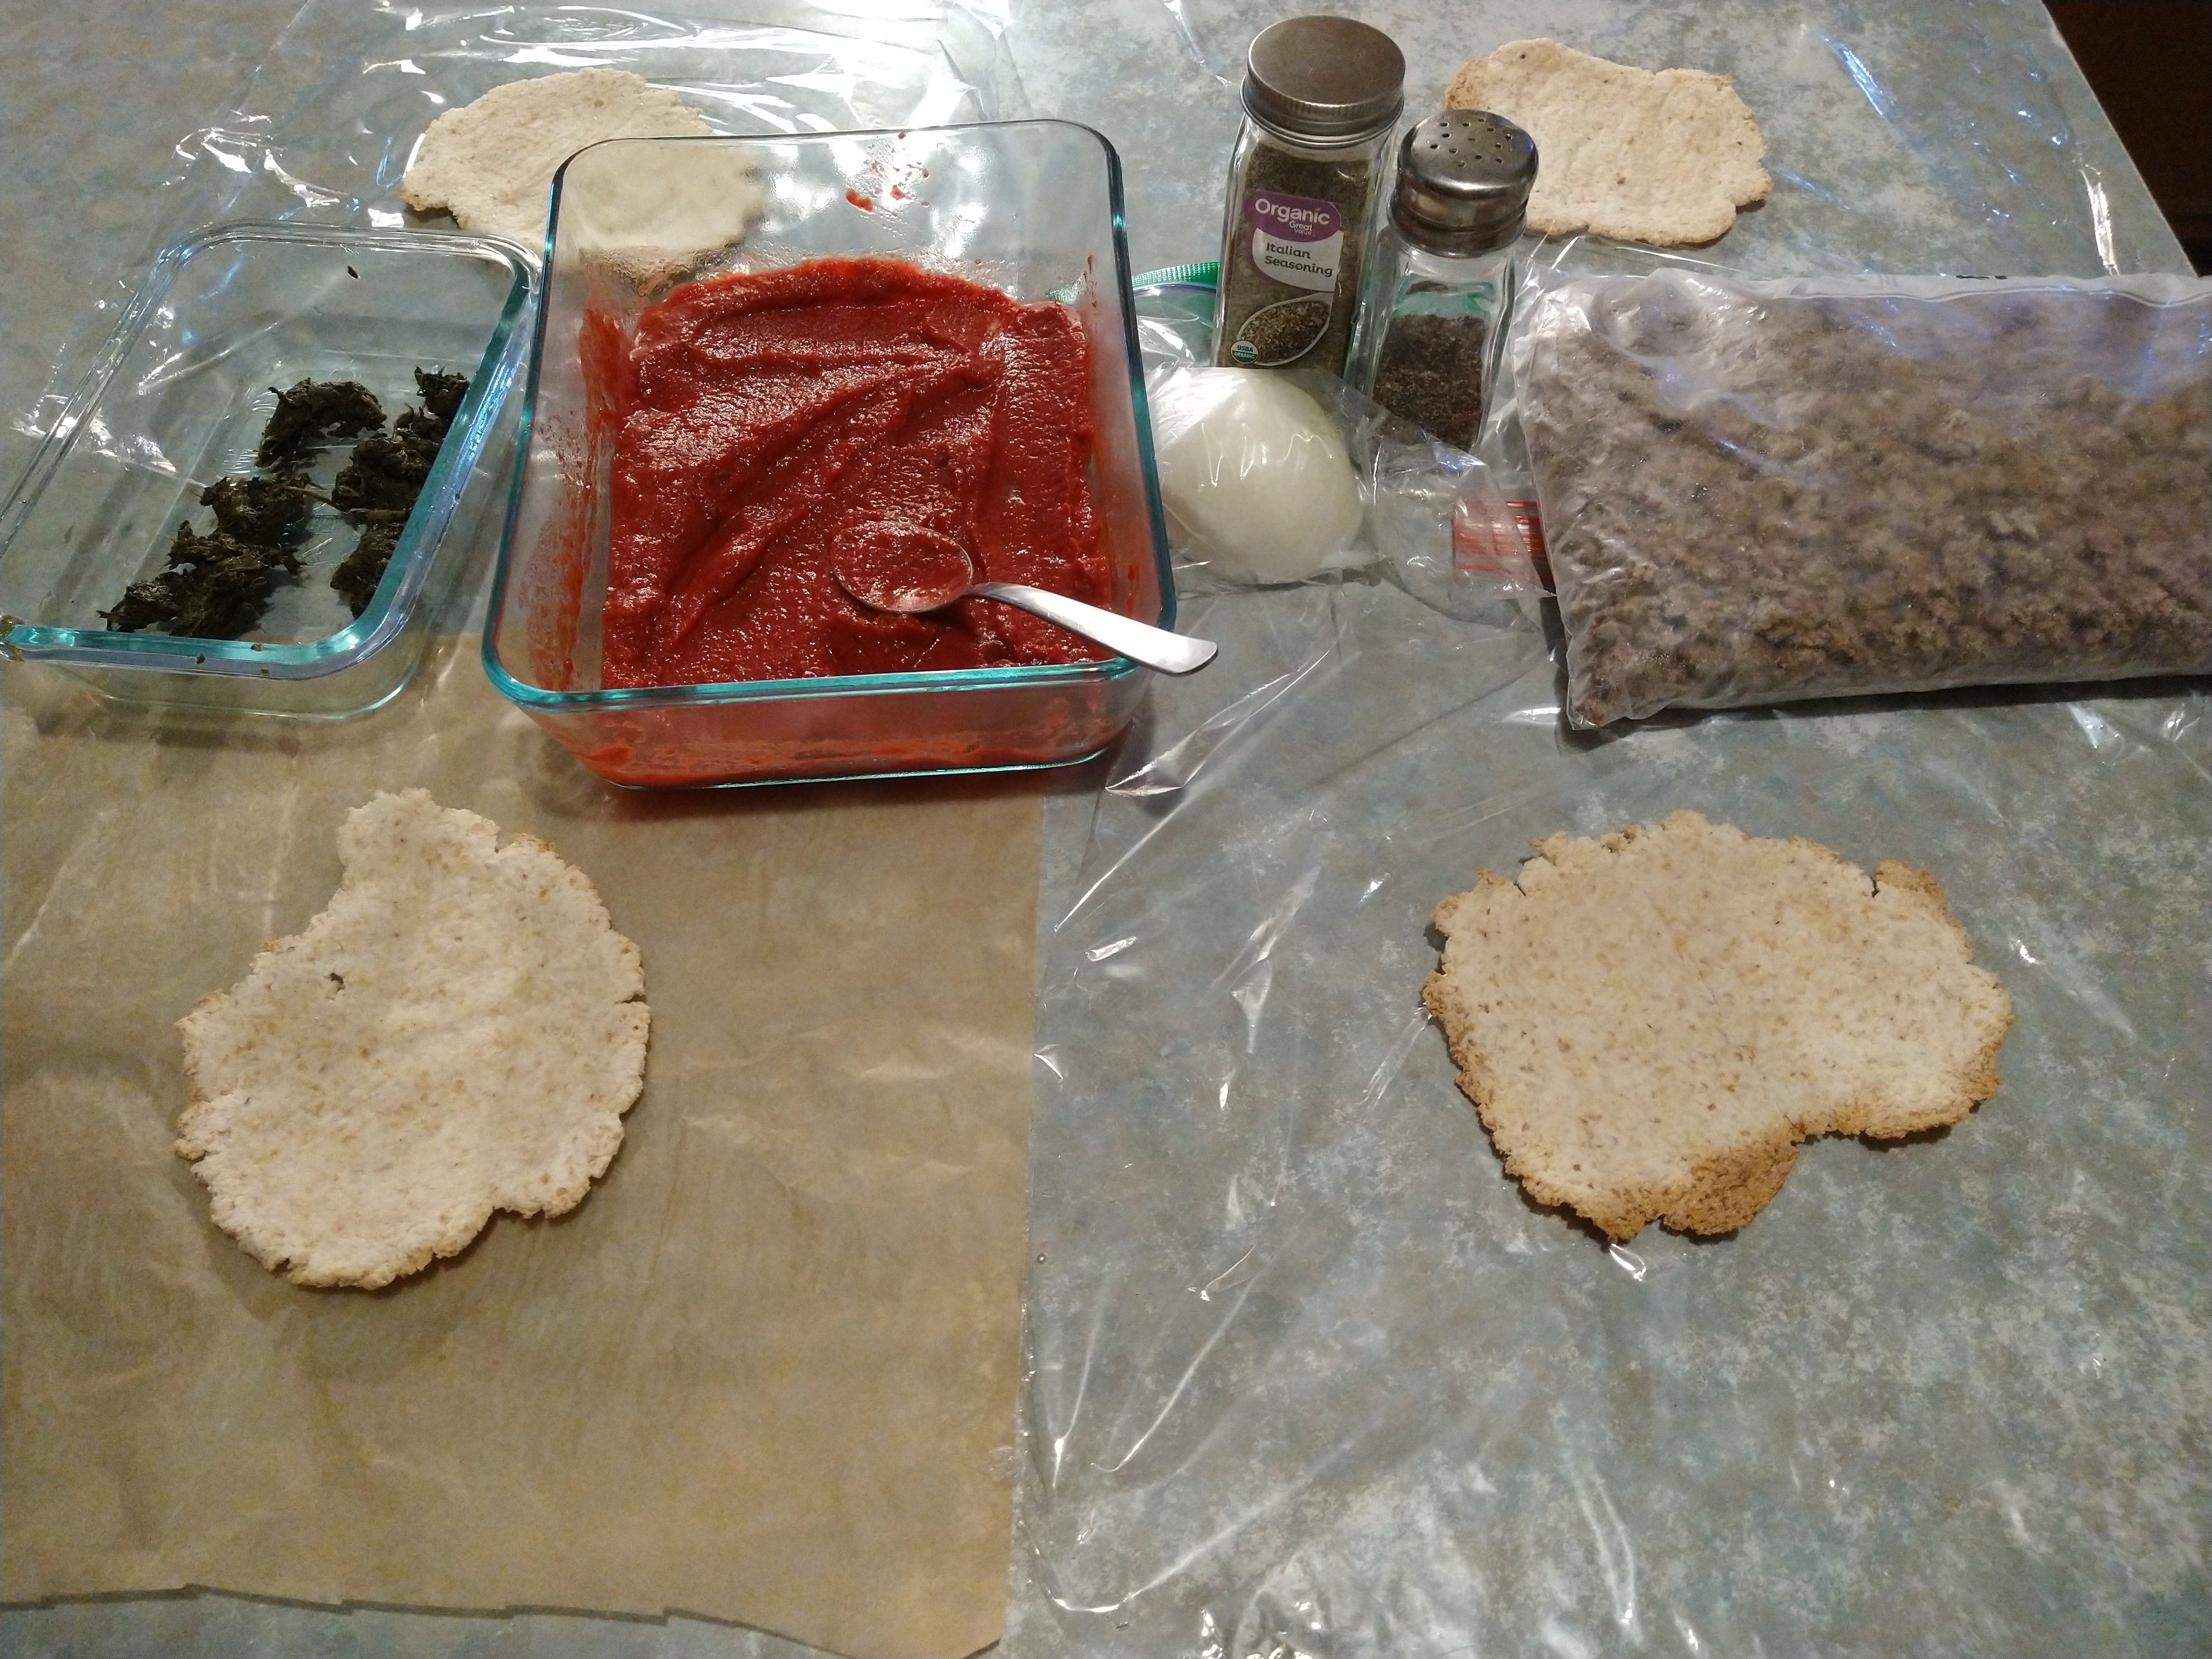
From 12 noon, clockwise, we see 4 pizza rounds laid out, onion, italian seasoning, black pepper, frozen meal-prep sausage bits, pasta sauce, and cooked left-over spinach all ready to be prepared for future pull-from-the-freezer-and-bake meals or snacks. Portion wise this is perfect for a snack or add a salad and it is a meal plan too.
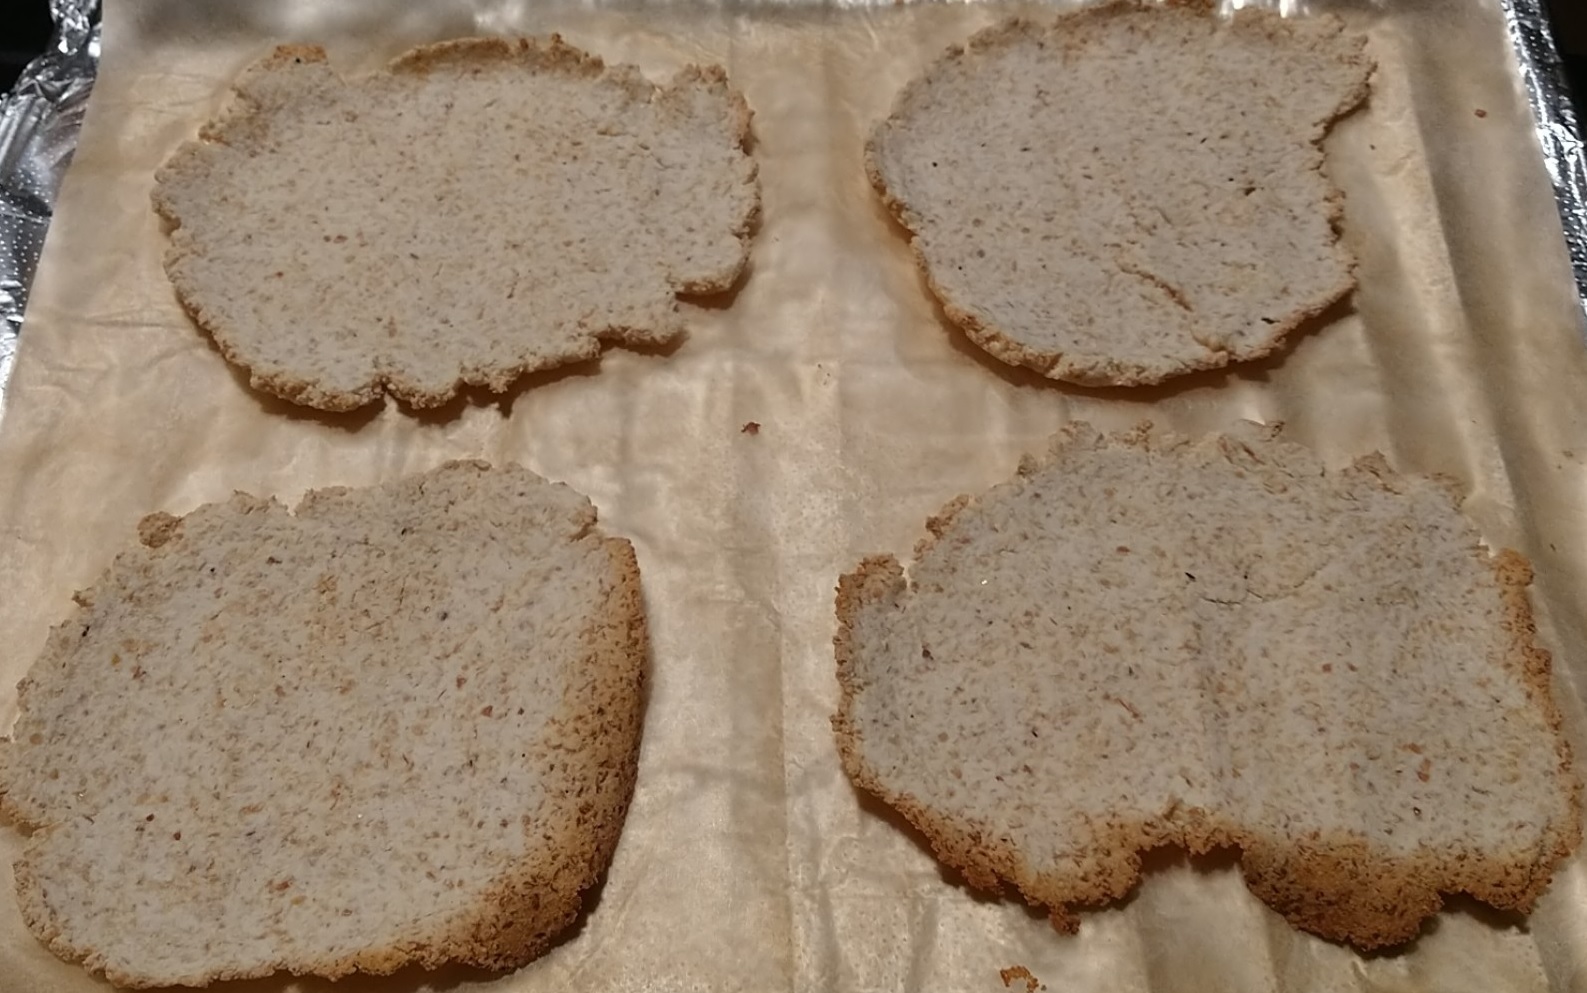
This recipe for batch freezer pizzas also uses an entire batch of this dinner roll recipe‘s dough. Instead of fixing the dough into 4 dinner roll shapes, divide the dough into 8 more or less equal portions and roll them as flat as will hold up (or as thin as you want them). Why 8? Why flat? I enjoy thin crust pizza and it also helps to keep the overall carb count lower for this recipe. Once these are rolled flat bake them for the full time, as called for in the dinner roll recipe. Here is how they turned out:
After letting the dinner roll “pizza crust rounds” fully cool, I froze them by placing them flat on a tray in an individual layer, not touching one another, until fully frozen before making up each base into a pizza round to freeze for later.
This meal prep recipe also calls for a serving of Pasta Sauce. If you, like me, have it frozen in batches, take one out and allow it to thaw. Stir well to combine.
Other ingredients? I added some Italian seasoning. Use what ever toppings you have on hand, enjoy, or want to use. You don’t need any, or you can use a wide variety of ingredient toppers. For my toppers, I has a small bit of cooked spinach left over–not enough for another meal–but perfect for this! I also had a tiny bit of onion already cut, so I used it too. Other options I could have considered would have been: black olives, other protein sources, other spices, cactus (which I use like a replacement for the no-no nightshade green pepper).
Italian Seasoning, Oregano, or Black Pepper (Optional)
Onion (Optional)
Black Olive rounds (Optional)
Cactus (cut like bell pepper shapes, optional)
Cooked Spinach, Kale, or other left-over veggies (optional)
“Vegan Parmesan” cheese (Optional)
INSTRUCTIONS:
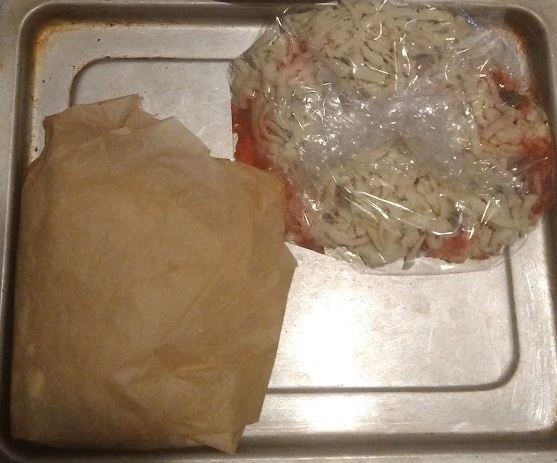
Begin by preparing a work area. Lay out what you are going to use to wrap your individual ingredients to help all of the toppings freeze to the base.
Lay one “dinner roll” recipe pizza base on each of the prepared wrappers. Note: I trialed using BPA-free cling wrap and parchment paper to see what works best. They both worked well. Non-waste items such as washable thin kitchen towels may work well too. If you like these, it may be worth your while to invest in a food sealer.
Top the pizza base with about 1 TBSP of the Pasta Sauce. Spread the sauce around evenly.
Top with your favorite extra seasonings, if any, including vegan Parmesan, nutritional yeast, either oregano or Italian seasoning, or even black pepper or something else to give it a bit of heat. Your choice–or as this is optional–you can skip it.
Now top with any of the cooked veggies you desire to use, if any.
Now top with the protein you wish, if any. I used homemade sausage.
Top with the non-dairy Pizza Cheese. Wrap. Freeze until stiff. Transfer to a zip lock or freezer bag.
When you are ready to use your new personal-sized mini snack pizza, simply remove it from the freezer, remove the wrap, and place in a preheated toaster oven to bake until the cheese is your desired level of done. The sauce should be bubbly and the cheese should be melted.
Alternatives? You can make this vegan, you can make this simply the pasta sauce and cheese, you can make this “Mexican” by flavoring your protein choice with cumin, garlic, adding green onion and a bit of nutritional cheese. Play around. Have fun. A quick, allergen-friendly go to!
This cheese is an attempt to have a pizza-friendly cheese. I’ve seen a number of recipes online which use similar ingredients (and another I’m awaiting being able to hopefully purchase some ingredients to give it a try as I don’t have on hand what I need to make it) and end up with something you can supposedly slice, grate, shred, melt, or other wise use a cheese, but which aren’t made with cow or other bovine milk and are available to those on any number of diets (vegan, paleo, gluten free, dairy free, whole 30, keto, low carb, diabetic, for example)
INGREDIENTS:
1 Can Full Fat Coconut milk
3 TBSP Unflavored Gelatin powder
2 TBSP Coconut Flour
1 TBSP Nutritional Yeast
1 tsp salt
OPTIONAL: add a pinch (to taste) of Thyme and Onion Powder. NOTE: this helps especially if you dislike the nutritional yeast flavor! Other flavor enhancing options? Try a bit of mustard powder, “Unami” seasoning, a bit of liquid from canned olives, and/or sauerkraut juice.
INSTRUCTIONS:
Locate the bowl you are going to use, when you’ve finished the process, to “mold (or shape)” the cheese into the shape you desire. Some ideas include a round, glass bowl, or perhaps a mini “loaf” pan for cracker sized slices. I’m planning on using this for shredding so the size and shape do not matter. But you will need the bowl handy when the time is right. Set it next to the stove top in easy reach.
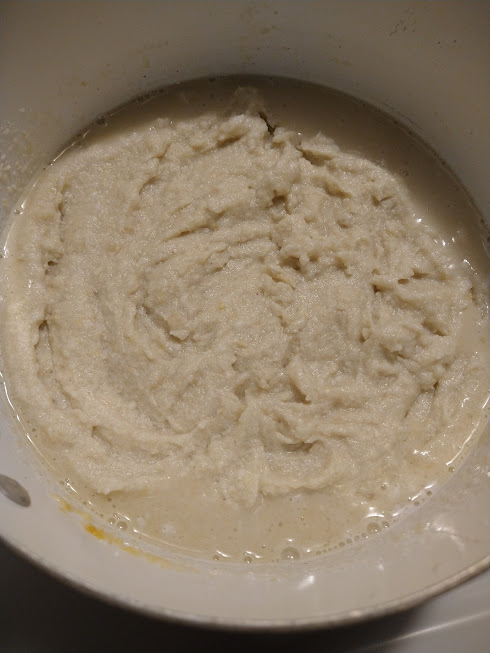
Measure all the ingredients. No need to mix first. Just place them into a medium size pan, as you measure the correct amount of each ingredient, adding them in the order listed above directly into your sauce pan. It should look more or less like this:
Place the pan over medium heat while you are stirring to mix the ingredients together. NOTE: the consistency of the mixture, before cooking, is roughly like fat-head dough. In fact it is so much like fat head dough it made me wonder if I can do something similar to make a vegan fat-head dough. Anyway, back to our cheese recipe at hand, once the mixture is fully stirred, continue stirring while you turn up the heat to medium or medium-high. Keep stirring.
Stir and heat. You are looking for that mixture to reach a full “boil” and you want to boil the mixture for a minimum of 3 minutes. Once you’ve hit the 3 minute mark, time wise (and I do suggest timing it), dump it quickly into your awaiting bowl which is going to serve as the shape mold for the resulting vegan cheese.
Now cover the cheese.
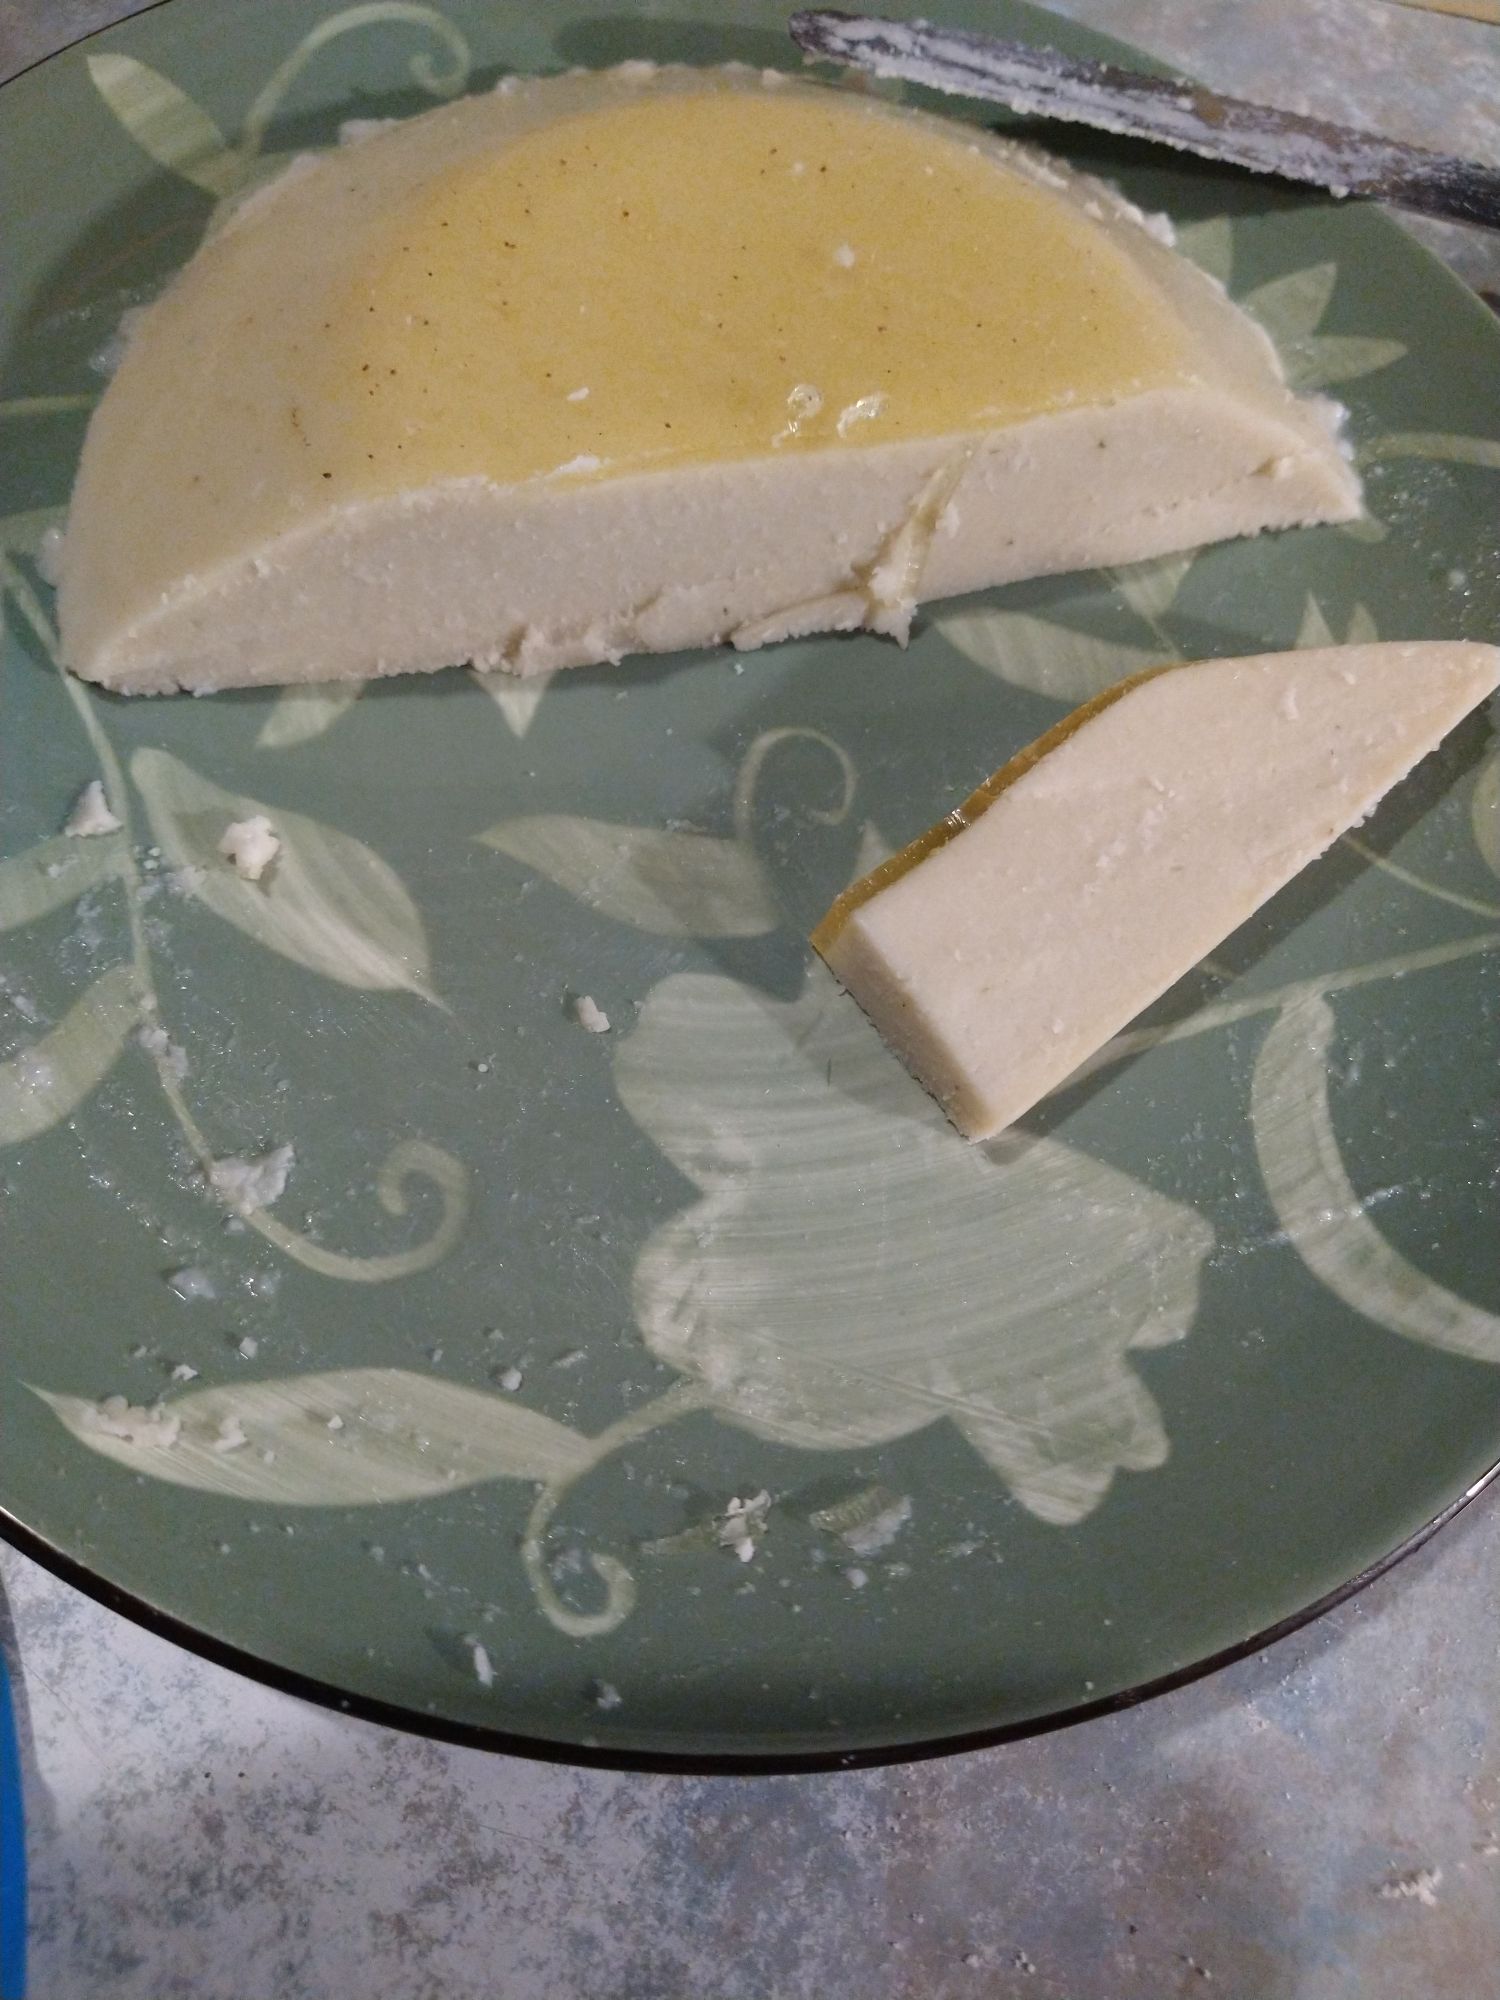
Place in the fridge. As it cools your vegan cheese will firm up and will become a texture you can slice and you’ll also be able to shred it to use it on pizza, etc. or in recipes.
TIPS:
FLAVOR: Experiment with adding optional depth of flavor with these suggested trials: add a pinch to taste of one or more of the following spices/flavorings: Thyme, Onion Powder, mustard powder, “Unami” seasoning, a bit of liquid from canned olives, or a bit of sauerkraut juice.
COLOR: This “cheese” is a mozzarella style cheese. However, you can play around a bit with this and get different color cheeses. Who says cheese has to be white or whitish? Other things to try? Annatto Oil (warm for a few minutes 1.5 TBSP of annatto seeds in 1/4 cup quality oil until the spice extrudes into the oil. Store and use. P.S. Annatto is the normal food-safe colorant in cheddar cheeses.) Turmeric. Mustard Powder. Or something creative like beet juice! or Spinach! Who says just because milk is white cheese has to be? It tastes the same, hm?
TEXTURE: Need a smoother result? Use an immersion blender to blend everything instead of a whisk, while stirring and cooking. I found this texture to be okay as is!
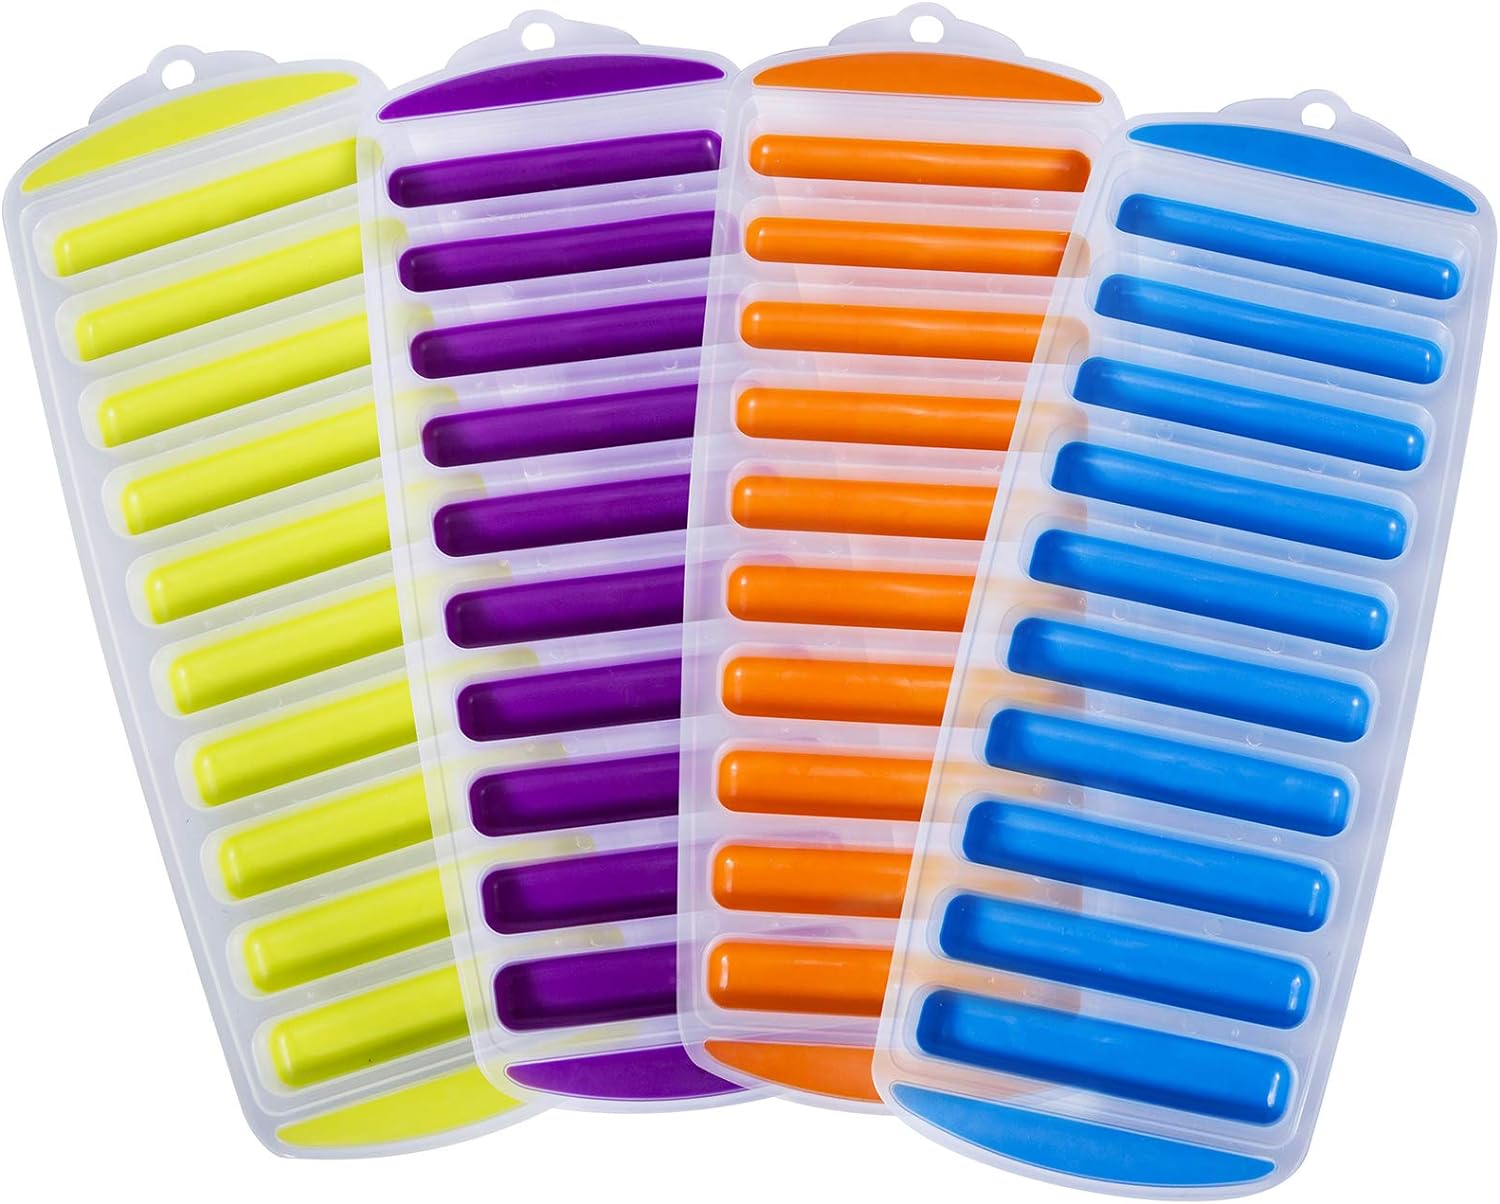
SHAPE: Play around with the “molds” you use. There are, for example, long barrel shaped silicone ice cube makers, made especially for making ice for water bottles. These may be fun to put this mozzarella like cheese into and mold into a string-cheese style shaped snack cheese.
RESULTS:
BATCH SIZE: The yield on this is okay. It is neither expensive to do nor does it make too much to use in a reasonable time frame.
FREEZER FRIENDLY: I will test (and report later) on freeze capability (both as is, and shredded) to see how it works for food prep and storage.
PIZZA: To use this recipe to make pizza (snack, or larger) simply thaw some of the faux tomato sauce we made previously, spread over a the dinner roll recipe I made last week, a low-carb gluten-free tortilla, or cassava crust recipe made up. Then add your favorite toppings and shred this cheese atop. Bake as you normally would. This cheese will melt and turn back to a more solid shape when cooled.
SNACK: To snack, use the cheese as is. Remember to play around with the flavorings and molds to achieve the desired shapes and taste you prefer. If you happen to have a mini loaf pan, that size is perfect for slicing onto crackers. I happened to find a mini-loaf pan for $0.25 at a thrift store! Cannot beat that for a cheese mold!
FREEZER? (testing this–will report soon)
FUTURE: I have a few more vegan cheeses I’m going to try over time.
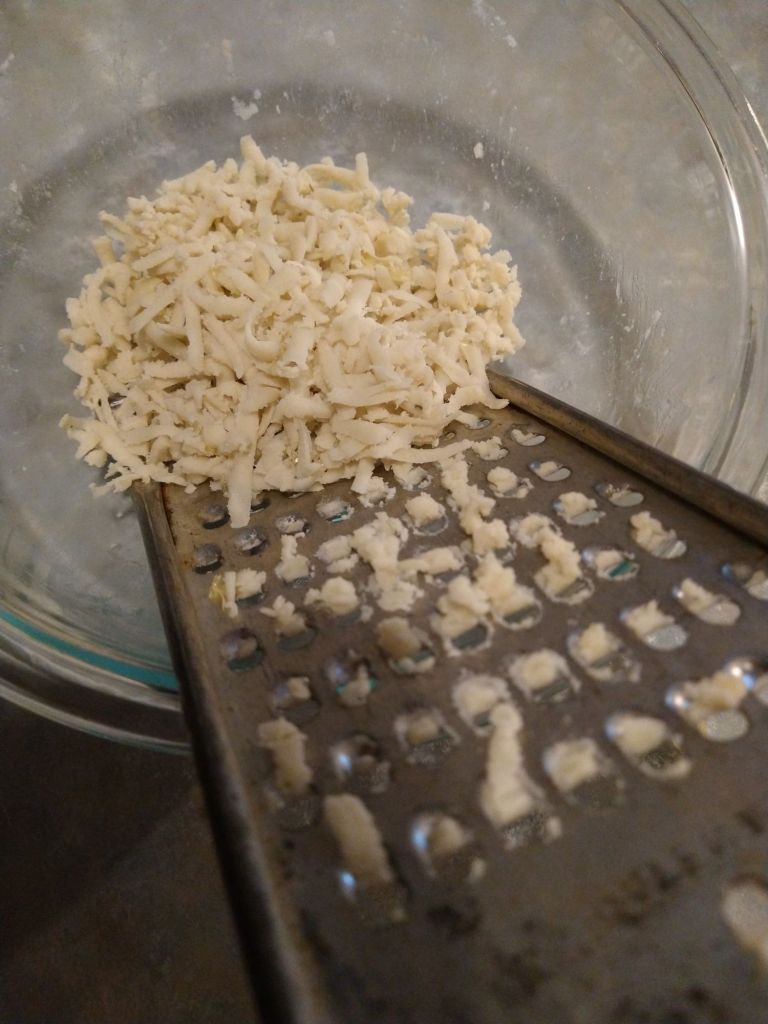
This cheese sets up well, was super easy to remove from the glass dish (it came out whole), and shreds easily with my normal cheese shredder. The shredder was also easy to clean up afterwards. The shredded cheese melted nicely. The cheese sliced tasted okay and the texture was ok too.
This recipe produces a powder you can store in an air tight spice jar and sprinkle on foods as a topping, much like store-bought Parmesan cheese, but with out dairy or nightshades, which are common in other products.
Besides using this recipe as a sprinkle-on spice, you can also turn this recipe into a quick cheese sauce. To do so, simply add 4 TBSP of the powder to 4 TBSP of butter in a pan over medium heat. Then add cup of liquid (broth, water, “milk”, etc). This recipe easily scales up or down, as needed.
Store in an air-tight container at room temperature. Consider adding to a well-labeled recycled spice jar with a tight-fitting lid, to use as a sprinkle on topping over favorite foods.
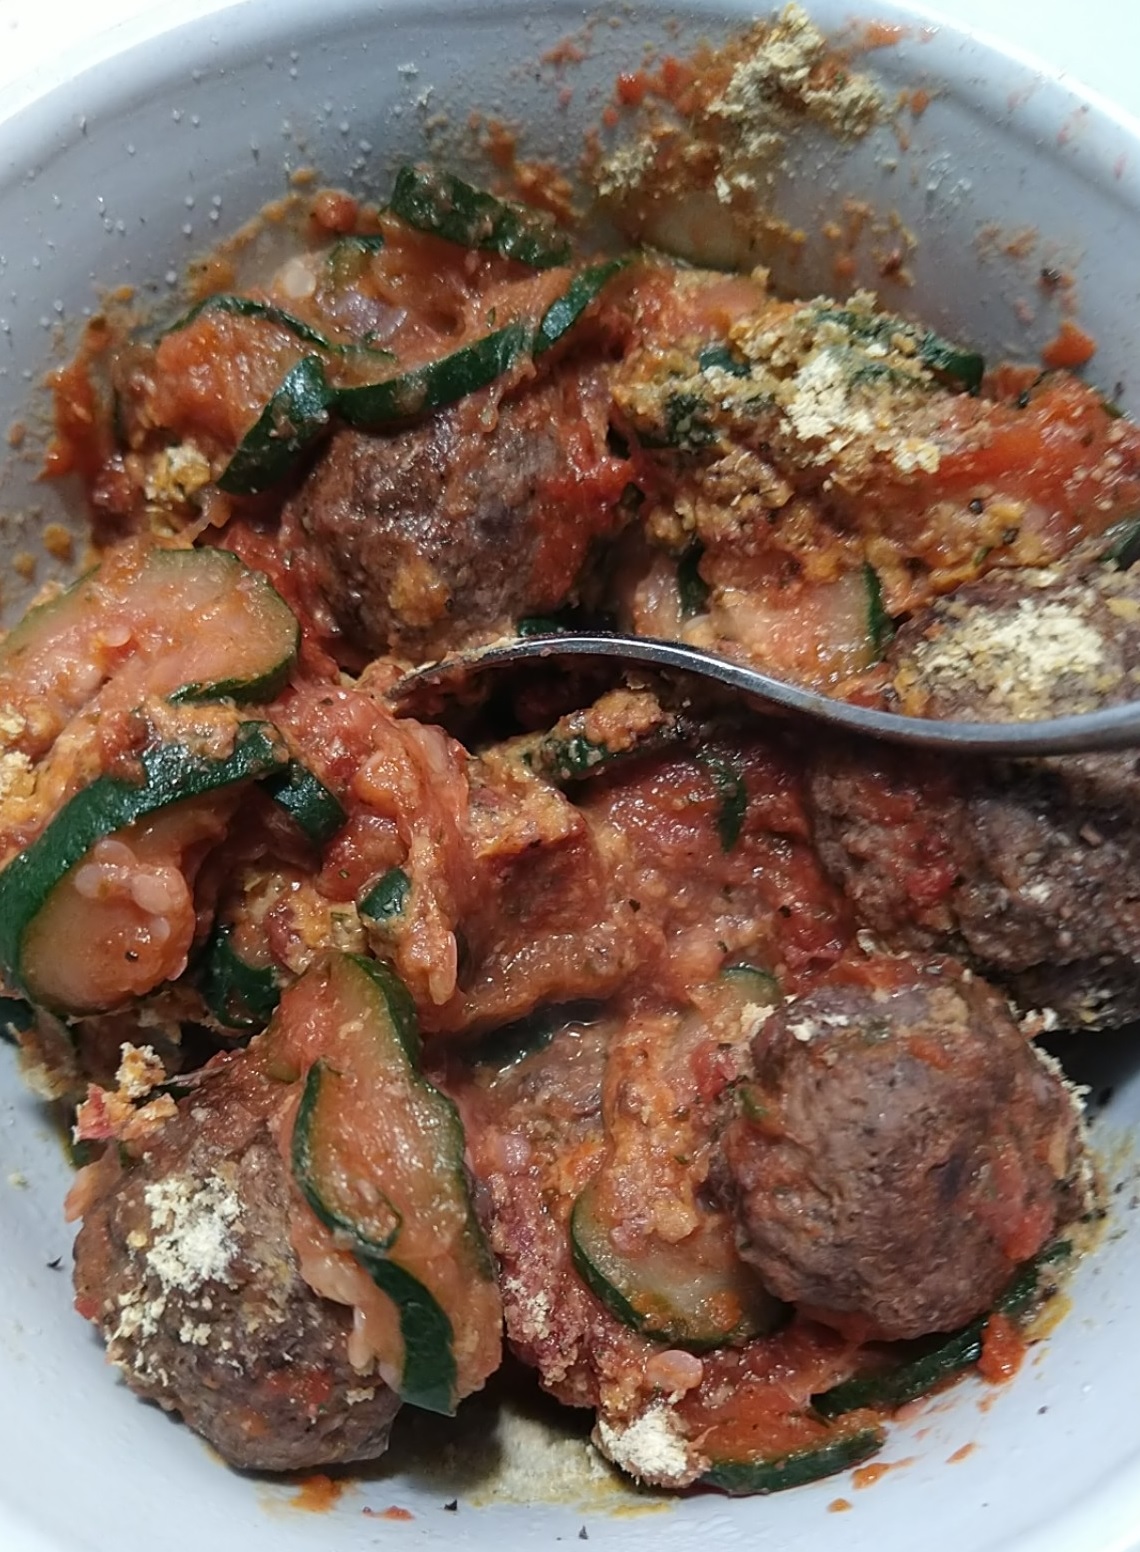
Pictured is a quick, go-to, freezer meal including: 7-Spice meat balls, zucchini, 2 TBS Faux Tomato Pasta Sauce, steamed until fork tender sprinkled with salt, pepper, and sprinkle cheese sauce for a quick meal.
CREAMY SAUCE INSTRUCTIONS:
To make a cheese-like sauce, you will need to add to a sauce pan over medium heat 4 TBSP of the “cheese sauce” powder mix, 4 TBSP of butter. Allow this to cook until fragrant and all of the butter is melted and mixed well into the “sauce” mix like you would to make any traditional Roux gravy. Once the roux is fragrant, add 1 cup of liquid. For the liquid pick what ever makes sense for the use you are making the sauce. If you want creamy mac-n-cheese style sauce, consider using a plant based milk. If you want to flavor it with meat or veg, consider using bone broth or veggie broth. If you are short on time or don’t have any thing else on hand in your pantry, use water. It is still good!
The creamy sauce pairs nicely with so many things! You can use it as a cheese sauce for dipping veggies and crackers into. You can use it as a salad dressing for taco salad. You can pair it with poultry, beef, or sausage. You can use up left over veggies such as cauliflower or broccoli or other yum veg with this sauce. It pairs really nice too with home made sausage. And one of my favorites is cauliflower or broccoli rice! YUM!
To turn left over veg, such as cauliflower rice, into the most delicious cauliflower rice you’ve ever tasted follow these steps: start with cold, refrigerated left over cauliflower rice (or other cold, left over veggies–if your veggies are too large, don’t worry, you can “chop” them into the sauce to smaller, bite-sized, pieces to amalgamate the flavors and different veggies into a flavorful way to eat up left overs). Make up the Creamy Sauce as instructed above, toss in the left over veggies, blend and serve. This makes a nice lunch, too, if you have too little of a portion of left over (meat) added to the dish to use everything up. Serve while hot and enjoy.
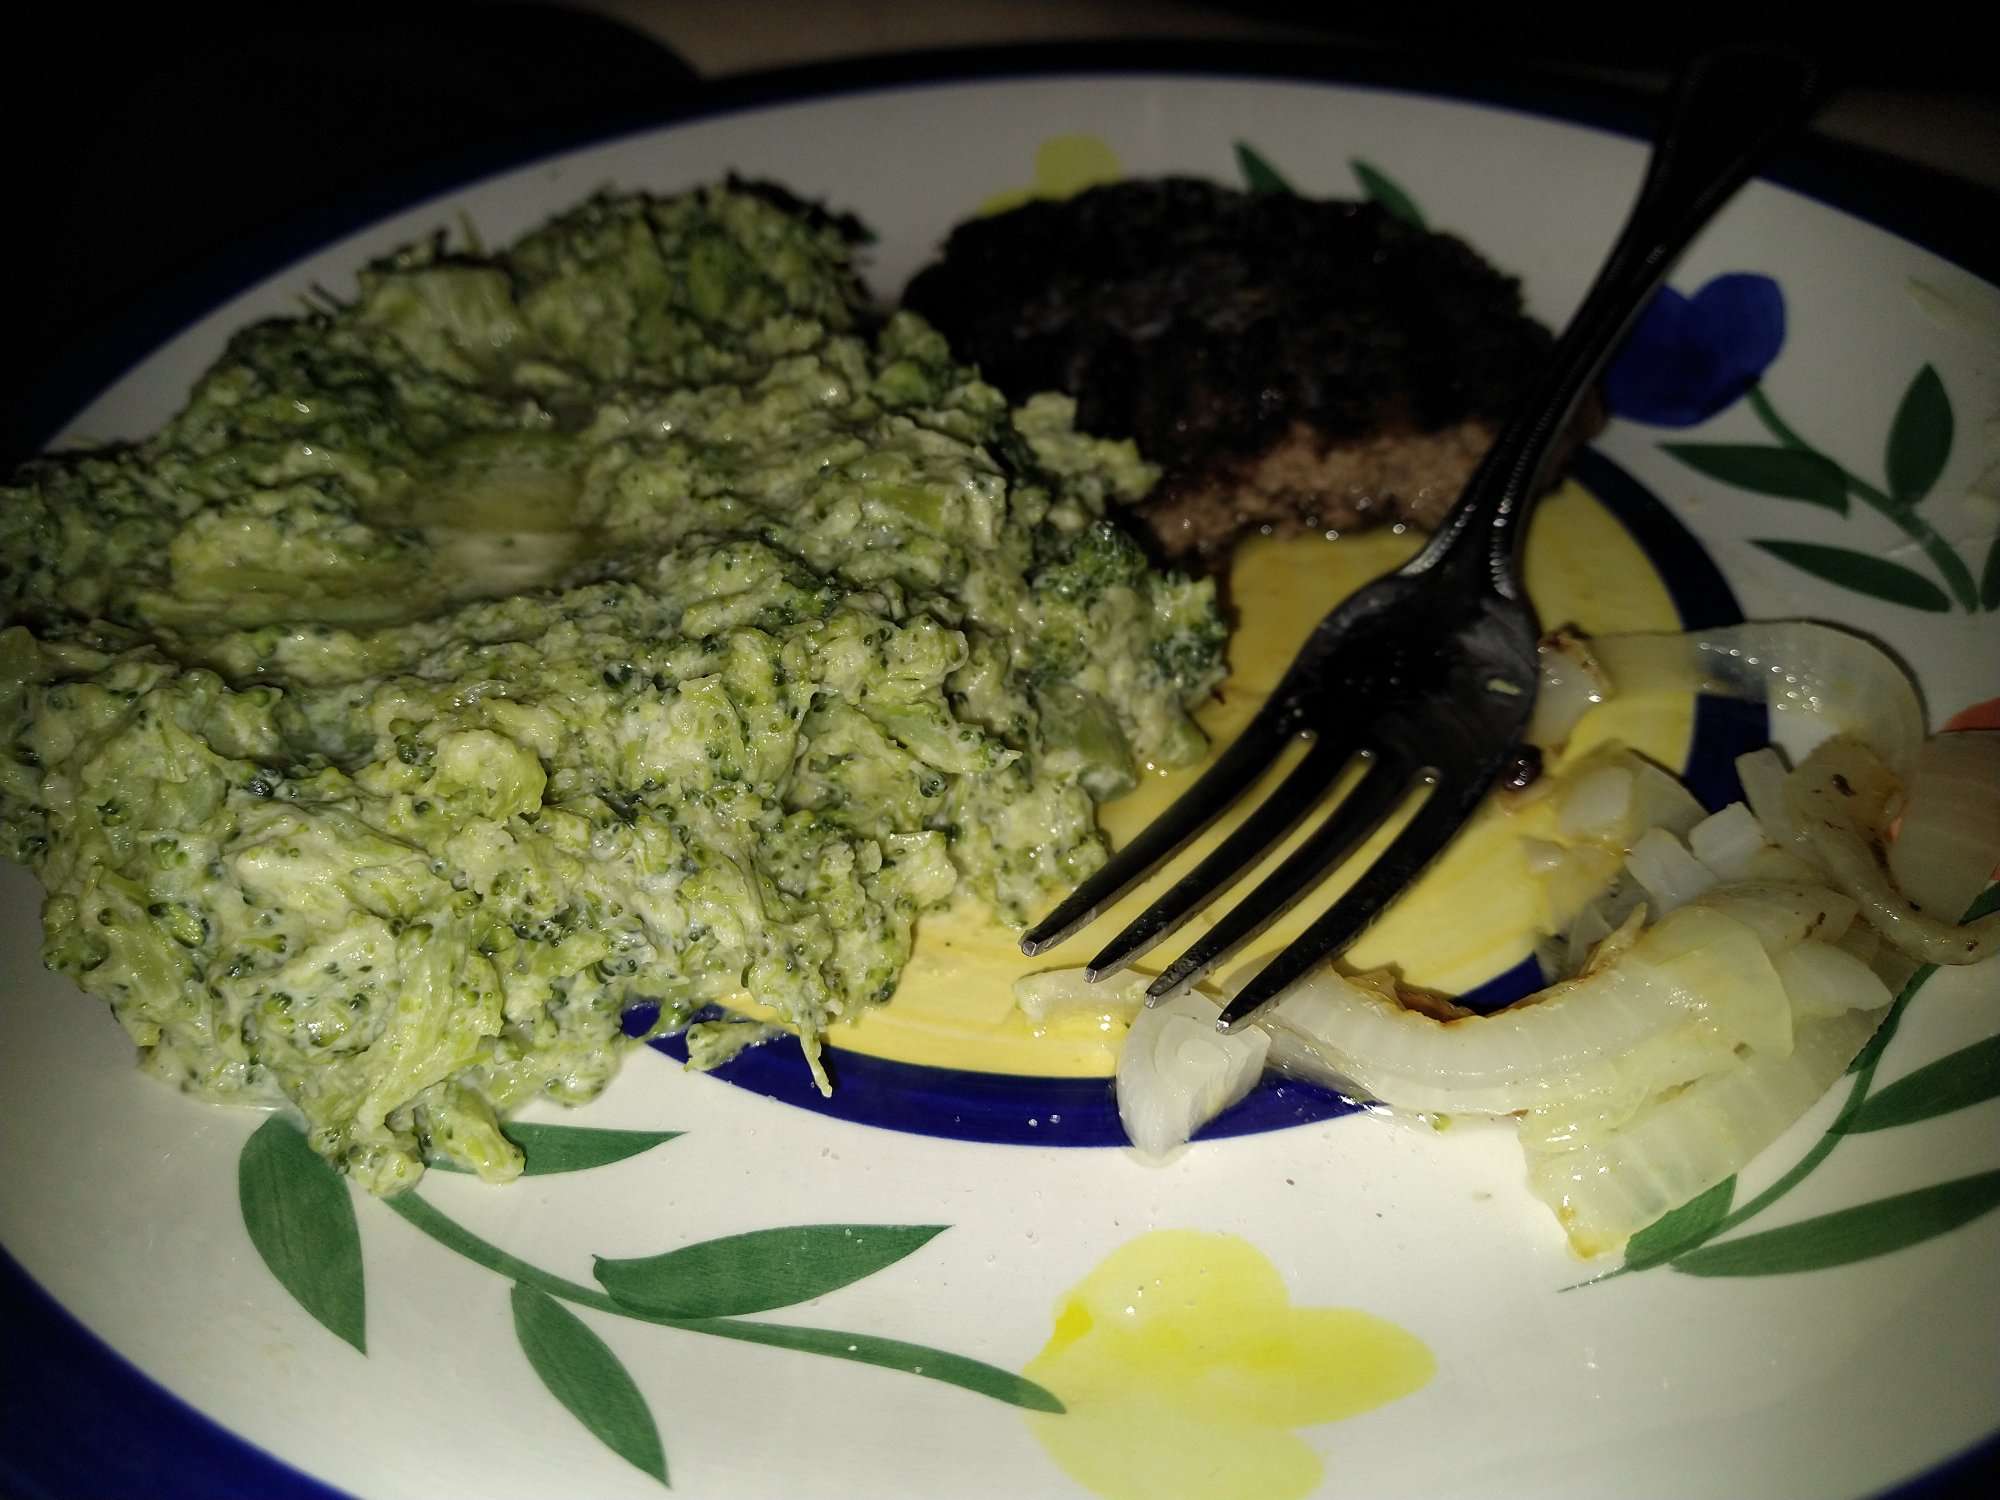
Left over broccoli “riced” with this cheese sauce served with onion style “noodles” and beef patty.
VEGAN: This recipe is very easy to turn into a vegan recipe. Simply swap out “butter” for vegan butter or a neutral flavor oil when making the sauce use a plant-based milk or water.
RESULT: This is a basic go-to recipe which I’ve re-made many times since first giving it a try. One note: it is claimed by other health care experts that fortified nutritional yeast vs unfortified, natural, nutritional yeast makes a big difference in health; however, as I’ve not studied it out for myself and the only brand of nutritional yeast available to me in my local market is not fortified, but naturally rich in nutrients, I didn’t bother to research this topic out–but if your nutritional yeast is fortified, you may want to do so before using it in this quantity, especially if you have people in your life who are allergic to several things, have autoimmune, or other health issues already.
Home made, versitle, low-carb, keto friendly refrigerator pickles. You can make these seasoned either: sweet, garlic, 5-spice, old bay, dill, or any other spices/blends you can think of!
INGREDIENTS:
1 lbs fresh Mini Cucumbers
Filtered Water
Vinegar
Sweetener of choice
1 recycled jar, clean.
INSTRUCTIONS:
Start by washing, and drying, the fresh cucumbers.
Cut off ends of cucumbers (Note: if your neighbors have chickens, consider the ends chicken food; or compost.)
Thinly slice cucumbers.
Add fresh cucumbers to jar.
Boil together 3/4 cup water, 3/4 cup vinegar, 1/2 cup sweetener (to taste).
Allow mixture to cool.
Pour over cucumbers as prepared previously in the jar.
This dish is so versatile in terms of adapting to nutritional, diet, and allergen-friendly meal plans. You can make it low carb, AIP, Paleo, low fat, vegan, nightshade-free, soy-free, dairy-free, pasta-free, grain-free, gluten-free as you desire. Switch up the veggies to add more nutrition and phyto-chemical value to your meal. Give it a try and let me know what you think. I’ve also shared this recipe on SparkPeople.com-where you can sign up for so many other fabulous receipes, weight loss tips, and so much more!
Ingredients
1 head, large (about 7″ dia) Cabbage, fresh, chopped in the shape/size of egg noodles.
16 oz Beef, 90% Lean Ground Beef from Sirloin, drain (or use chickpeas for a vegan option)
1 medium (2-1/2″ dia) Onions, raw 1/2 chopped, 1/2 sliced, divided
2 stalk, large (11″-12″ long) Celery, raw, chopped
1 tsp Pepper, black
1 tsp Garlic powder
0.25 tsp Celery Salt
1 cup Bone Broth – homemade (or use veggie broth for vegan option)
1 pat (1″ sq, 1/3″ high) Butter, unsalted, or use veggie oil for vegan option.
1) Begin browning the ground beef in a separate pan over medium heat.
Toss in with the beef freshly chopped onion and celery. Once the beef is browned on one side, flip and cover the browned side with celery salt, garlic powder, black pepper, and salt to taste. Once the beef is finished cooking and there is no longer and pink spots, turn off the heat, and drain the grease–discarding it or saving for another purpose, as you see fit. If you want this to be vegan–simply use chickpeas in place of the beef. You can cook the above veggies with the cabbage below if you’re making the vegan option and skip this step entirely.
Meanwhile, in another skillet with a cover, spread the butter around the pan so nothing will stick. Next, add the cored and rough chopped (like egg noodles) cabbage, sliced onion pieces and bone broth (beef, chicken, turkey or veggie broth all work). Cover and cook on low for approximately 20-30 minutes. Be certain that you do not cook away all of the broth. Check closely.


You must be logged in to post a comment.